Epson Perfection 3200 Pro Color Management Workbook - Page 13
Building Additional Printer Profiles, from Adobe Photoshop Elements 2.0 or Adobe - scanner drivers
 |
View all Epson Perfection 3200 Pro manuals
Add to My Manuals
Save this manual to your list of manuals |
Page 13 highlights
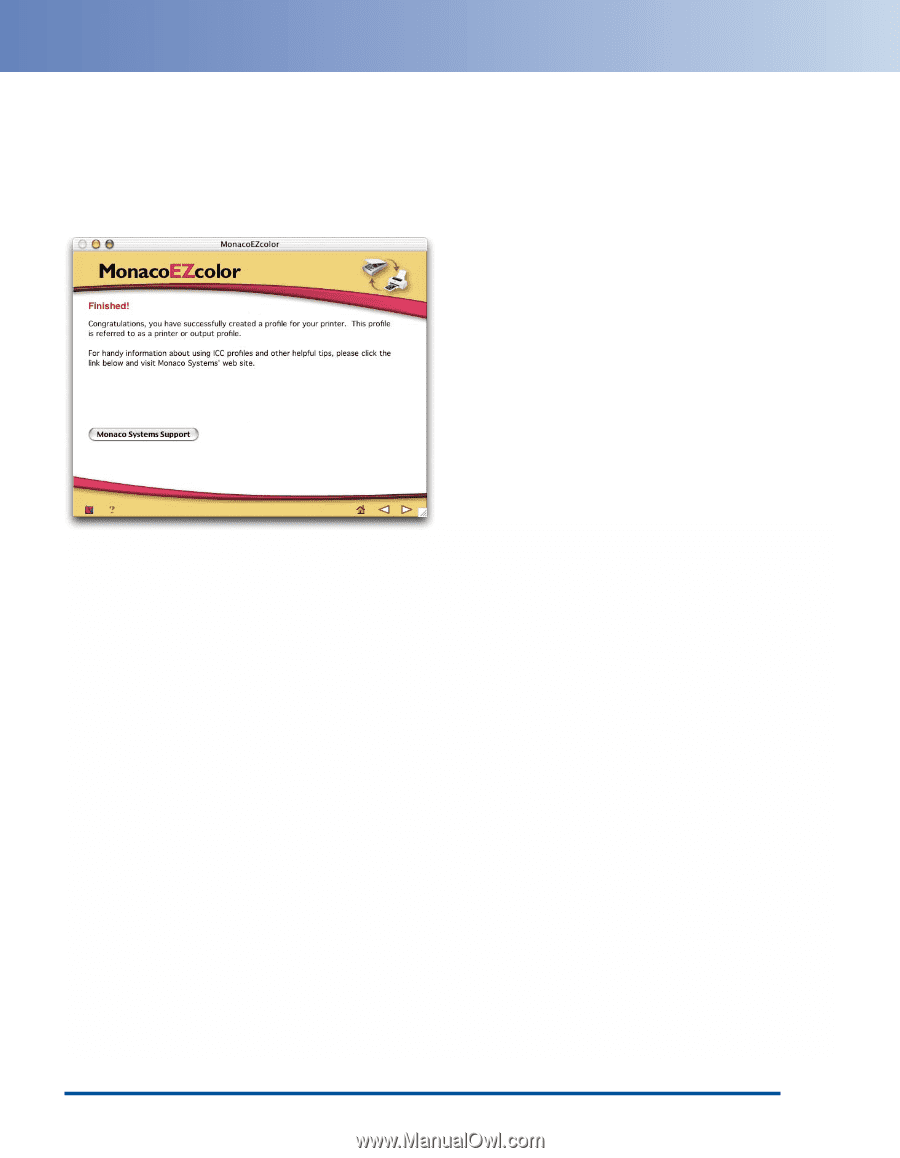
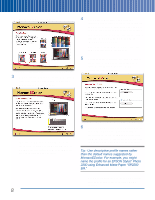
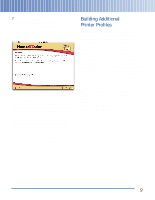
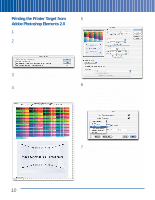
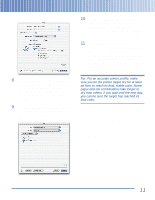
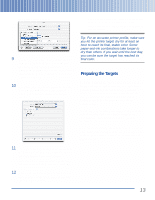
7 Click the right arrow to proceed. MonacoEZcolor displays a progress bar as it builds the scanner profile, then the printer profile. Once the profiles are built, MonacoEZcolor displays the Finished screen, as shown: You've now successfully built profiles for both your scanner (for reflective copy) and your printer (for the paper you used to print the target). Later in this booklet we'll show you how to use these profiles with SilverFast and Adobe Photoshop Elements 2.0 or Adobe Photoshop 7.0.1. If you want to start using your profiles immediately, you can skip to "Scanning with LaserSoft SilverFast" on page 23. In the next sections, we show you how to build additional printer profiles for different papers, how to build a scanner profile for transparency scanning, and how to calibrate and profile your monitor. Building Additional Printer Profiles Remember that printer profiles are paper-specific, so you may need to build additional profiles for different paper stocks. You can follow the previously described procedure to build additional printer profiles. The only difference is that you don't need to check Scanner Profile in the Name and Save Profile screen (shown on page 8). However, if you've already saved the printer target from MonacoEZcolor as a TIFF file, you can streamline the process slightly. First, you print the target from Adobe Photoshop Elements 2.0 or Adobe Photoshop 7.0.1. Next, you scan the printer and scanner targets in a single image using SilverFast. Then you use MonacoEZcolor to build the printer profile. When printing profiling targets, make sure the color management features in both the host application and printer driver do not alter the color values in the target. The following sections offer step-by-step instructions for printing the target from Adobe Photoshop Elements 2.0 or Adobe Photoshop 7.0.1. 9
-
 1
1 -
2
-
3
-
4
-
5
-
6
-
7
-
 8
8 -
 9
9 -
 10
10 -
 11
11 -
 12
12 -
 13
13 -
 14
14 -
 15
15 -
 16
16 -
 17
17 -
 18
18 -
19
-
20
-
21
-
22
-
23
-
24
-
25
-
26
-
27
-
28
-
29
-
30
-
31
-
32
-
33
-
34
 |
 |