Epson Perfection 3200 Pro Color Management Workbook - Page 31
Using Color Management with Your EPSON Printer, In Photoshop or Photoshop Elements, open
 |
View all Epson Perfection 3200 Pro manuals
Add to My Manuals
Save this manual to your list of manuals |
Page 31 highlights
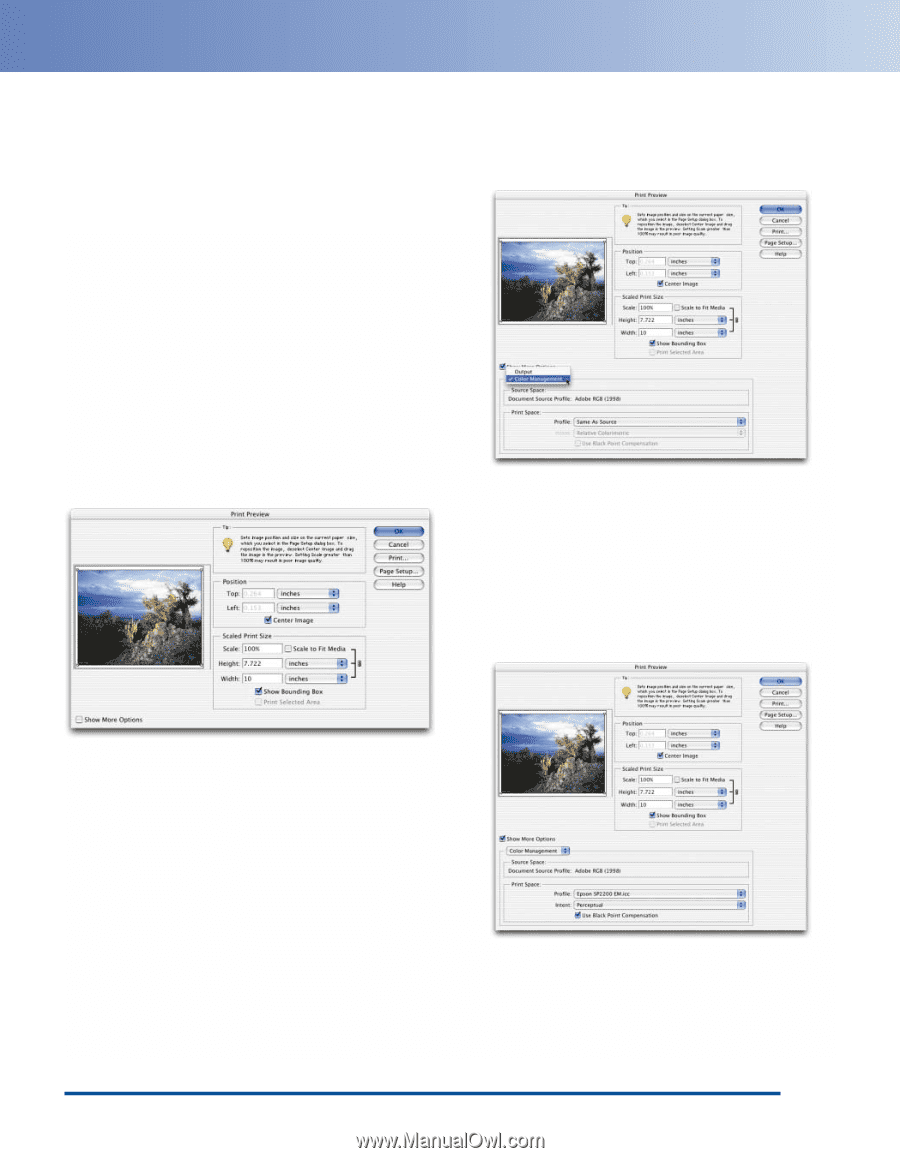
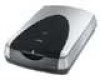
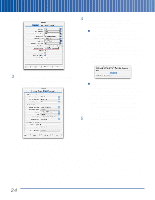
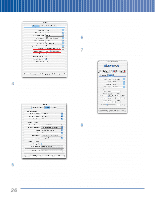
Using Color Management with Your EPSON Printer Once you have a scanned and corrected image ready to print, you'll configure your host application to translate the color to your printer profile. Then you'll turn off the color management features in the printer driver to prevent a second, unnecessary conversion from happening. 2 If necessary, click the Page Setup button to change the page size or orientation. Click More Options, then choose Color Management. Additional options appear: 1 In Photoshop or Photoshop Elements, open the File menu and choose Print with Preview. The Print with Preview dialog box appears, as shown. (The dialog boxes look slightly different in Photoshop and Photoshop Elements, but they offer identical functionality.) 3 In the Print Space section, choose the printer profile you created for your printer and paper. Then choose an Intent and a Black Point Compensation setting. For most images, we recommend either Perceptual or Relative Colorimetric intent, with Use Black Point Compensation checked, as shown: Loading the printer profile in Print Space tells Photoshop to convert the data sent to the printer from the document source profile to your printer profile. 27
-
 1
1 -
2
-
3
-
4
-
5
-
6
-
7
-
8
-
9
-
10
-
11
-
12
-
13
-
14
-
15
-
16
-
17
-
18
-
19
-
20
-
21
-
22
-
23
-
24
-
25
-
 26
26 -
 27
27 -
 28
28 -
 29
29 -
 30
30 -
 31
31 -
 32
32 -
 33
33 -
 34
34
 |
 |