Kyocera KM-3035 KM-NET for Clients Operation Guide Rev-3.7 - Page 16
Network Address, Add Printing System Wizard, KM-NET for Clients, Local printer, Advanced
 |
View all Kyocera KM-3035 manuals
Add to My Manuals
Save this manual to your list of manuals |
Page 16 highlights
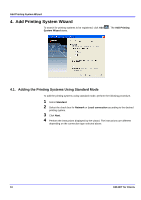
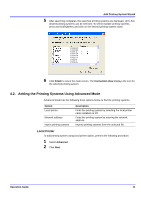
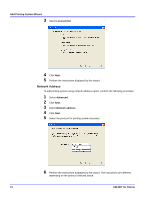
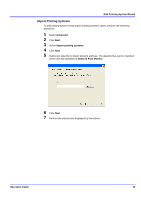
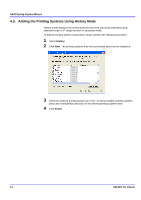
Add Printing System Wizard 3 Select Local printer. 4 Click Next. 5 Perform the instructions displayed by the wizard. Network Address To add printing system using network address option, perform the following procedure. 1 Select Advanced. 2 Click Next. 3 Select Network address. 4 Click Next. 5 Select the protocol for printing system discovery. 6 Perform the instructions displayed by the wizard. The instructions are different depending on the protocol selected above. 12 KM-NET for Clients
-
 1
1 -
2
-
3
-
4
-
5
-
6
-
7
-
8
-
9
-
10
-
 11
11 -
 12
12 -
 13
13 -
 14
14 -
 15
15 -
 16
16 -
 17
17 -
 18
18 -
 19
19 -
 20
20 -
 21
21 -
22
-
23
-
24
-
25
-
26
-
27
-
28
-
29
-
30
-
31
-
32
-
33
-
34
-
35
-
36
-
37
-
38
-
39
-
40
-
41
-
42
-
43
-
44
-
45
-
46
-
47
-
48
-
49
-
50
-
51
-
52
-
53
-
54
-
55
-
56
-
57
-
58
-
59
-
60
-
61
-
62
-
63
-
64
 |
 |
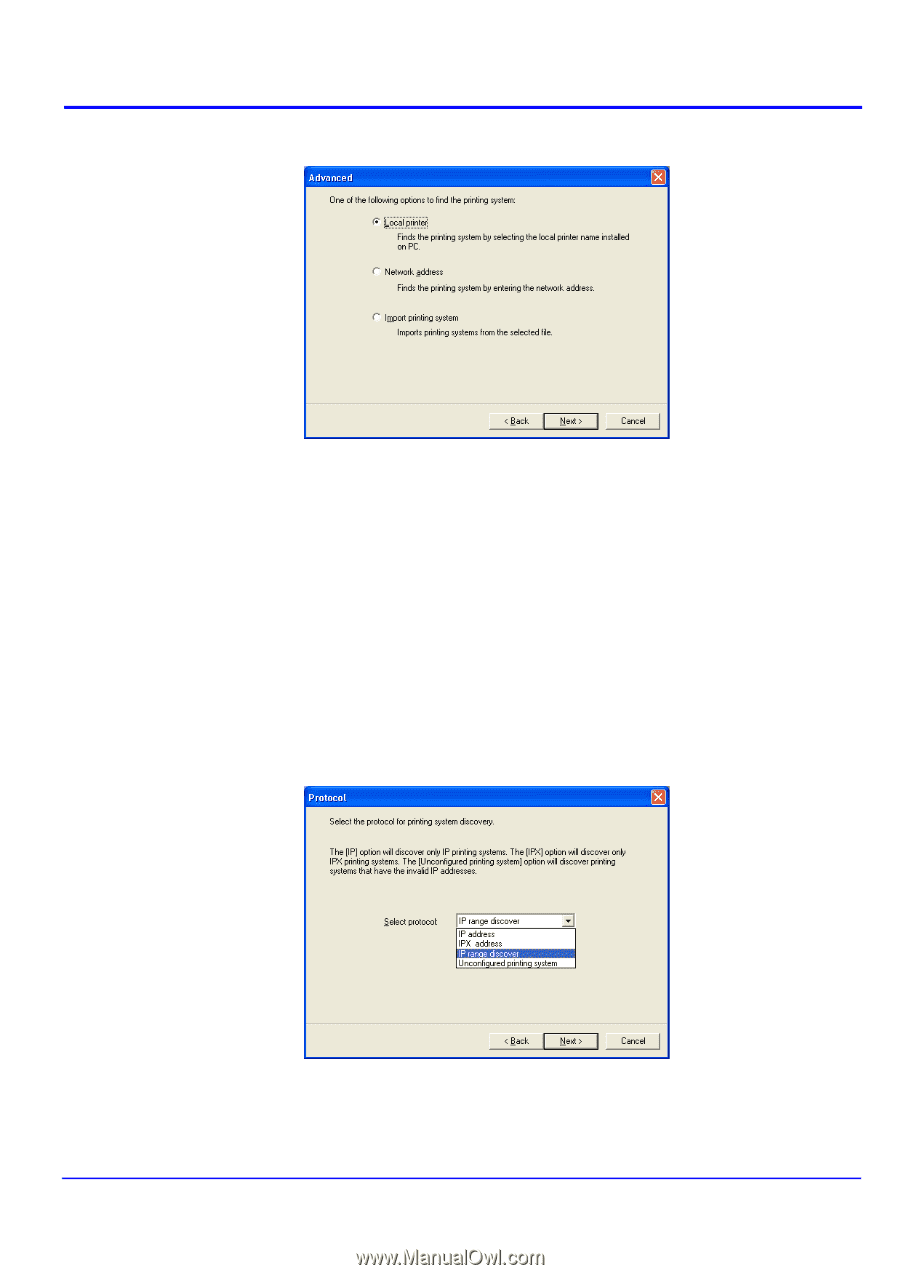
Add Printing System Wizard
12
KM-NET for Clients
3
Select
Local printer
.
4
Click
Next
.
5
Perform the instructions displayed by the wizard.
Network Address
To add printing system using network address option, perform the following procedure.
1
Select
Advanced
.
2
Click
Next
.
3
Select
Network address
.
4
Click
Next
.
5
Select the protocol for printing system discovery.
6
Perform the instructions displayed by the wizard. The instructions are different
depending on the protocol selected above.