Lenovo ThinkPad 380ED TP 380Z Hardware Maintenance Manual (August 1998) for us - Page 16
Battery Checkout, Replace the DC/DC card.
 |
View all Lenovo ThinkPad 380ED manuals
Add to My Manuals
Save this manual to your list of manuals |
Page 16 highlights
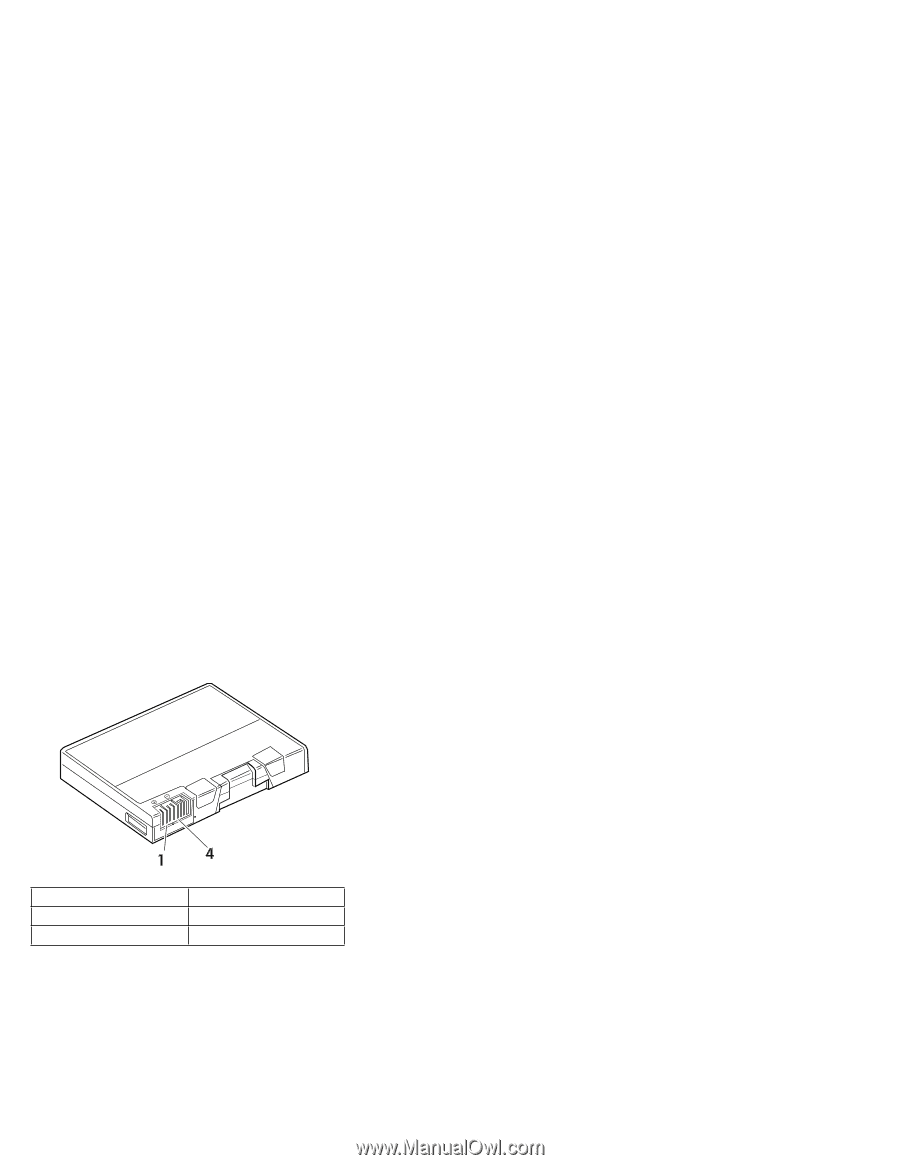
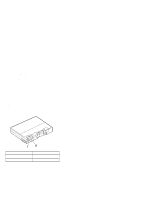
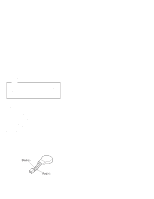
b. If the voltage is correct, make sure the connection between the DC/DC card and the system board is not loose. c. Replace the DC/DC card. d. If the problem is not corrected, replace the system board. e. If the problem persists, go to "Undetermined Problems" on page 32. 2. Unplug the AC Adapter cable from the ac power outlet and wait 5 minutes or longer to allow the overvoltage protection circuit to be fully discharged and initialized. 3. Plug the AC Adapter cable into the ac power outlet. 4. Measure the output voltage of the AC Adapter. 5. If the voltage is still not correct, replace the AC Adapter. Note: An audible noise from the AC Adapter does not always indicate a defect. Battery Checkout: If the error is due to the battery, do the following: 1. Turn off the computer. 2. Remove the battery and measure the voltage between the battery terminals 1 (+) and 4 (−). Terminal 1 4 Voltage (V dc) / Signal +0 to +13.5 Ground (−) Note: Signal lines not used in these steps are used for communication between the system and the battery. 3. If the voltage is less than +11.0 V dc, the battery has been discharged. Recharge the battery. If the voltage is still less than +11.0 V dc after recharging, replace the battery. Note: The voltage of the battery could show 0 V because of the overdischarge protection 14
-
 1
1 -
2
-
3
-
4
-
5
-
6
-
7
-
8
-
9
-
10
-
 11
11 -
 12
12 -
 13
13 -
 14
14 -
 15
15 -
 16
16 -
 17
17 -
 18
18 -
 19
19 -
 20
20 -
 21
21 -
22
-
23
-
24
-
25
-
26
-
27
-
28
-
29
-
30
-
31
-
32
-
33
-
34
-
35
-
36
-
37
-
38
-
39
-
40
-
41
-
42
-
43
-
44
-
45
-
46
-
47
-
48
-
49
-
50
-
51
-
52
-
53
-
54
-
55
-
56
-
57
-
58
-
59
-
60
-
61
-
62
-
63
-
64
-
65
-
66
-
67
-
68
-
69
-
70
-
71
-
72
-
73
-
74
-
75
-
76
-
77
-
78
-
79
-
80
-
81
-
82
-
83
-
84
-
85
-
86
-
87
-
88
-
89
-
90
-
91
-
92
-
93
-
94
-
95
-
96
-
97
-
98
-
99
-
100
-
101
-
102
-
103
-
104
 |
 |