Magnavox MDR513H User manual, English (US) - Page 33
Auto Clock Setting cont'd, DIGITAL AUTO CLOCK SETTING
 |
UPC - 609585189706
View all Magnavox MDR513H manuals
Add to My Manuals
Save this manual to your list of manuals |
Page 33 highlights
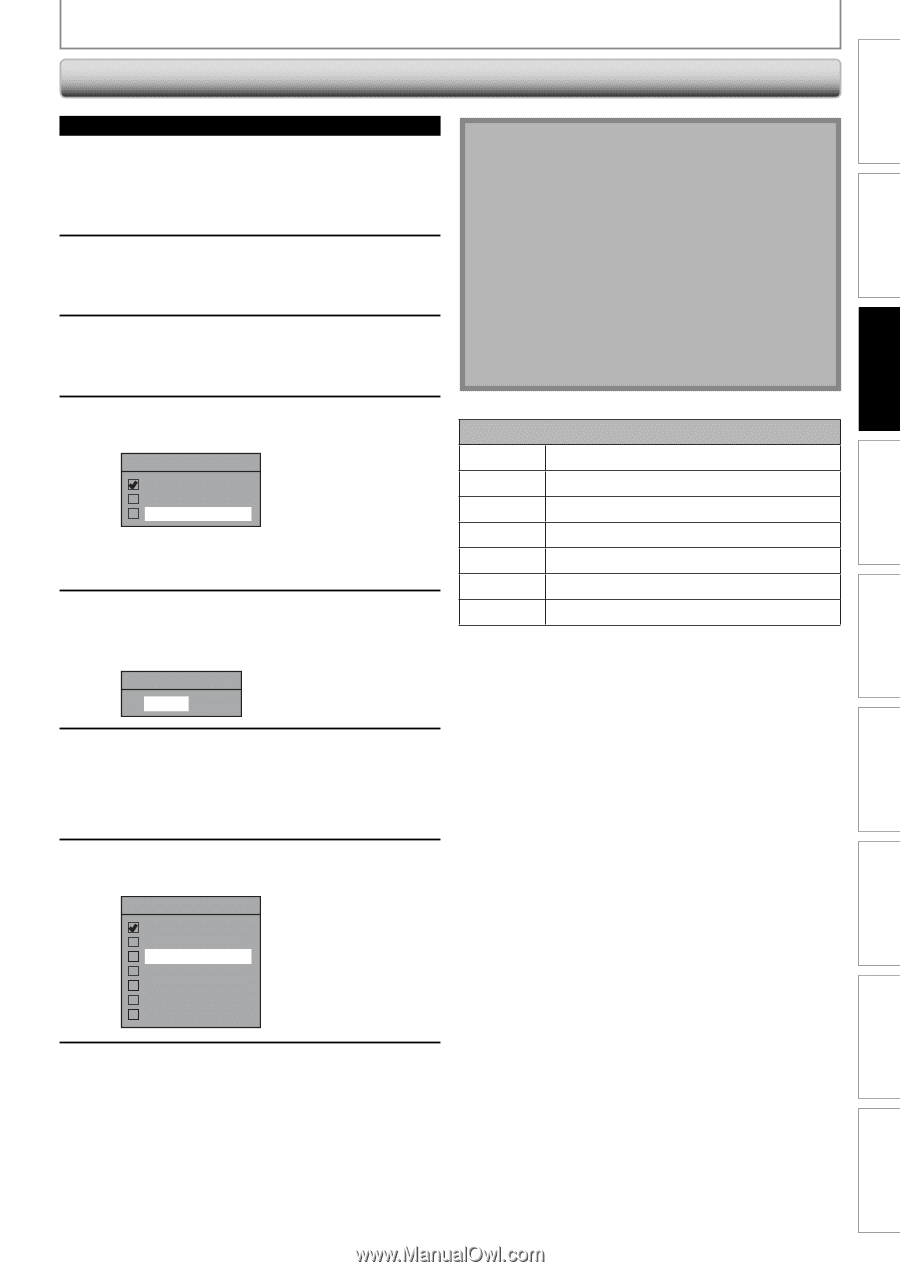
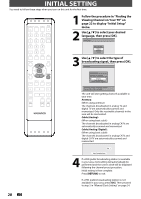
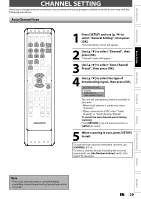
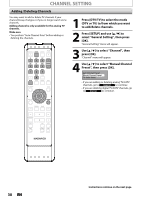
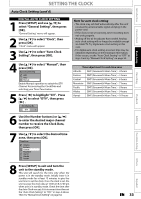
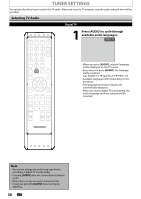
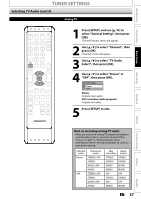
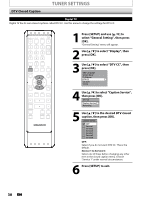
SETTING THE CLOCK Introduction Auto Clock Setting (cont'd) Connections Basic Setup Recording DIGITAL AUTO CLOCK SETTING 1 Press [SETUP] and use [K / L] to select "General Setting", then press [OK]. "General Setting" menu will appear. 2 Use [K / L] to select "Clock", then press [OK]. "Clock" menu will appear. 3 Use [K / L] to select "Auto Clock Setting", then press [OK]. 4 Use [K / L] to select "Manual", then press [OK]. Auto Clock Setting OFF Auto Manual Enable Manual operation to select the DTV Channel for receiving the Clock Data and selecting your Time Zone below. 5 Press [{ ] to highlight "CH". Press [K / L] to select "DTV", then press [ B] . Set Channel No. DTV 1 6 Use [the Number buttons] or [K / L] to enter the desired major channel number to receive the Clock Data, then press [OK]. 7 Use [K / L] to select the desired time zone, then press [OK]. Time Zone Atlantic Eastern Central Mountain Pacific Alaska Hawaii Note for auto clock setting • The clock may set itself automatically after this unit receives the antenna/cable signal and plug in the power cord. • If the clock is not set correctly, timer recording does not work properly. • Analog off the air broadcasts have ended. Analog auto clock setting will no longer be available except via Cable TV. Try digital auto clock setting in this case. • For digital auto clock setting, incorrect time may be obtained depending on the broadcast information. If this occurs, set the "Auto Clock Setting" to "OFF" at step 4 and try "Manual Clock Setting" on page 34. Time adjustment for each time zone Atlantic GMT (Greenwich Mean Time ) - 4 hours Eastern GMT (Greenwich Mean Time ) - 5 hours Central GMT (Greenwich Mean Time ) - 6 hours Mountain GMT (Greenwich Mean Time ) - 7 hours Pacific GMT (Greenwich Mean Time ) - 8 hours Alaska GMT (Greenwich Mean Time ) - 9 hours Hawaii GMT (Greenwich Mean Time ) - 10 hours Playback Editing Function Setup Others Español 8 Press [SETUP] to exit and turn the unit to the standby mode. This unit will search for the time only when the power is in the standby mode. Initially leave it in standby mode for at least 15 minutes to give this unit time to set the clock. Once the clock is set, the unit receives the clock data at 12:00 am & 12:00 pm when unit is in standby mode. Check the time after the Auto Clock was set, if it is incorrect time then set the "Auto Clock Setting" to "OFF" in step 4 above. Then try "Manual Clock Setting" on page 34. EN 33
-
 1
1 -
2
-
3
-
4
-
5
-
6
-
7
-
8
-
9
-
10
-
11
-
12
-
13
-
14
-
15
-
16
-
17
-
18
-
19
-
20
-
21
-
22
-
23
-
24
-
25
-
26
-
27
-
 28
28 -
 29
29 -
 30
30 -
 31
31 -
 32
32 -
 33
33 -
 34
34 -
 35
35 -
 36
36 -
 37
37 -
 38
38 -
39
-
40
-
41
-
42
-
43
-
44
-
45
-
46
-
47
-
48
-
49
-
50
-
51
-
52
-
53
-
54
-
55
-
56
-
57
-
58
-
59
-
60
-
61
-
62
-
63
-
64
-
65
-
66
-
67
-
68
-
69
-
70
-
71
-
72
-
73
-
74
-
75
-
76
-
77
-
78
-
79
-
80
-
81
-
82
-
83
-
84
-
85
-
86
-
87
-
88
-
89
-
90
-
91
-
92
-
93
-
94
-
95
-
96
-
97
-
98
-
99
-
100
-
101
-
102
-
103
-
104
-
105
-
106
-
107
-
108
-
109
-
110
-
111
-
112
-
113
-
114
-
115
-
116
-
117
-
118
-
119
-
120
-
121
-
122
-
123
-
124
-
125
-
126
-
127
-
128
 |
 |