Maytag MDB4629AWS Installation Instructions
Maytag MDB4629AWS - Jetclean Plus 24 in. Dishwasher Manual
 |
UPC - 883049187891
View all Maytag MDB4629AWS manuals
Add to My Manuals
Save this manual to your list of manuals |
Maytag MDB4629AWS manual content summary:
- Maytag MDB4629AWS | Installation Instructions - Page 1
Leave Installation instructions with homeowner. Homeowner: Keep Installation Instructions for future reference. Save Installation Instructions for local electrical inspector's use. Call your dealer when you have questions or need service. When you call, you will need the dishwasher model and - Maytag MDB4629AWS | Installation Instructions - Page 2
We have provided many important safety messages in this manual and on your appliance. Always read and obey install this dishwasher as specified in these instructions. 7" have everything you need to properly install dishwasher. 7" contact a qualified installer to insure that dishwasher is installed - Maytag MDB4629AWS | Installation Instructions - Page 3
installation. Read and follow the instructions provided with any tooHs Histed here. RassemMer commencer H'outHHage et Hes pieces necessaires avant de H'instaHafion. Lire et suivre Hes instructions to connect your household wiring to 16gauge wiring in dishwasher o small level o 90 ° elbow with 3/8" - Maytag MDB4629AWS | Installation Instructions - Page 4
hose are within the shaded area. If dishwasher will be left unused for a period of time location where it may be subject to freezing, follow "Winterizing" instructions in Use and Care Guide. or in a Inspecter I'emplacement ou le lave-vaisselle doit &tre installe. L_endroit doit comporter les - Maytag MDB4629AWS | Installation Instructions - Page 5
need to take special care in measuring dimensions and in leveling dishwasher ..... S'assurer que HatuyauteMe, He cSMage et Hetuyau de decharge _ un endroit ou H sera expose au geH, suivre Hes instructions dans le Guide d'utilisation de "Pr6paration et d'entrefien. pour H'hiver" CONSEIL UTILE - Maytag MDB4629AWS | Installation Instructions - Page 6
use Power Supply Cord Kit (Part No. 4317824) available from your dealer.This cord kit is marked for use with dishwashers. Follow the kit instructions for installing the power supply cord. 7. power supply cord must plug into a mating threeoprong, grounded outlet, located in the cabinet next to - Maytag MDB4629AWS | Installation Instructions - Page 7
. a une extr6mite. Ne pas souder _ moins de 15 cm (6 po) de la valve d'arrivee d'eau. You must: _/use the new drain hose supplied with your dishwasher or a new drain hose that meets aH current AHAM/IAPMO test standards and is resistant to heat and detergent. Maximum drain hose length is 12 - Maytag MDB4629AWS | Installation Instructions - Page 8
Minimum, au point le plus @troit de I'ouverture. Electrical Shock Hazard Disconnect electrical power at the fuse box or circuit breaker box before installing dishwasher. Failure to do so VinstaHation du laveovaisseHe. Le non-respect de ces instructions ou un choc _lectrique. peut causer un d_e&s - Maytag MDB4629AWS | Installation Instructions - Page 9
lm u / ./ Disconnect the power supply, Turn water off, Deconnecter Hacanalisafion d'arrivee d'eau, Fermer I'eau, 7" check that the water line _ reaches to the front Heft of opening where the water connection vvHI be made, _/check that the direct wire Q reaches to the front right of opening where - Maytag MDB4629AWS | Installation Instructions - Page 10
le trou avec le passe-fil (Piece N ° 302797) fourni avec le cordon d'alimentation. Install a mating, three-prong, receptacle @ in the cabinet Go to step 6. grounding-type wall next to the dishwasher opening. Installer dans le placard a c6te de I'ouverture du lavevaisselle une prise de courant - Maytag MDB4629AWS | Installation Instructions - Page 11
copper tubing to water line with manual shutoff valve. Carefully feed copper tubing through hole in cabinet (copper tubing will bend and kink easily) until it is far enough into the cabinet opening to connect it to dishwasher inlet on the front left of dishwasher. Mesurer la Iongueur totale du tube - Maytag MDB4629AWS | Installation Instructions - Page 12
connect air gap to disposer inlet @. This connection @ must be before drain trap @ and at least 20" (50.8 cm} above the floor where dishwasher wiii be installed. Go to step 12. 1. Oter I'opercule arrachable du broyeur de dechets, Couper I'extremit6 du tuyau de decharge 0 au besoin (ne pas couper - Maytag MDB4629AWS | Installation Instructions - Page 13
@ with lq/2o2" (3,8-5 cm) screw clamp _ O. This connection @ must be before drain trap @ and at least 20" (50.8 cm) above the floor where dishwasher will be installed. It is recommended that the drain hose be looped up and securely fastened to the underside of the counter. Goto step 12. Parts - Maytag MDB4629AWS | Installation Instructions - Page 14
Use two or more people to move and install dishwasher. Failure to do so can result in back or other injury. Risque du poids excessif UtiIiser deux ou plus de personnes installer le [ave-vaisselIe. pour d_pIacer et Le non-respect de cette instruction peut causer une blessure au dos ou d'autres - Maytag MDB4629AWS | Installation Instructions - Page 15
support O avec des pinces, Serrer He coude jusqu'a ce qu'ii soit bien ajuste et s'assurer qu'H est orient6 vers Farriere, If your dishwasher has a factory-installed a I'installation et suivre les instructions qui @ ou sera installe le lave+ vaisselle (il faut mesurer au point le plus bas}. Consulter - Maytag MDB4629AWS | Installation Instructions - Page 16
right side of opening, IMPORTANT: If your model has the drain connector located near the back of the dishwasher, it wiii be easier to connect the drain hose to the connector now before moving the dishwasher completely into the cabinet opening. For instructions, go to "Drain Connection'; Step 8 on - Maytag MDB4629AWS | Installation Instructions - Page 17
Jers du regiage des pieds avant, Check that leveling legs @ are firmly against the floor, Place level on the rack guide @ on one side of the dishwasher tub, Check that dishwasher is level from front to back, Verifier que les pieds avant de mise d'aplomb O sont bien en appui sur le plancher - Maytag MDB4629AWS | Installation Instructions - Page 18
cord use steps: 1-4 la and 2a Conne×Jen 6teetrique Verifier les exigences de I'installation 4 a 6). II vous faut : electrique (voir les pages 7 avoir le &Fectrique utiliser les &tapes : ] 1-4 la et2a lm If your dishwasher model is not equipped supply cord go to Step 2. with a power Si - Maytag MDB4629AWS | Installation Instructions - Page 19
. Ne pas uti[iser un cordon de ra[[onge. Le non-respect de ces instructions peut causer un d_c_s, un incendie ou un choc _[ectrique. Connect the wires @ using twist-on connectors @ sized to connect direct wire to 16-gauge dishwasher wire: Form bare, ground wire @ into a U-shaped hook. Wrap ground - Maytag MDB4629AWS | Installation Instructions - Page 20
your dealer.This cord kit is marked for use with dishwashers. Follow the kit instructions for installing the power supply cor& A strain relief, available at de branchement _ trois broches avec liaison a [a terre. Certains modeles sont deja 6quip6s d'un cordon de courant 61ectrique. Si un cordon - Maytag MDB4629AWS | Installation Instructions - Page 21
vaHve mounting bracket with p!iers while attaching Copper tubing, Tenir [e support de la valve d'arrivee d'eau avecdespinces durant ['insta 1
1 -
 2
2 -
 3
3 -
 4
4 -
 5
5 -
 6
6 -
 7
7 -
8
-
9
-
10
-
11
-
12
-
13
-
14
-
15
-
16
-
17
-
18
-
19
-
20
-
21
-
22
-
23
-
24
-
25
-
26
-
27
-
28
-
29
-
30
-
31
-
32
 |
 |
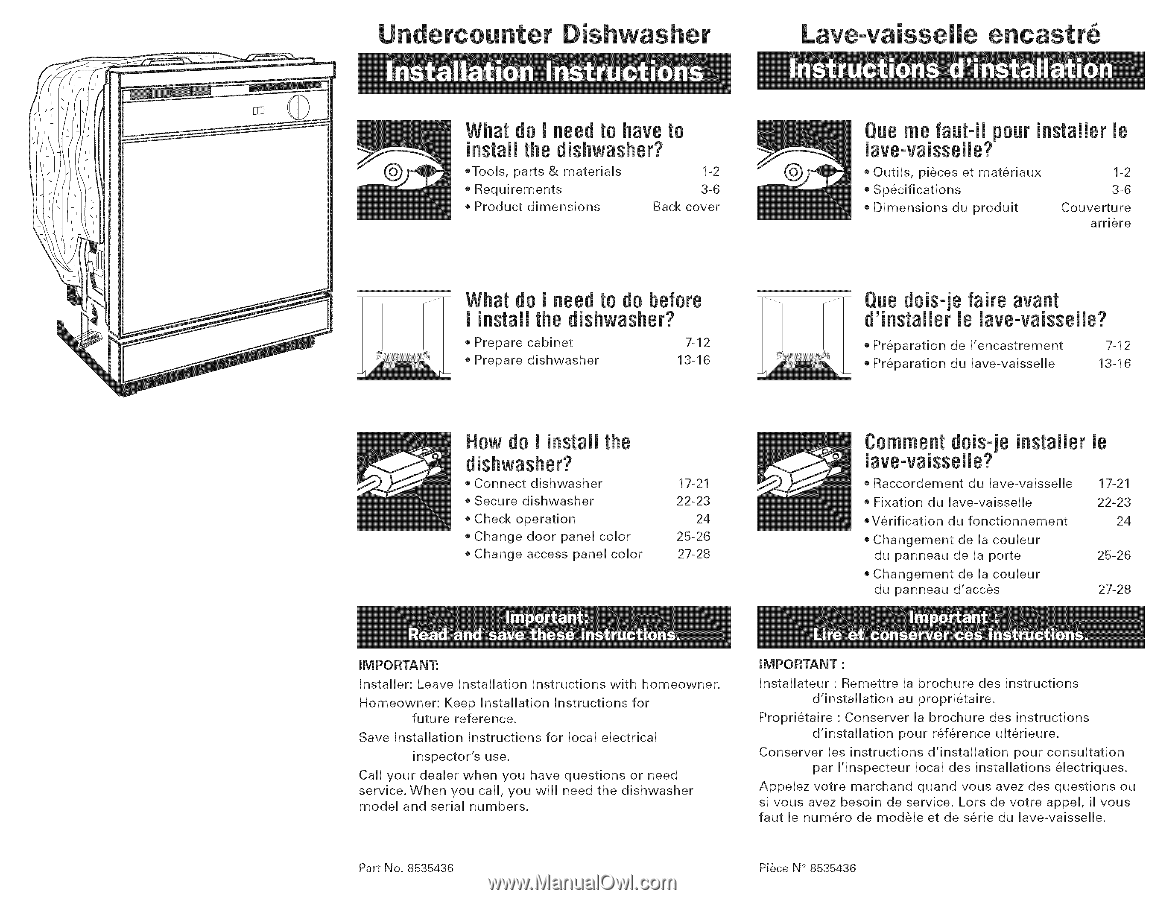
Undercounter
Dishwasher
Lave-vaisselle
encastr6
@
What do
I need
to have to
install
the dishwasher?
_Tools,
parts
&
materials
1-2
o Requirements
3-6
o Product
dimensions
Back
cover
@
Que me faut-ii
poutinstallerle
lave-vaisselle?
Outils,
pieces
et
materiaux
1-2
®Specifications
3_6
o Dimensions
du
produit
Couverture
arriere
What
do i
need
to do before
! install
the dishwasher?
o Prepare
cabinet
7-12
o Prepare
dishwasher
13-16
Que dois-je faite avant
d'instaiiet
le lave-vaisseiie?
Preparation
de
I'encaatrement
7-12
o Preparation
du
lave-vaisaelle
13-16
How do
! install
the
dishwasher?
o Connect
dishwasher
17-21
o Secure
dishwasher
22-23
Check
operation
24
o Change
door
panel
color
25-26
o Change
access
panel
color
27-28
Comment dois-je
installer le
lave-vaieeeiie?
Raccordement
du
lave-vaiaselle
17-21
o Fixation
du
lave-vaisaelle
22-23
_V6rification
du
fonctionnement
24
o Changement
de
la couleur
du
panneau
de
la
porte
25-26
o Changement
de
la couleur
du
panneau
d'acces
27-28
iMPORTANT:
Installer:
Leave
Installation
instructions
with
homeowner.
Homeowner:
Keep
Installation
Instructions
for
future
reference.
Save
Installation
Instructions
for
local
electrical
inspector's
use.
Call
your
dealer
when
you
have
questions
or
need
service.
When
you
call,
you
will
need
the
dishwasher
model
and
aerial
numbers.
IMPORTANT
:
Installateur
: Remettre
la brochure
des
instructions
d'installation
au
propri6taire.
Proprietaire
: Conserver
la brochure
des
instructions
d'inatallation
pour
ref6rence
ulterieure.
Conserver
lea instructions
d'installation
pour
consultation
par
I'inspecteur
local
des
installations
electriques.
Appelez
votre
marchand
quand
vous
avez
des
questions
ou
ai voua
avez
besoin
de
service.
Lots
de
votre
appel,
ii vous
faut
le
numero
de
modele
et
de
serie
du
laveovaisselle.
Part No.
8535436
Pi&ce N ° 8535436