Panasonic AG-HVX200PJ Operating Instructions - Page 61
Setting user information, When the screen below appears, set
 |
View all Panasonic AG-HVX200PJ manuals
Add to My Manuals
Save this manual to your list of manuals |
Page 61 highlights
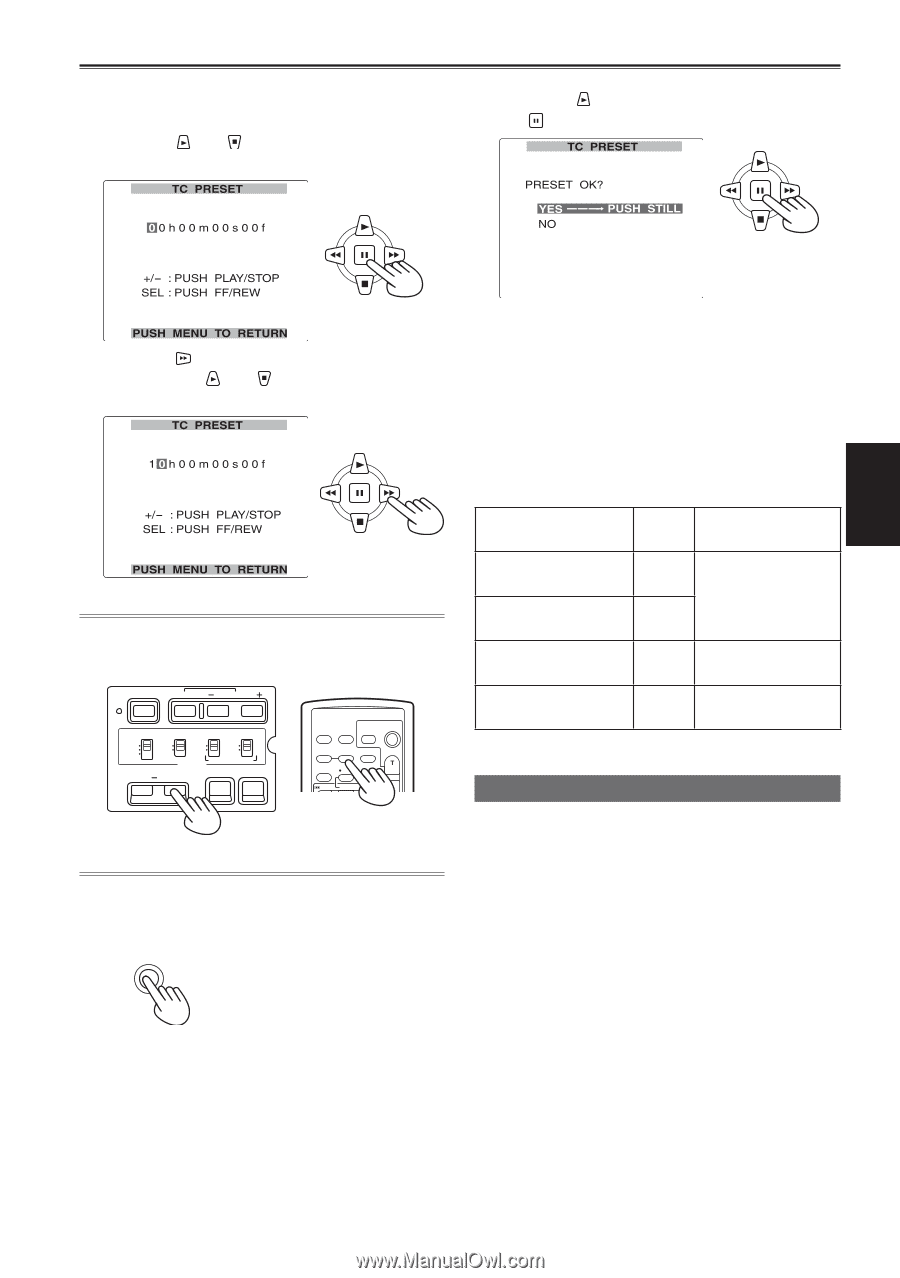
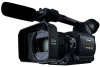
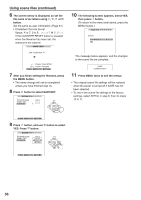
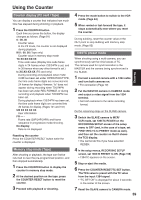
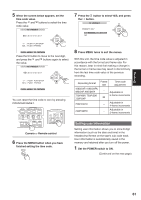
- VOL + Shooting 5 When the screen below appears, set the time code value. Press the and buttons to select the time code value. 7 Press the button to select YES, and press the button. Press the button to move to the next digit, and press the and buttons again to select the value. You can reset the time code to zero by pressing COUNTER RESET. BARS RESET SHUTTER SPEED SEL CH 1 SELECT CH 2 SELECT INPUT 1 INPUT 2 INT(L) INPUT 1 INPUT 2 INT(R) INPUT 2 ON ON OFF OFF AUDIO MIC POWER +48V COUNTER RESET/TC SET ZEBRA OIS OSD START/ DATE/ PHOTO STOP TIME SHOT COUNTER RESET TITLE ZOOM MULTI/ P-IN-P REC A.DUB /REW PLAY FF/ Camera or Remote control 6 Press the MENU button when you have finished setting the time code. MENU 8 Press MENU twice to exit the menus. With this unit, the time code value is adjusted in accordance with the format and frame rate. For this reason, bear in mind that making a change in the format or frame rate may result in discontinuity from the last time code value of the previous recording. Recording format Frame rate Time code adjustment 1080i/24P, 1080i/24PA, 480i/24P, 480i/24PA - Adjustable in 720P/60P, 720P/30P, 720P/24P 5-frame increments 24 720P/24PN - Adjustable in 4-frame increments 720P/30PN - Adjustable in 2-frame increments Setting user information Setting user information allows you to store 8-digit information (such as the date and time) in the hexadecimal format on the tape's sub code track. User information is automatically saved in the memory and retained after you turn off the power. 1 Set the POWER switch to ON. (Continued on the next page) 61
-
 1
1 -
2
-
3
-
4
-
5
-
6
-
7
-
8
-
9
-
10
-
11
-
12
-
13
-
14
-
15
-
16
-
17
-
18
-
19
-
20
-
21
-
22
-
23
-
24
-
25
-
26
-
27
-
28
-
29
-
30
-
31
-
32
-
33
-
34
-
35
-
36
-
37
-
38
-
39
-
40
-
41
-
42
-
43
-
44
-
45
-
46
-
47
-
48
-
49
-
50
-
51
-
52
-
53
-
54
-
55
-
 56
56 -
 57
57 -
 58
58 -
 59
59 -
 60
60 -
 61
61 -
 62
62 -
 63
63 -
 64
64 -
 65
65 -
 66
66 -
67
-
68
-
69
-
70
-
71
-
72
-
73
-
74
-
75
-
76
-
77
-
78
-
79
-
80
-
81
-
82
-
83
-
84
-
85
-
86
-
87
-
88
-
89
-
90
-
91
-
92
-
93
-
94
-
95
-
96
-
97
-
98
-
99
-
100
-
101
-
102
-
103
-
104
-
105
-
106
-
107
-
108
-
109
-
110
-
111
-
112
-
113
-
114
-
115
-
116
-
117
-
118
-
119
-
120
-
121
-
122
-
123
-
124
-
125
-
126
-
127
-
128
-
129
-
130
-
131
-
132
-
133
-
134
-
135
-
136
-
137
-
138
 |
 |