Panasonic AG-HVX200PJ Operating Instructions - Page 73
Uploading the metadata (META DATA), Select META DATA using
 |
View all Panasonic AG-HVX200PJ manuals
Add to My Manuals
Save this manual to your list of manuals |
Page 73 highlights
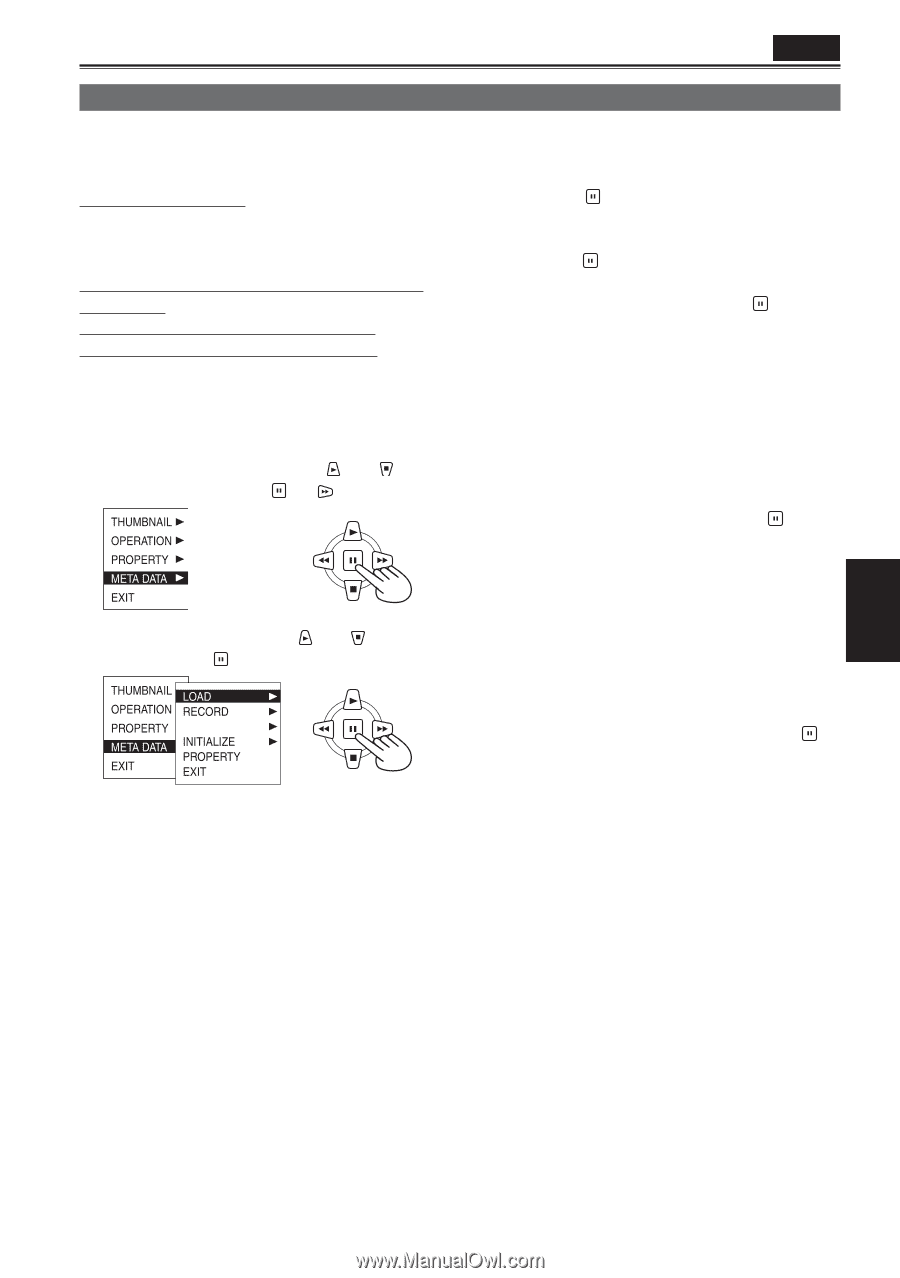
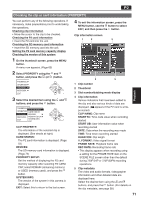
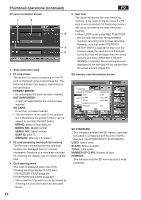
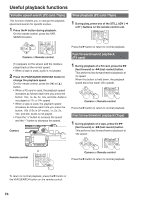
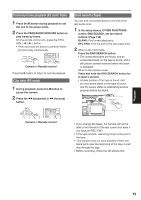
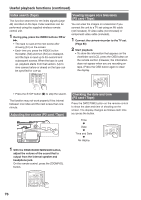
P2 Uploading the metadata (META DATA) You can perform any of the following operations. If necessary, make preparations prior to undertaking the operations. Loading the metadata • Insert the SD memory card on which the metadata is recorded into the unit. (For details on creating the metadata, see page 58.) Selecting whether to record the metadata on the P2 card Initializing the metadata inside the unit Displaying the metadata inside the unit 1 On the thumbnail screen, press the MENU button. A menu now appears. (Page 65) 2 Select META DATA using the and button, and press the (or ) button. 3 Select the item using the and buttons, and press the button. USER CLIP NAME LOAD: Select this to load the metadata recorded on the SD memory card into the unit. When the button is pressed with operation moved to LOAD, the metadata on the SD memory card will be displayed. Therefore, press the button again. Select YES to load the metadata or NO to cancel the loading, and press the button. • If characters other than single-byte alphanumeric characters are used in the metadata file name to be loaded, they are displayed as "∗". RECORD: Select this to set whether to record the metadata to be loaded into the unit simultaneously on a P2 card. Select YES to record the metadata or NO to cancel the recording, and press the button. The factory setting for this mode is OFF. USER CLIP NAME: The USER CLIP NAME recording method is selectable. Please refer to Appendix (page 133). INITIALIZE: Select this to initialize the metadata which has been recorded in the unit. Select YES to initialize the metadata or NO to cancel the initialization, and press the button. All the settings including the ON or OFF setting for RECORD are now cleared. PROPERTY: Select this to display the metadata which has been recorded in the unit. EXIT: Select this to return to the last screen. 4 Press the MENU button to release the menu mode. Playback 73
-
 1
1 -
2
-
3
-
4
-
5
-
6
-
7
-
8
-
9
-
10
-
11
-
12
-
13
-
14
-
15
-
16
-
17
-
18
-
19
-
20
-
21
-
22
-
23
-
24
-
25
-
26
-
27
-
28
-
29
-
30
-
31
-
32
-
33
-
34
-
35
-
36
-
37
-
38
-
39
-
40
-
41
-
42
-
43
-
44
-
45
-
46
-
47
-
48
-
49
-
50
-
51
-
52
-
53
-
54
-
55
-
56
-
57
-
58
-
59
-
60
-
61
-
62
-
63
-
64
-
65
-
66
-
67
-
 68
68 -
 69
69 -
 70
70 -
 71
71 -
 72
72 -
 73
73 -
 74
74 -
 75
75 -
 76
76 -
 77
77 -
 78
78 -
79
-
80
-
81
-
82
-
83
-
84
-
85
-
86
-
87
-
88
-
89
-
90
-
91
-
92
-
93
-
94
-
95
-
96
-
97
-
98
-
99
-
100
-
101
-
102
-
103
-
104
-
105
-
106
-
107
-
108
-
109
-
110
-
111
-
112
-
113
-
114
-
115
-
116
-
117
-
118
-
119
-
120
-
121
-
122
-
123
-
124
-
125
-
126
-
127
-
128
-
129
-
130
-
131
-
132
-
133
-
134
-
135
-
136
-
137
-
138
 |
 |