Panasonic AG-HVX200PJ Operating Instructions - Page 79
Digital video equipment (Dubbing)
 |
View all Panasonic AG-HVX200PJ manuals
Add to My Manuals
Save this manual to your list of manuals |
Page 79 highlights
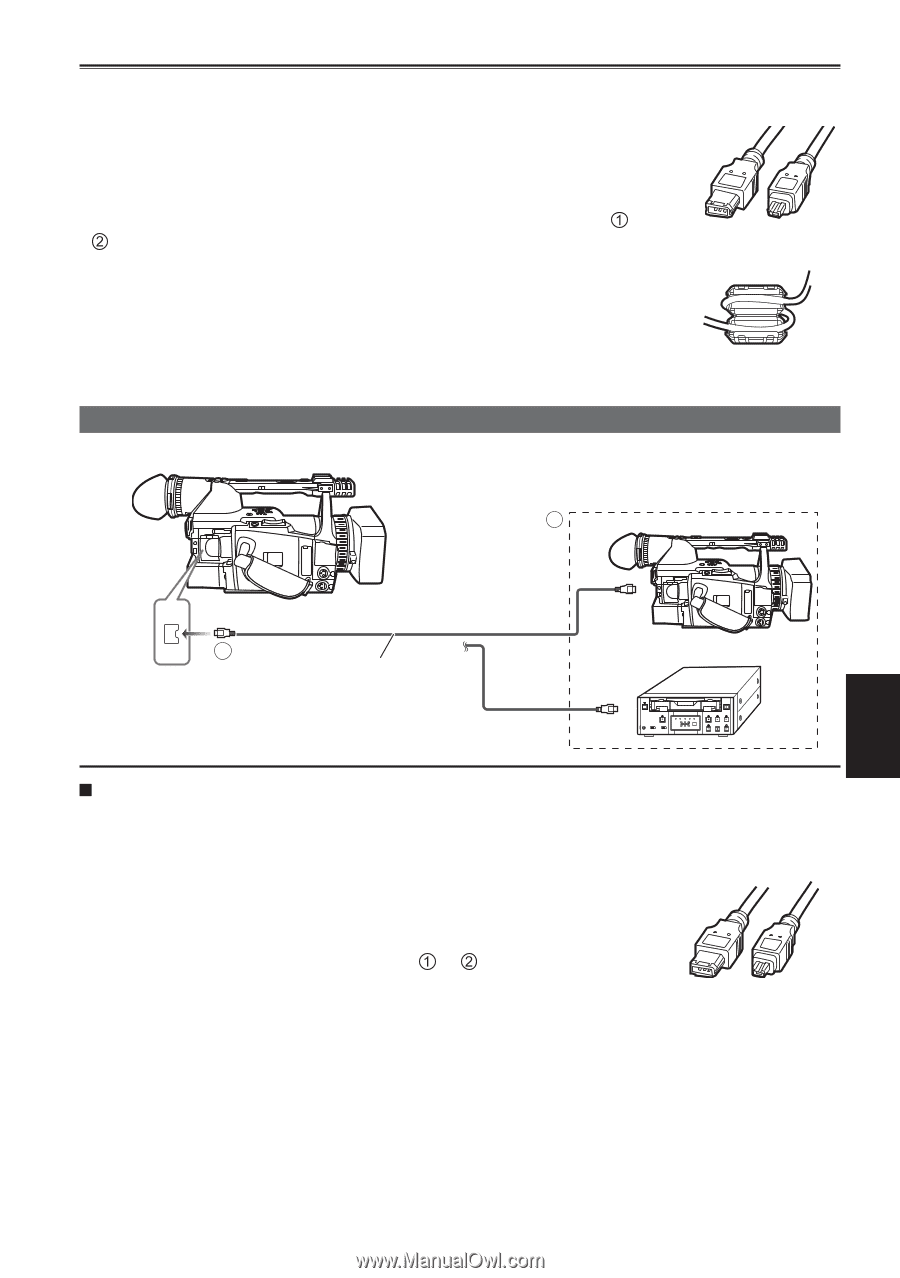
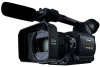
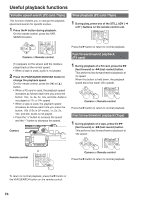
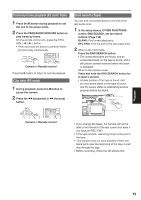
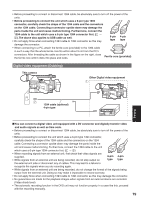
• Before proceeding to connect or disconnect 1394 cable, be absolutely sure to turn off the power of the units. • Before proceeding to connect the unit which uses a 6-pin type 1394 connector, carefully check the shape of the 1394 cable and the connectors on the 1394 cable. Connecting a connector upside down may damage the parts inside the unit and cause malfunctioning. Furthermore, connect the 1394 cable to the unit which uses a 6-pin type 1394 connector first. ( → ). The above also applies to USB cable as well. • Do not apply force when connecting 1394 cable to 1394 connector as this may 6-pin 4-pin type type damage the connector. • When connecting to a PC, attach the ferrite core (provided) to the 1394 cable in such a way that the whole ferrite core fits within about 5 cm from the PC's connectors. After threading the cable as shown in the figure on the right, close the ferrite core until it clicks into place and locks. Ferrite core (provided) Digital video equipment (Dubbing) This camera Other Digital video equipment 1 1394 2 1394 cable (optional) 4-pin type Editing You can connect a digital video unit equipped with a DV connector and digitally transfer video and audio signals as well as time code. • Before proceeding to connect or disconnect 1394 cable, be absolutely sure to turn off the power of the units. • Before proceeding to connect the unit which uses a 6-pin type 1394 connector, carefully check the shape of the 1394 cable and the connectors on the 1394 cable. Connecting a connector upside down may damage the parts inside the unit and cause malfunctioning. Furthermore, connect the 1394 cable to the unit which uses a 6-pin type 1394 connector first. ( → ) • When recording signals from an external unit, first check that video signals are supplied. • While signals from an external unit are being recorded, do not stop output on 6-pin 4-pin type type the external unit side or disconnect any of cables. This may lead to a failure to recognize the signals when you do recording again. • While signals from an external unit are being recorded, do not change the format of the signals being output from the external unit. Doing so may make it impossible to record correctly. • Do not apply force when connecting 1394 cable to 1394 connector as this may damage the connector. • No guarantees are made for the playback images when signals from an external device are recorded. (Video check level) • The automatic recording function in the DVD unit may not function properly. In a case like this, proceed with the recording manually. 79
-
 1
1 -
2
-
3
-
4
-
5
-
6
-
7
-
8
-
9
-
10
-
11
-
12
-
13
-
14
-
15
-
16
-
17
-
18
-
19
-
20
-
21
-
22
-
23
-
24
-
25
-
26
-
27
-
28
-
29
-
30
-
31
-
32
-
33
-
34
-
35
-
36
-
37
-
38
-
39
-
40
-
41
-
42
-
43
-
44
-
45
-
46
-
47
-
48
-
49
-
50
-
51
-
52
-
53
-
54
-
55
-
56
-
57
-
58
-
59
-
60
-
61
-
62
-
63
-
64
-
65
-
66
-
67
-
68
-
69
-
70
-
71
-
72
-
73
-
 74
74 -
 75
75 -
 76
76 -
 77
77 -
 78
78 -
 79
79 -
 80
80 -
 81
81 -
 82
82 -
 83
83 -
 84
84 -
85
-
86
-
87
-
88
-
89
-
90
-
91
-
92
-
93
-
94
-
95
-
96
-
97
-
98
-
99
-
100
-
101
-
102
-
103
-
104
-
105
-
106
-
107
-
108
-
109
-
110
-
111
-
112
-
113
-
114
-
115
-
116
-
117
-
118
-
119
-
120
-
121
-
122
-
123
-
124
-
125
-
126
-
127
-
128
-
129
-
130
-
131
-
132
-
133
-
134
-
135
-
136
-
137
-
138
 |
 |