Panasonic WJ-ND300A/10000V Operating Instructions - Page 17
Screenshot 2, Step 3
 |
View all Panasonic WJ-ND300A/10000V manuals
Add to My Manuals
Save this manual to your list of manuals |
Page 17 highlights
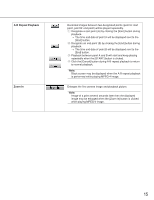
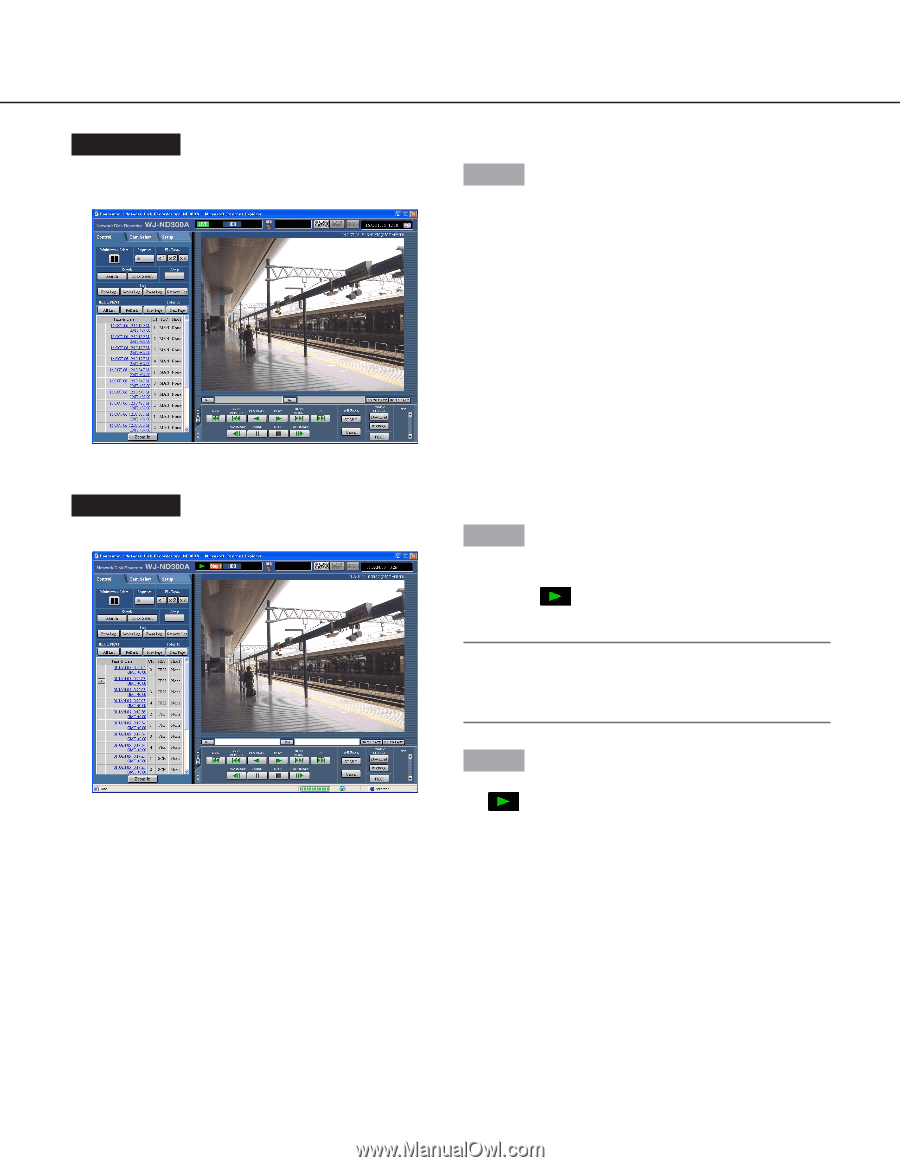
Screenshot 2 The selected disk will be displayed on the status display area. Step 3 Click the [HDD] tab. Screenshot 3 The [HDD] page will be displayed. Step 4 Click the [PLAY] button. → Recorded images on the selected disk will be played. will be displayed in the status display area. Note: Playback will start from the finishing point (time and date) of the last playback by clicking the [PLAY] button after stopping playback. Step 5 Click the [STOP] button to stop playback. → displayed in the status display area will go off and a live image will be displayed. 17
-
 1
1 -
2
-
3
-
4
-
5
-
6
-
7
-
8
-
9
-
10
-
11
-
 12
12 -
 13
13 -
 14
14 -
 15
15 -
 16
16 -
 17
17 -
 18
18 -
 19
19 -
 20
20 -
 21
21 -
 22
22 -
23
-
24
-
25
-
26
-
27
-
28
-
29
-
30
-
31
-
32
-
33
-
34
-
35
-
36
-
37
-
38
-
39
-
40
-
41
-
42
-
43
-
44
-
45
-
46
-
47
-
48
-
49
-
50
-
51
-
52
-
53
-
54
-
55
-
56
-
57
-
58
-
59
-
60
-
61
-
62
-
63
-
64
-
65
-
66
 |
 |
17
Screenshot 2
The selected disk will be displayed on the status display
area.
Step 3
Click the [HDD] tab.
Screenshot 3
The [HDD] page will be displayed.
Step 4
Click the [PLAY] button.
→
Recorded images on the selected disk will be
played.
will be displayed in the status display
area.
Note:
Playback will start from the finishing point (time and
date) of the last playback by clicking the [PLAY] but-
ton after stopping playback.
Step 5
Click the [STOP] button to stop playback.
→
displayed in the status display area will go off
and a live image will be displayed.