Panasonic WJ-ND300A/10000V Operating Instructions - Page 18
Playback from a Designated Time and Date
 |
View all Panasonic WJ-ND300A/10000V manuals
Add to My Manuals
Save this manual to your list of manuals |
Page 18 highlights
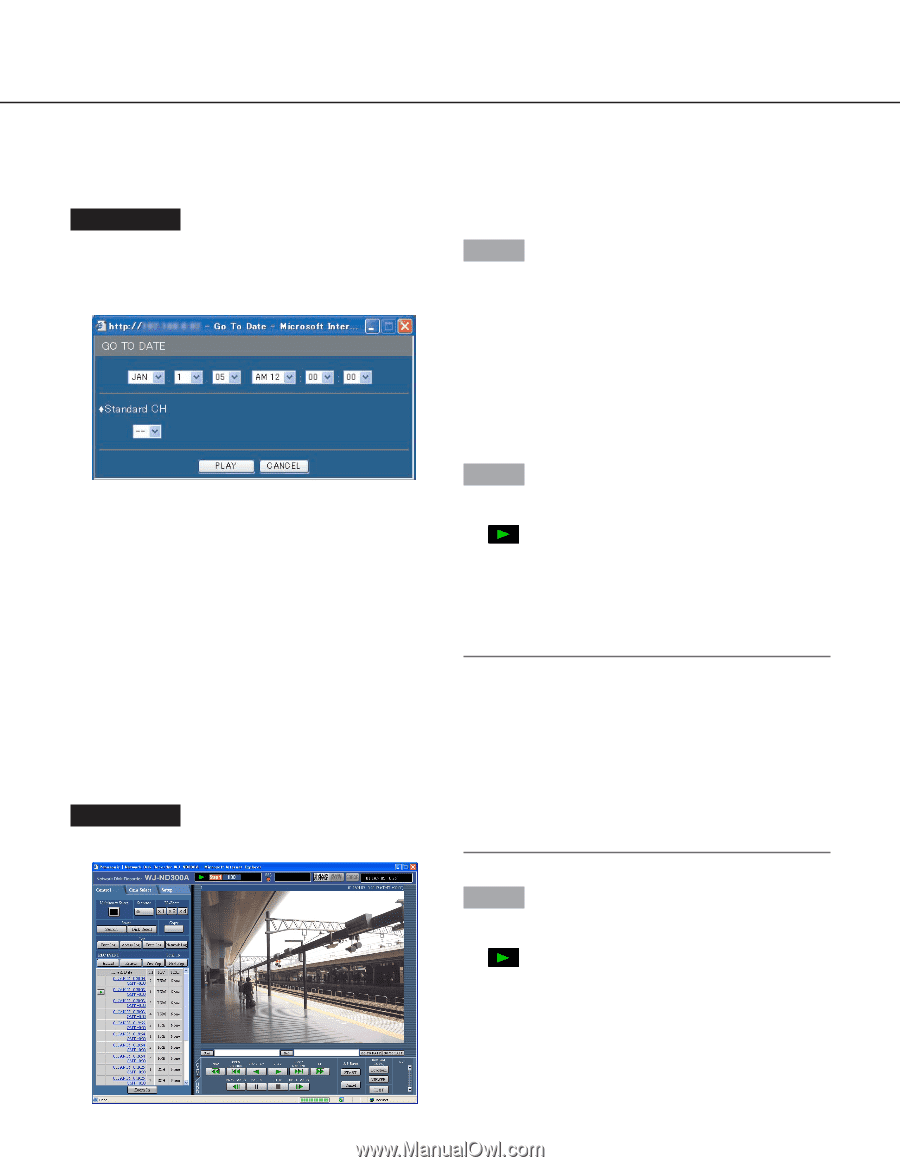
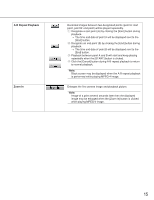
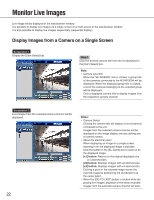
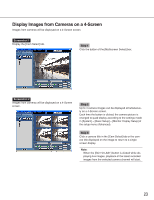
Playback from a Designated Time and Date Start playback by designating the desired time and date of a recorded image to be played. Playback is also available during recording. Screenshot 1 Click the [GO TO DATE] button in the playback point operation area after selecting the desired camera channel to display the "GO TO DATE" window. Step 1 Click the [i] button and enter the desired time and date of a recorded image to be played. • Standard CH Determine which camera channel is to be used as a standard time zone when searching. (It is necessary to determine the primary time and date by selecting a camera channel when cameras are installed in two or more countries.) Screenshot 2 The recorded images will be played in this area. Step 2 Click the [PLAY] button. → Play recorded images of the entered time and date. will be displayed in the status display area. When there is no image for the entered time and date, the following action will be taken. When there are images recorded after the entered time and date, the nearest recorded image after the entered time and date will be played. Notes: • When playing MPEG-4 image by designating time and date, playback may start from a point several seconds after the designated time and date or from the first frame of the next record. • SD memory data saved on this unit cannot be searched and played if filtered by time and date. Filter data using the recording event search and select data to be played from the result list. (page 19) Step 3 Click the [STOP] button on the [HDD] tab to stop play- back. → displayed in the status display area will go off and a live image will be displayed. 18
-
 1
1 -
2
-
3
-
4
-
5
-
6
-
7
-
8
-
9
-
10
-
11
-
12
-
 13
13 -
 14
14 -
 15
15 -
 16
16 -
 17
17 -
 18
18 -
 19
19 -
 20
20 -
 21
21 -
 22
22 -
 23
23 -
24
-
25
-
26
-
27
-
28
-
29
-
30
-
31
-
32
-
33
-
34
-
35
-
36
-
37
-
38
-
39
-
40
-
41
-
42
-
43
-
44
-
45
-
46
-
47
-
48
-
49
-
50
-
51
-
52
-
53
-
54
-
55
-
56
-
57
-
58
-
59
-
60
-
61
-
62
-
63
-
64
-
65
-
66
 |
 |