Pioneer P4000 Owner's Manual - Page 38
Initial Settings, Operating this unit - aux
 |
UPC - 012562547978
View all Pioneer P4000 manuals
Add to My Manuals
Save this manual to your list of manuals |
Page 38 highlights
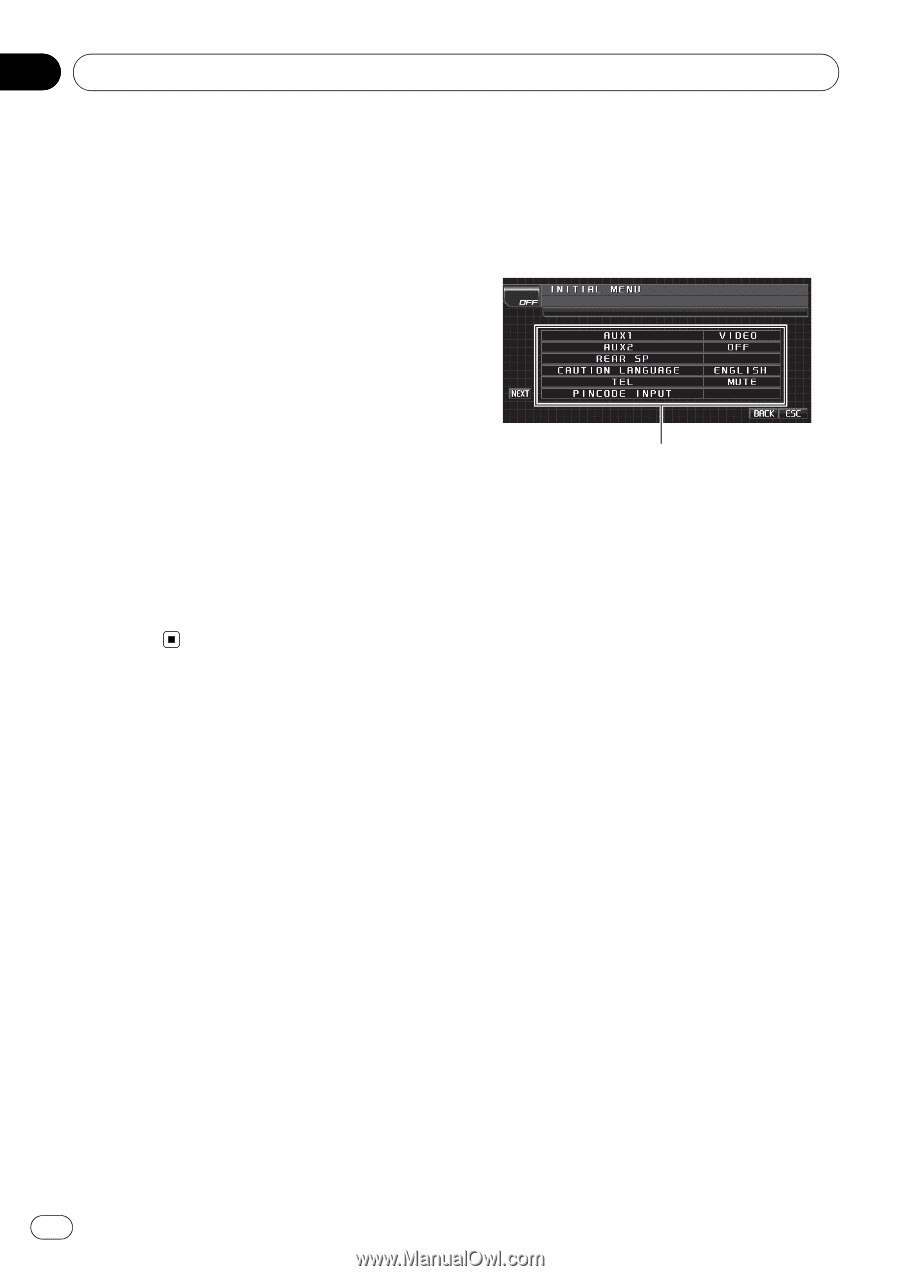
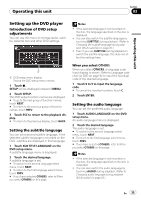
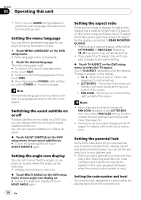
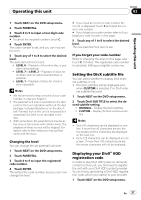
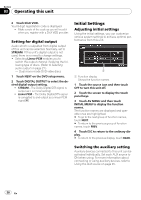
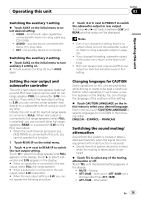
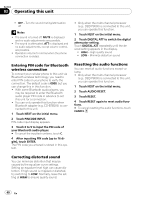
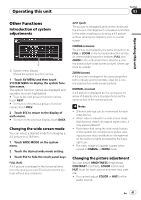
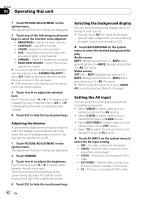
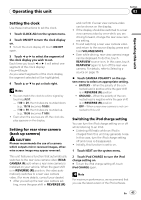
Section 03 Operating this unit 2 Touch DivX VOD. Your 8-digit registration code is displayed. ! Make a note of the code as you will need it when you register with a DivX VOD provider. Setting for digital output Audio which is outputted from digital output of this unit can be selected. Normally, set to STREAM. If this unit's digital output is not used, there is no need to change settings. ! Selecting Linear PCM enables you to switch the output channel if playing the following type of discs. (Refer to Selecting audio output on page 27.) - Dual mono mode DVD video discs 1 Touch NEXT on the DVD setup menu. 2 Touch DIGITAL OUTPUT to select the desired digital output setting. ! STREAM - The Dolby Digital/DTS signal is output as it is (initial setting) ! Linear PCM - The Dolby Digital/DTS signal is converted to and output as a linear PCM signal Initial Settings Adjusting initial settings Using the initial settings, you can customize various system settings to achieve optimal performance from this unit. 1 1 Function display Shows the function names. 1 Touch the source icon and then touch OFF to turn this unit off. 2 Touch the screen to display the touch panel keys. 3 Touch AV MENU and then touch INITIAL MENU to display the function names. The function names are displayed and operable ones are highlighted. # To go to the next group of function names, touch NEXT. # To return to the previous group of function names, touch PREV. 4 Touch ESC to return to the ordinary display. # To return to the previous display, touch BACK. Switching the auxiliary setting Auxiliary devices connected to this unit can be activated individually. Set each AUX source to ON when using. For more information about connecting or using auxiliary devices, refer to Using the AUX source on page 45. 38 En
-
 1
1 -
2
-
3
-
4
-
5
-
6
-
7
-
8
-
9
-
10
-
11
-
12
-
13
-
14
-
15
-
16
-
17
-
18
-
19
-
20
-
21
-
22
-
23
-
24
-
25
-
26
-
27
-
28
-
29
-
30
-
31
-
32
-
 33
33 -
 34
34 -
 35
35 -
 36
36 -
 37
37 -
 38
38 -
 39
39 -
 40
40 -
 41
41 -
 42
42 -
 43
43 -
44
-
45
-
46
-
47
-
48
-
49
-
50
-
51
-
52
-
53
-
54
-
55
-
56
-
57
-
58
-
59
-
60
-
61
-
62
-
63
-
64
-
65
-
66
-
67
-
68
-
69
-
70
-
71
-
72
-
73
-
74
-
75
-
76
-
77
-
78
-
79
-
80
-
81
-
82
-
83
-
84
-
85
-
86
-
87
-
88
-
89
-
90
-
91
-
92
-
93
-
94
-
95
-
96
-
97
-
98
-
99
 |
 |