Pioneer P4000 Owner's Manual - Page 44
Selecting the OSD color, Selecting the illumination color, Adjusting the response, positions of
 |
UPC - 012562547978
View all Pioneer P4000 manuals
Add to My Manuals
Save this manual to your list of manuals |
Page 44 highlights
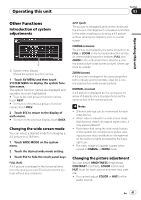
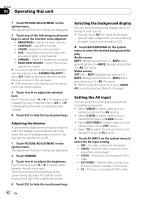
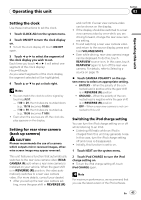
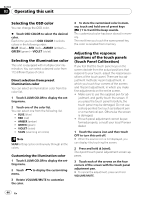
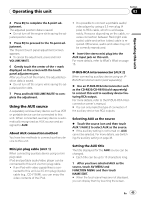
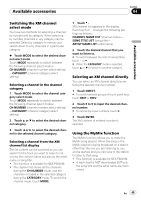
Section 03 Operating this unit Selecting the OSD color You can change the OSD color. % Touch OSD COLOR to select the desired color. Each time you touch OSD COLOR it selects colors in the following order: BLUE (blue)-RED (red)-AMBER (amber)- GREEN (green)-VIOLET (violet) Selecting the illumination color This unit is equipped with multiple-color illumination. You can select a desired color from 112 different types of color. Direct selection from preset illumination color You can select an illumination color from the color list. 1 Touch ILLUMI COLOR to display the setting menu. 2 Touch one of the color list. You can select one from the following list. ! BLUE (blue) ! RED (red) ! AMBER (amber) ! GREEN (green) ! VIOLET (violet) ! SCAN (scanning all colors) Note SCAN setting cycles continuously through all the colors. Customizing the illumination color 1 Touch ILLUMI COLOR to display the setting menu. 2 Touch menu. to display the customizing 3 Rotate VOLUME/MUTE to customize the color. 4 To store the customized color in memory, touch and hold one of preset keys ( ) 1 to 3 until the beep sounds. The customized color has been stored in memory. The next time you touch the same preset key, the color is recalled from memory. Adjusting the response positions of the touch panels (Touch Panel Calibration) If you feel that the touch panel keys on the screen deviate from the actual positions that respond to your touch, adjust the response positions of the touch panel. There are two adjustment methods: 4-point adjustment, in which you touch four corners of the screen; and 16-point adjustment, in which you make fine-adjustments on the entire screen. ! Make sure to use the supplied pen for ad- justment, and gently touch the screen. If you press the touch panel forcefully, the touch panel may be damaged. Do not use a sharp pointed tool such as ballpoint pen or a mechanical pen. Otherwise the screen is damaged. ! If touch panel adjustment cannot be performed properly, consult your local Pioneer dealer. 1 Touch the source icon and then touch OFF to turn this unit off. # When the source icon is not displayed, you can display it by touching the screen. 2 Press and hold h (eject). The 4-point touch panel adjustment screen appears. 3 Touch each of the arrows on the four corners of the screen with the touch panel adjustment pen. # To cancel the adjustment, press and hold VOLUME/MUTE. 44 En
-
 1
1 -
2
-
3
-
4
-
5
-
6
-
7
-
8
-
9
-
10
-
11
-
12
-
13
-
14
-
15
-
16
-
17
-
18
-
19
-
20
-
21
-
22
-
23
-
24
-
25
-
26
-
27
-
28
-
29
-
30
-
31
-
32
-
33
-
34
-
35
-
36
-
37
-
38
-
 39
39 -
 40
40 -
 41
41 -
 42
42 -
 43
43 -
 44
44 -
 45
45 -
 46
46 -
 47
47 -
 48
48 -
 49
49 -
50
-
51
-
52
-
53
-
54
-
55
-
56
-
57
-
58
-
59
-
60
-
61
-
62
-
63
-
64
-
65
-
66
-
67
-
68
-
69
-
70
-
71
-
72
-
73
-
74
-
75
-
76
-
77
-
78
-
79
-
80
-
81
-
82
-
83
-
84
-
85
-
86
-
87
-
88
-
89
-
90
-
91
-
92
-
93
-
94
-
95
-
96
-
97
-
98
-
99
 |
 |