Seagate STBN100 Seagate Business Storage 1-Bay, 2-Bay, and 4-Bay NAS Administr - Page 16
Creating a Transfer Job, Protect > Protect Job Manager, New Protect Job, New Transfer Job
 |
View all Seagate STBN100 manuals
Add to My Manuals
Save this manual to your list of manuals |
Page 16 highlights
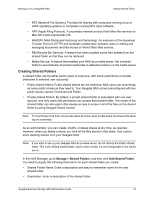
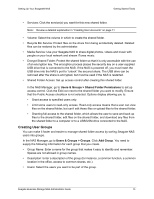
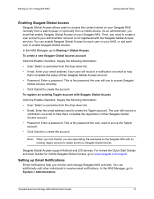
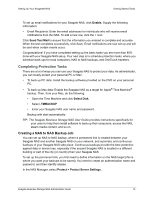
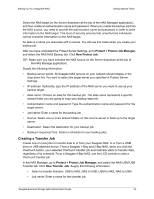
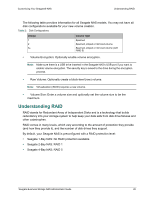
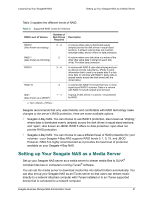
Setting Up Your Seagate® NAS Getting Started Tasks Select the NAS target (in the Server dropdown at the top of the NAS Manager application), and then create an authentication name and password. When you create the backup job from the NAS source, you need to provide the authorization name and password in order to write information to the NAS target. This level of security ensures that unauthorized individuals cannot overwrite information on the NAS target. An alias is a name you associate with a volume. You will use this name when you create your backup job. After you have completed the Protect Server Settings, go to Protect > Protect Job Manager, and select the NAS-NAS Backup tab. Click New Protect Job. TIP: Make sure you have selected the NAS source (in the Server dropdown at the top of the NAS Manage application). Supply the following information: • Backup server select: All Seagate NAS servers on your network should display in the drop-down list. You want to select the target server you specified in Protect Server Settings. • IP address: Optionally, type the IP address of the NAS server you want to use as your backup target. • Alias name: Choose an alias for this backup job. The alias name represents a specific shared folder you are going to copy your backup data into. • Authentication name and password: Type the authentication name and password for the target server. • Job Name: Enter a name for the backup job. • Source: Select one or more shared folders on this source server to back up to the target server. • Destination: Select the destination for your backup job. • Backup Frequency/Time: Select a schedule for your backup jobs. Creating a Transfer Job Create one or more jobs to transfer data to or from your Seagate NAS, to or from a USM drive or USB attached device. From a Seagate 1-Bay and 2-Bay NAS, when you click the OneTouch button, your selected OneTouch transfer job automatically starts to transfer data, regardless of its schedule. From a Seagate 4-Bay NAS, use the LCD controls to start a OneTouch transfer job. In the NAS Manager, go to Protect > Protect Job Manager, and select the NAS-USM-USB Transfer tab. Click New Transfer Job. Supply the following information: • Select a transfer direction: USB to NAS, NAS to USB, USM to NAS, NAS to USM • Job name: Enter a name for the transfer job. Seagate Business Storage NAS Administrator Guide 16
-
 1
1 -
2
-
3
-
4
-
5
-
6
-
7
-
8
-
9
-
10
-
 11
11 -
 12
12 -
 13
13 -
 14
14 -
 15
15 -
 16
16 -
 17
17 -
 18
18 -
 19
19 -
 20
20 -
 21
21 -
22
-
23
-
24
-
25
-
26
-
27
-
28
-
29
-
30
-
31
-
32
-
33
-
34
-
35
-
36
-
37
-
38
-
39
-
40
-
41
-
42
 |
 |