Sony KD-34XBR960N Operating Instructions - Page 109
Using the Applications Menu, Selecting Applications Options, Selecting, Applications, Options
 |
View all Sony KD-34XBR960N manuals
Add to My Manuals
Save this manual to your list of manuals |
Page 109 highlights
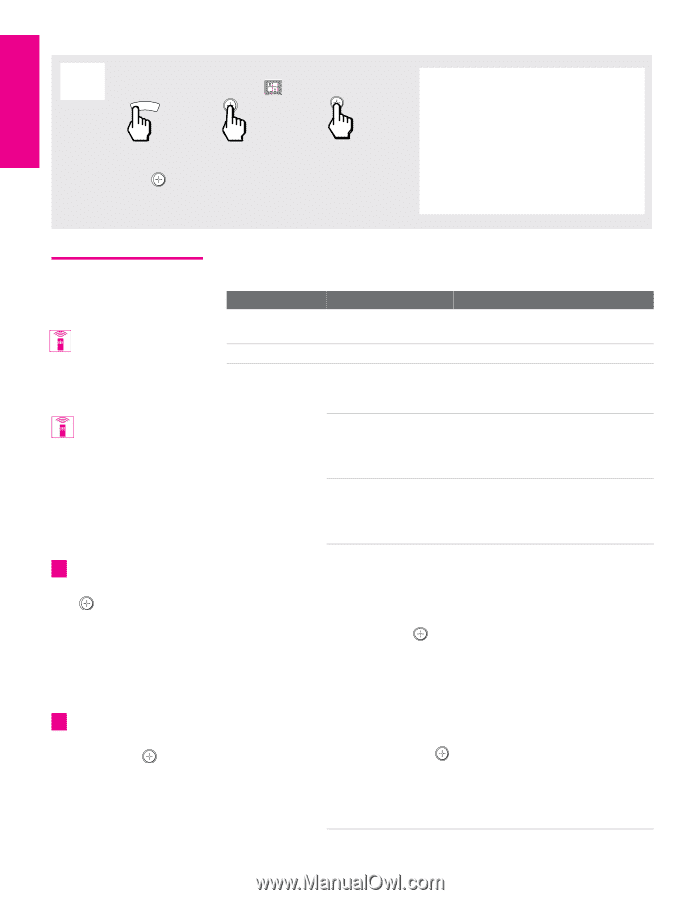
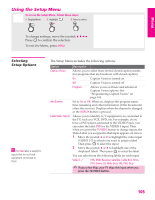
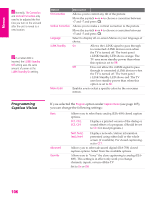
Menus Using the Applications Menu To access the Applications Menu, follow these steps: 1. Display Menu 2. Highlight 3. Press to select MENU v To change settings, move the joystick V v B b. Press to confirm the selection. To exit the Menu, press MENU. SETUP SETUP SETUP Selecting Applications Options You can also use the MEMORY STICK and i.LINK buttons on the remote control or front panel. You can also change the Sleep options using the SLEEP button on the remote control. z To go directly to programming Timer 1 or 2, press instead of moving the joystick b. z To return to the Timer Menu after programming one of the Timers, press when the highlight is in the channel number field. The Applications Menu includes the following options: Option Memory Stick i.LINK Clock/Timers Description Displays the Memory Stick Viewer. For details, see page 69. Displays the i.LINK Device List. For details, see page 88. Select to set the clock, set the Sleep timer, and to program your TV to turn on and off at two scheduled viewing times. Sleep Set the time in minutes (15min, 30min, 45min, 60min, 90min, or Off) that you want the TV to remain on before shutting off automatically. Timer 1 Timer 2 You can use the Timers to program the TV to turn on and off and tune to a specific channel at two scheduled viewing times. Timer 1 and Timer 2 are not available to be set until you set the Current Time. 1 Press V or v to highlight Timer 1 or Timer 2. To set the timer, move the joystick b. 2 Press V or v to highlight one of the following options, then press . Program Select to set the Timer by day, time, duration, and channel. Off Select to turn off the Timer. (Your previous settings are saved.) 3 If you selected Program in step 2, Press V and v to set the day(s), hour, minute, duration, and channel number. Press or b to confirm each setting and move to the next setting. Press B to go back to the previous setting. 4 Press MENU to exit the Menu. An LED on the front panel will light, indicating the timer has been set. 108 Menus Menus
-
 1
1 -
2
-
3
-
4
-
5
-
6
-
7
-
8
-
9
-
10
-
11
-
12
-
13
-
14
-
15
-
16
-
17
-
18
-
19
-
20
-
21
-
22
-
23
-
24
-
25
-
26
-
27
-
28
-
29
-
30
-
31
-
32
-
33
-
34
-
35
-
36
-
37
-
38
-
39
-
40
-
41
-
42
-
43
-
44
-
45
-
46
-
47
-
48
-
49
-
50
-
51
-
52
-
53
-
54
-
55
-
56
-
57
-
58
-
59
-
60
-
61
-
62
-
63
-
64
-
65
-
66
-
67
-
68
-
69
-
70
-
71
-
72
-
73
-
74
-
75
-
76
-
77
-
78
-
79
-
80
-
81
-
82
-
83
-
84
-
85
-
86
-
87
-
88
-
89
-
90
-
91
-
92
-
93
-
94
-
95
-
96
-
97
-
98
-
99
-
100
-
101
-
102
-
103
-
 104
104 -
 105
105 -
 106
106 -
 107
107 -
 108
108 -
 109
109 -
 110
110 -
 111
111 -
 112
112 -
 113
113 -
 114
114 -
115
-
116
-
117
-
118
-
119
-
120
-
121
-
122
-
123
-
124
-
125
-
126
-
127
 |
 |