Yamaha PSR-510 Owner's Manual - Page 21
Overall Control - styles
 |
View all Yamaha PSR-510 manuals
Add to My Manuals
Save this manual to your list of manuals |
Page 21 highlights
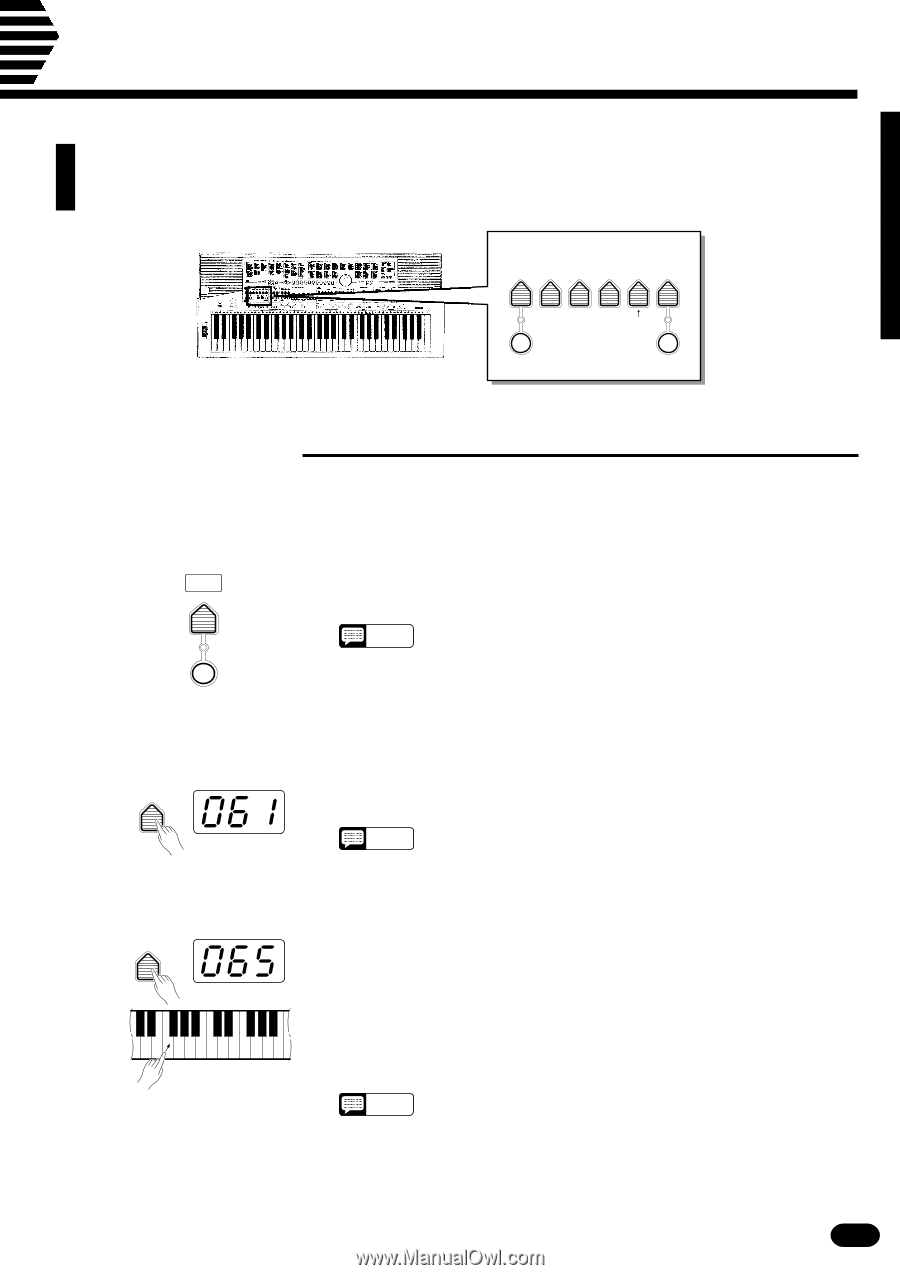
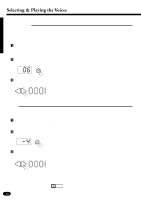
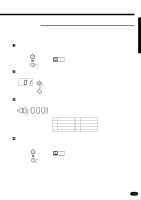
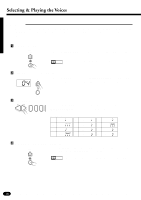
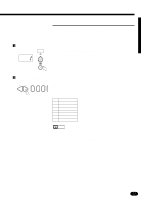
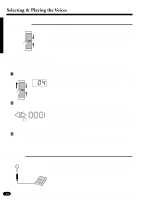
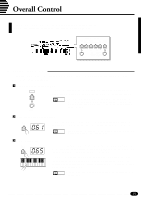
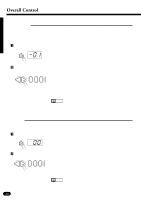
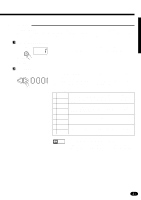
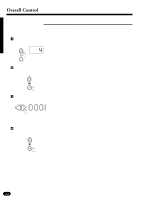
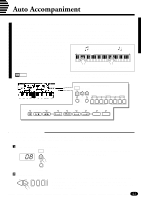
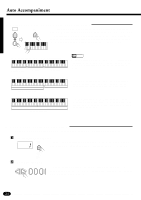
Overall Control The OVERALL CONTROL section includes a range of parameters that, as their title suggests, apply to the overall sound of the PSR-510. OVERALL CONTROL TEMPO SPLIT TRANS- DSP TOUCH POINT POSE TUNING TYPE SENSE METRONOME 0...O...F..F............D...S..P...T..Y...P..E.. 1 HALL 1 5 PLATE 1 2 HALL 2 6 PLATE 2 3 ROOM 1 7 DELAY 1 4 ROOM 2 8 DELAY 2 TOUCH RESPONSE s Split Point Change This function lets you set the split point (the key that separates the left-hand and right-hand orchestration parts) to any key on the keyboard. ZTurn Auto Accompaniment OFF ... STYLE SELECT To set the split point for the left- and right-hand orchestration parts, make sure that the [AUTO ACCOMP] indicator is off before proceeding. AUTO ACCOMP NOTES • The PSR-510 actually memorizes two separate split points: one for the left- and right-hand orchestration parts, and one for Auto Accompaniment mode. See page 24 for details on setting the Auto Accompaniment split point. XPress the [SPLIT POINT] Button ... SPLIT Press the OVERALL CONTROL section [SPLIT POINT] button. The POINT key number of the current split point will appear on the MULTI DISPLAY. NOTES • The key numbers for each note are listed above the keyboard. The C3 (middle C) key number, for example, is 60. CSet the Split Point ... SPLIT The easiest way to set the split point is to press the key you want to set POINT as the split point while holding the [SPLIT POINT] button. The number of the selected key will appear on the MULTI DISPLAY. As with all other parameters, you can also use the [+] and [−] buttons, the number buttons, or the data dial to select the desired split point. The default split point (69) can be recalled instantly by pressing both the [+] and [−] buttons at the same time. NOTES • The split-point key becomes the lowest key in the right-hand section of the keyboard. 19
-
 1
1 -
2
-
3
-
4
-
5
-
6
-
7
-
8
-
9
-
10
-
11
-
12
-
13
-
14
-
15
-
 16
16 -
 17
17 -
 18
18 -
 19
19 -
 20
20 -
 21
21 -
 22
22 -
 23
23 -
 24
24 -
 25
25 -
 26
26 -
27
-
28
-
29
-
30
-
31
-
32
-
33
-
34
-
35
-
36
-
37
-
38
-
39
-
40
-
41
-
42
-
43
-
44
-
45
-
46
-
47
-
48
-
49
-
50
-
51
-
52
-
53
-
54
-
55
-
56
-
57
-
58
-
59
-
60
-
61
-
62
-
63
-
64
-
65
-
66
-
67
-
68
-
69
-
70
-
71
-
72
-
73
-
74
-
75
-
76
-
77
 |
 |