Acer easyStore H340 Aspire easyStore H340 User's Guide - Page 46
Enter the Windows Home Server administrator password., The installation status window appears.
 |
View all Acer easyStore H340 manuals
Add to My Manuals
Save this manual to your list of manuals |
Page 46 highlights
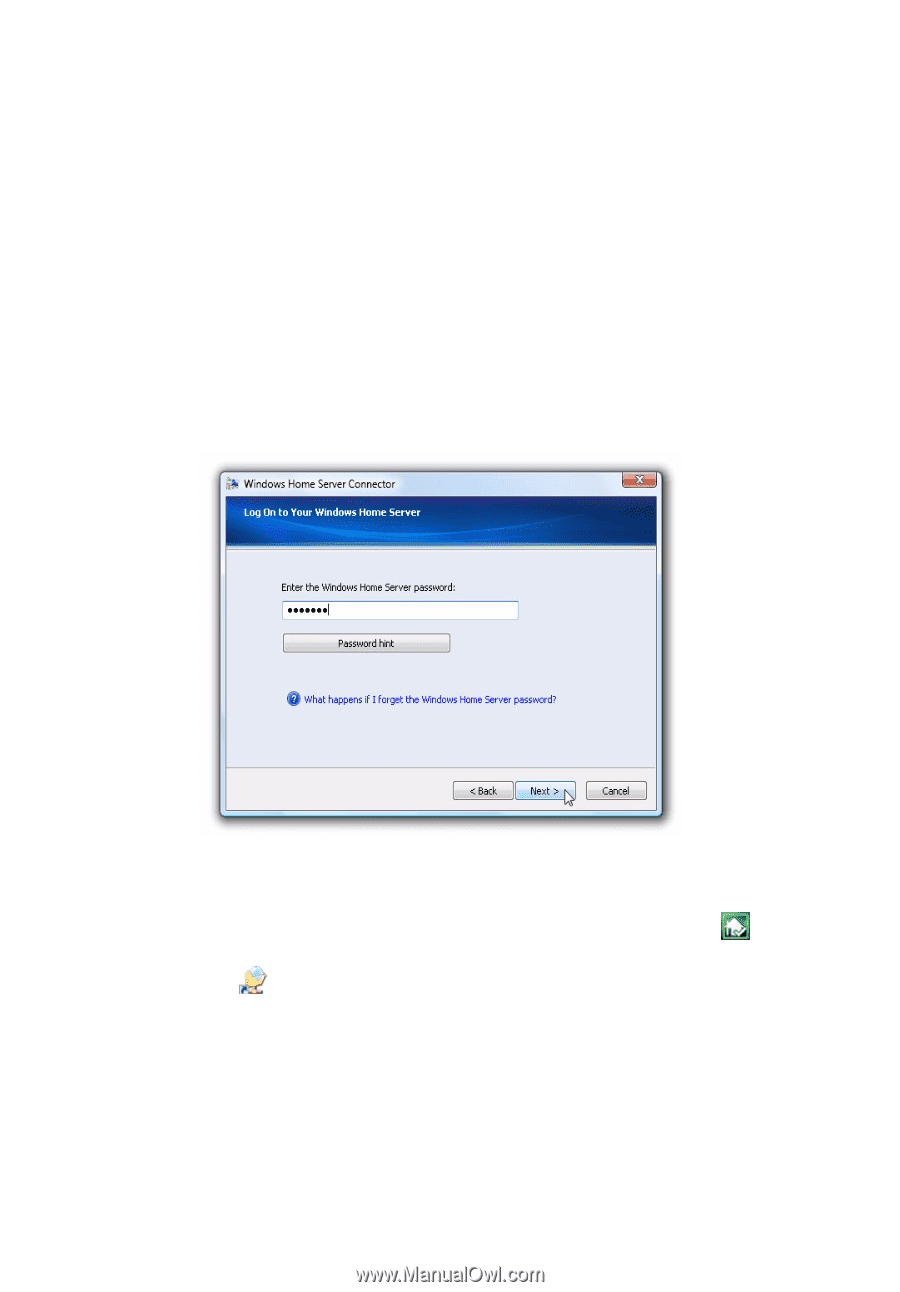
32 2 Setting up the system 4 After the components are installed, the Windows Home Server Connector installation starts to find and connect to your home server. Once the home server is found, the Welcome window appears. 5 Click Next. 6 Read the End-User License Agreement. If you agree with the terms of the agreement, then select the "I accept the terms of the license agreement" option button. 7 Click Next. The installation status window appears. 8 Click Next. 9 Enter the Windows Home Server administrator password. 10 Click Next and follow all onscreen instructions until you finish installation. 11 Once installation is complete the Windows Home Server icon appears in the system task tray and the Shared Folders desktop shortcut appears on your desktop.
-
 1
1 -
2
-
3
-
4
-
5
-
6
-
7
-
8
-
9
-
10
-
11
-
12
-
13
-
14
-
15
-
16
-
17
-
18
-
19
-
20
-
21
-
22
-
23
-
24
-
25
-
26
-
27
-
28
-
29
-
30
-
31
-
32
-
33
-
34
-
35
-
36
-
37
-
38
-
39
-
40
-
 41
41 -
 42
42 -
 43
43 -
 44
44 -
 45
45 -
 46
46 -
 47
47 -
 48
48 -
 49
49 -
 50
50 -
 51
51 -
52
-
53
-
54
-
55
-
56
-
57
-
58
-
59
-
60
-
61
-
62
-
63
-
64
-
65
-
66
-
67
-
68
-
69
-
70
-
71
-
72
-
73
-
74
-
75
-
76
-
77
-
78
-
79
-
80
-
81
-
82
-
83
-
84
-
85
-
86
-
87
-
88
-
89
-
90
-
91
-
92
-
93
-
94
-
95
-
96
-
97
-
98
-
99
-
100
-
101
-
102
-
103
-
104
-
105
-
106
-
107
-
108
-
109
-
110
-
111
-
112
-
113
-
114
-
115
-
116
-
117
-
118
-
119
-
120
-
121
-
122
-
123
-
124
-
125
-
126
-
127
-
128
-
129
-
130
-
131
-
132
-
133
-
134
-
135
-
136
-
137
-
138
-
139
-
140
-
141
-
142
-
143
-
144
-
145
-
146
-
147
-
148
 |
 |