Canon PC300 Instruction Manual - Page 75
FTP Registration Screen, domain, enter the domain name.
 |
View all Canon PC300 manuals
Add to My Manuals
Save this manual to your list of manuals |
Page 75 highlights
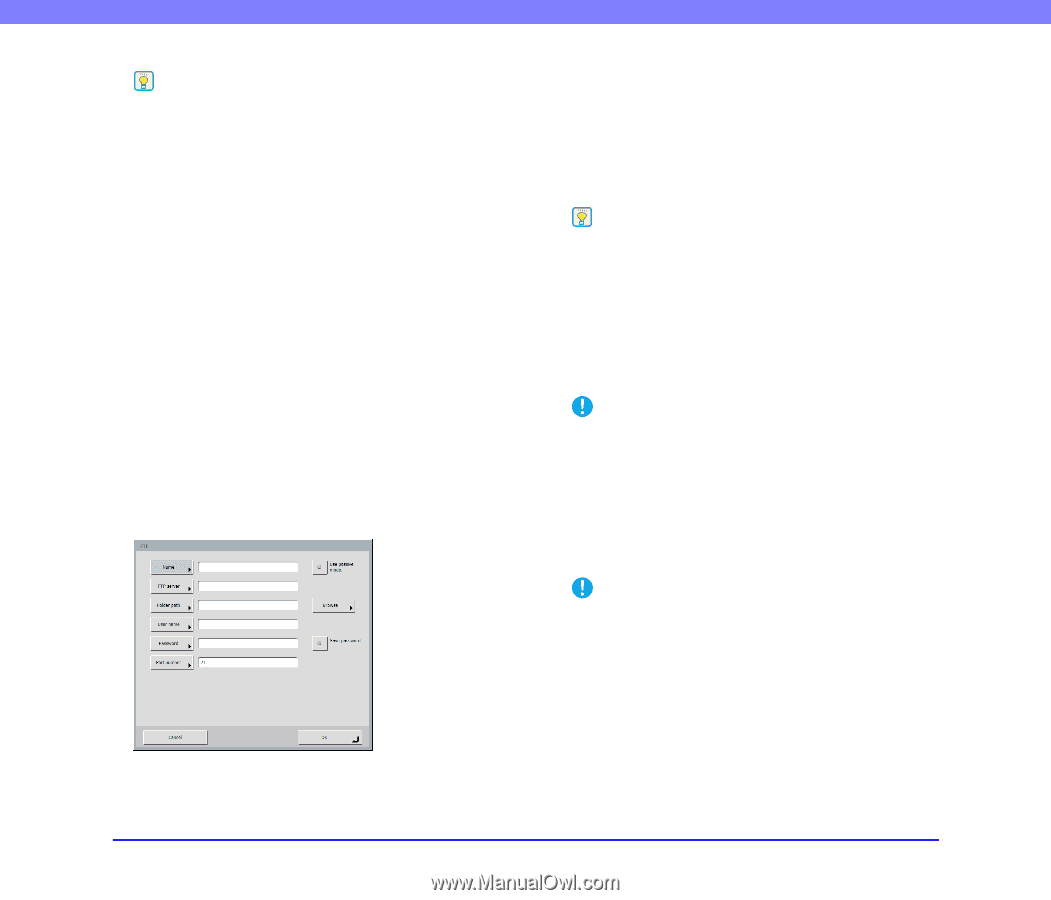
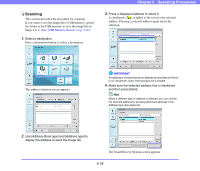
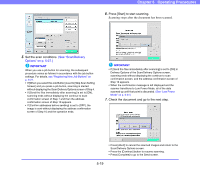
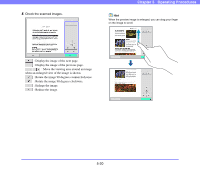
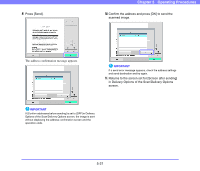
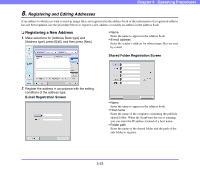
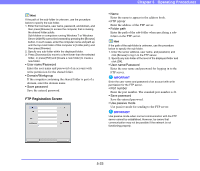
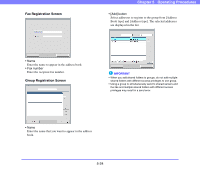
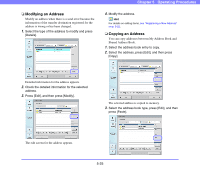
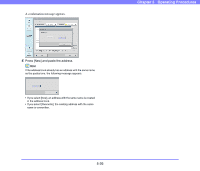
Hint If the path of the sub-folder is unknown, use the procedure below to specify the sub-folder. 1. Enter the host name, user name, password, and domain, and then press [Browse] to access the computer that is making the shared folder public. Sub-folders on computers running Windows 7 or Windows Server 2008 R2 cannot be browsed by pressing the [Browse] button. In such cases, enter the computer name and path up until the top-most folder of that computer in [Folder path], and then press [Browse]. 2. Specify any sub-folder within the displayed folder. 3. Press [Downward] to move to a level lower than the selected folder, or press [Edit] and [Create a new folder] to create a new folder. • User name/Password Enter the user name and password of an account with write permission for the shared folder. • Domain/Workgroup If the computer containing the shared folder is part of a domain, enter the domain name. • Save password Save the entered password. FTP Registration Screen Chapter 5 Operating Procedures • Name Enter the name to appear in the address book. • FTP server Enter the address of the FTP server. • Folder path Enter the path of the sub-folder when specifying a subfolder on the FTP server. Hint If the path of the sub-folder is unknown, use the procedure below to specify the sub-folder. 1. Enter the server address, user name, and password, and click [Browse] to log in to the FTP server. 2. Specify any sub-folder at the level of the displayed folder and click [OK]. • User name/Password Enter the user name and password for logging in to the FTP server. IMPORTANT Enter the user name and password of an account with write permission for the FTP server. • Port number Enter the port number. The standard port number is 21. • Save password Save the entered password. • Use passive mode Use passive mode for sending to the FTP server. IMPORTANT Use passive mode when normal communication with the FTP server cannot be established. However, be aware that communication may not be possible if the network is not functioning properly. 5-23
-
 1
1 -
2
-
3
-
4
-
5
-
6
-
7
-
8
-
9
-
10
-
11
-
12
-
13
-
14
-
15
-
16
-
17
-
18
-
19
-
20
-
21
-
22
-
23
-
24
-
25
-
26
-
27
-
28
-
29
-
30
-
31
-
32
-
33
-
34
-
35
-
36
-
37
-
38
-
39
-
40
-
41
-
42
-
43
-
44
-
45
-
46
-
47
-
48
-
49
-
50
-
51
-
52
-
53
-
54
-
55
-
56
-
57
-
58
-
59
-
60
-
61
-
62
-
63
-
64
-
65
-
66
-
67
-
68
-
69
-
 70
70 -
 71
71 -
 72
72 -
 73
73 -
 74
74 -
 75
75 -
 76
76 -
 77
77 -
 78
78 -
 79
79 -
 80
80 -
81
-
82
-
83
-
84
-
85
-
86
-
87
-
88
-
89
-
90
-
91
-
92
-
93
-
94
-
95
-
96
-
97
-
98
-
99
-
100
-
101
-
102
-
103
-
104
-
105
-
106
-
107
-
108
-
109
-
110
-
111
-
112
-
113
-
114
-
115
-
116
-
117
-
118
-
119
-
120
-
121
-
122
-
123
-
124
-
125
-
126
-
127
-
128
-
129
-
130
-
131
-
132
-
133
-
134
-
135
-
136
-
137
-
138
-
139
-
140
-
141
-
142
-
143
-
144
-
145
-
146
-
147
-
148
-
149
-
150
-
151
-
152
-
153
-
154
-
155
-
156
-
157
-
158
-
159
-
160
-
161
-
162
-
163
-
164
-
165
-
166
-
167
-
168
-
169
-
170
-
171
-
172
-
173
-
174
-
175
-
176
-
177
-
178
-
179
-
180
-
181
-
182
-
183
-
184
-
185
-
186
-
187
-
188
-
189
-
190
-
191
-
192
-
193
 |
 |