Cisco SPA2102-NA User Guide - Page 38
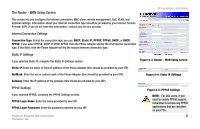
The Router - LAN Setup Screen, LAN Network Settings, Static DHCP Lease Settings - specifications
 |
View all Cisco SPA2102-NA manuals
Add to My Manuals
Save this manual to your list of manuals |
Page 38 highlights
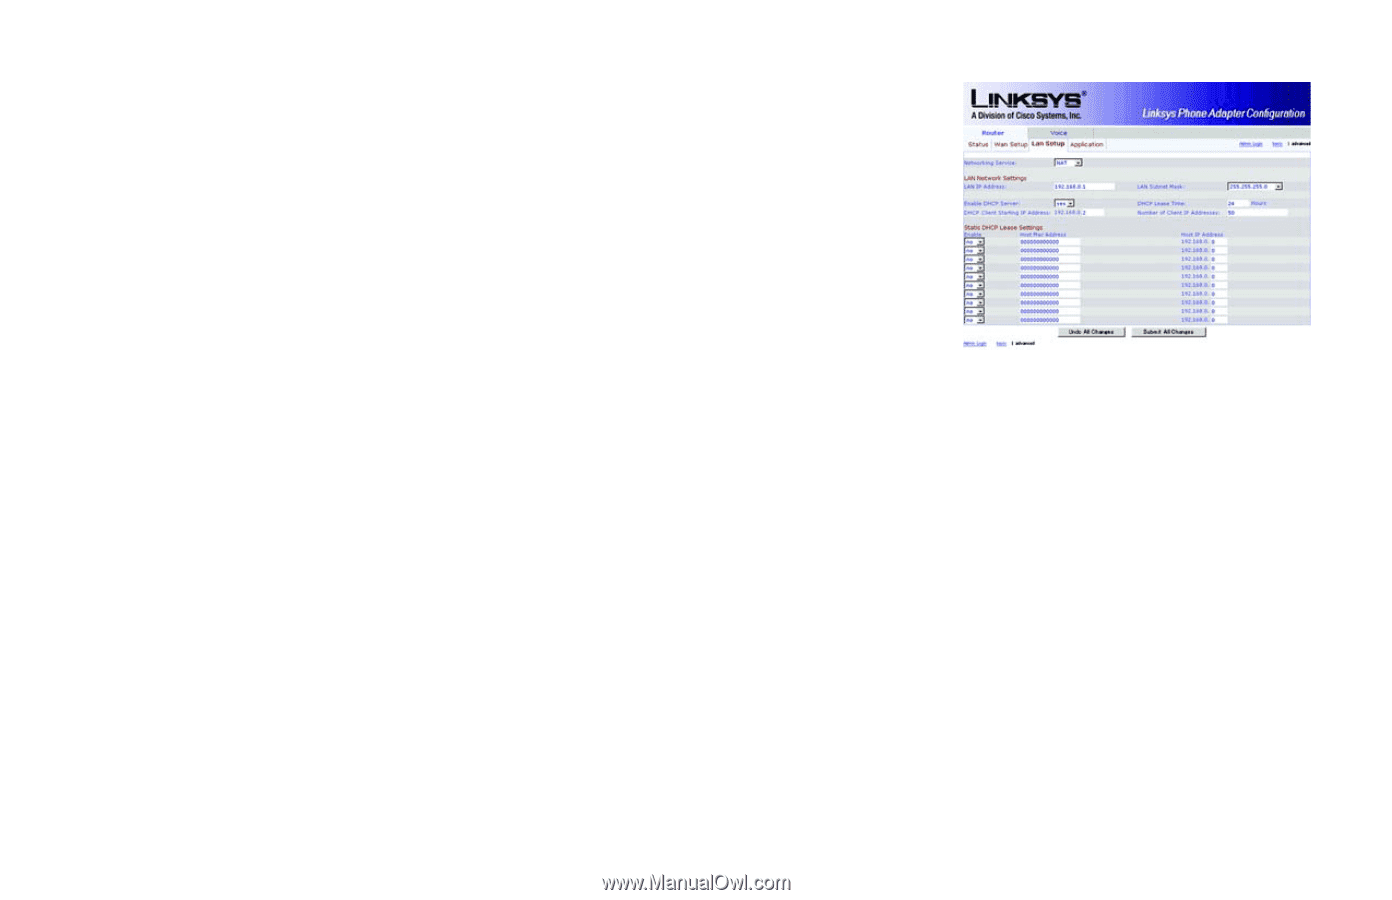
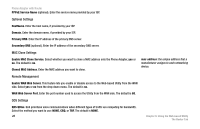
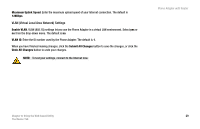
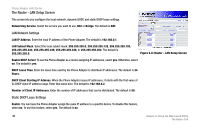
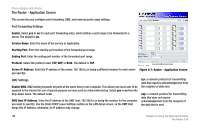
Phone Adapter with Router The Router - LAN Setup Screen This screen lets you configure the local network, dynamic DHCP, and static DHCP lease settings. Networking Service. Select the service you want to use, NAT or Bridge. The default is NAT. LAN Network Settings LAN IP Address. Enter the local IP address of the Phone Adapter. The default is 192.168.0.1. LAN Subnet Mask. Select the local subnet mask: 255.255.255.0, 255.255.255.128, 255.255.255.192, 255.255.255.224, 255.255.255.240, 255.255.255.248, or 255.255.255.252. The default is 255.255.255.0. Figure 6-6: Router - LAN Setup Screen Enable DHCP Server. To use the Phone Adapter as a router assigning IP addresses, select yes. Otherwise, select no. The default is yes. DHCP Lease Time. Enter the lease time used by the Phone Adapter to distribute IP addresses. The default is 24 Hours. DHCP Client Starting IP Address. When the Phone Adapter issues IP addresses, it starts with the first value of its DHCP client IP address range. Enter that value here. The default is 192.168.0.2. Number of Client IP Addresses. Enter the number of IP addresses that can be distributed. The default is 50. Static DHCP Lease Settings Enable. You can have the Phone Adapter assign the same IP address to a specific device. To disable this feature, select no. To use this feature, select yes. The default is no. 30 Chapter 6: Using the Web-based Utility The Router Tab
-
 1
1 -
2
-
3
-
4
-
5
-
6
-
7
-
8
-
9
-
10
-
11
-
12
-
13
-
14
-
15
-
16
-
17
-
18
-
19
-
20
-
21
-
22
-
23
-
24
-
25
-
26
-
27
-
28
-
29
-
30
-
31
-
32
-
 33
33 -
 34
34 -
 35
35 -
 36
36 -
 37
37 -
 38
38 -
 39
39 -
 40
40 -
 41
41 -
 42
42 -
 43
43 -
44
-
45
-
46
-
47
-
48
-
49
-
50
-
51
-
52
-
53
-
54
-
55
-
56
-
57
-
58
-
59
-
60
-
61
-
62
-
63
-
64
-
65
-
66
-
67
-
68
-
69
-
70
-
71
-
72
-
73
-
74
-
75
-
76
-
77
-
78
-
79
-
80
-
81
-
82
-
83
-
84
-
85
-
86
-
87
-
88
-
89
-
90
 |
 |