Garmin GPSMAP 67 Owners Manual - Page 24
Saving the Current Activity, Viewing Saved Activity Information
 |
View all Garmin GPSMAP 67 manuals
Add to My Manuals
Save this manual to your list of manuals |
Page 24 highlights
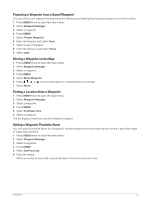
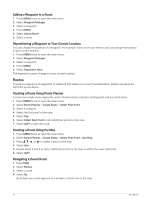
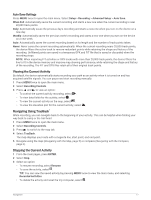
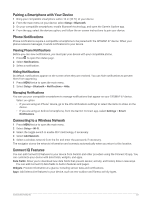
Saving the Current Activity 1 Press MENU twice to open the main menu. 2 Select Recording Controls > . 3 Select an option: • Select Save to save the entire activity. • Press MENU, select Save Portion, and select a portion. Viewing Saved Activity Information 1 Press MENU twice to open the main menu. 2 Select Recorded Activities. 3 Select an activity. 4 Select to view information about the activity, such as time and distance. 5 Select to view the activity on a map. The beginning and the end of the trail are marked by flags. Saving a Location from an Activity as a Waypoint 1 Press MENU twice to open the main menu. 2 Select Recorded Activities. 3 Select an activity. 4 Select . 5 Press , , , or to move the cursor to a location. An information bar appears at the top of the screen. 6 Press ENTER. 7 Press MENU. 8 Select Save as Waypoint. Creating a Track from a Saved Activity You can create a track from a saved activity. Tracks are saved using different file types than activities (File Types, page 45). This allows you to share your track wirelessly with other compatible Garmin® devices. 1 Press MENU twice to open the main menu. 2 Select Recorded Activities. 3 Select an activity. 4 Press MENU. 5 Select Save as Track. Reversing an Activity You can switch the start and end points of your activity to navigate the activity in reverse. 1 Press MENU twice to open the main menu. 2 Select Recorded Activities. 3 Select an activity. 4 Press MENU. 5 Select Copy Reversed. Navigating a Saved Activity 1 Press MENU twice to open the main menu. 2 Select Recorded Activities. 3 Select an activity. 4 Select . 5 Select Go. 18 Navigation
-
 1
1 -
2
-
3
-
4
-
5
-
6
-
7
-
8
-
9
-
10
-
11
-
12
-
13
-
14
-
15
-
16
-
17
-
18
-
 19
19 -
 20
20 -
 21
21 -
 22
22 -
 23
23 -
 24
24 -
 25
25 -
 26
26 -
 27
27 -
 28
28 -
 29
29 -
30
-
31
-
32
-
33
-
34
-
35
-
36
-
37
-
38
-
39
-
40
-
41
-
42
-
43
-
44
-
45
-
46
-
47
-
48
-
49
-
50
-
51
-
52
-
53
-
54
-
55
-
56
-
57
-
58
-
59
-
60
 |
 |
