Hamilton Beach 63220 Use & Care - Page 9
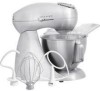
How to Use Your Mixer - stand mixer
 |
UPC - 040094632206
View all Hamilton Beach 63220 manuals
Add to My Manuals
Save this manual to your list of manuals |
Page 9 highlights
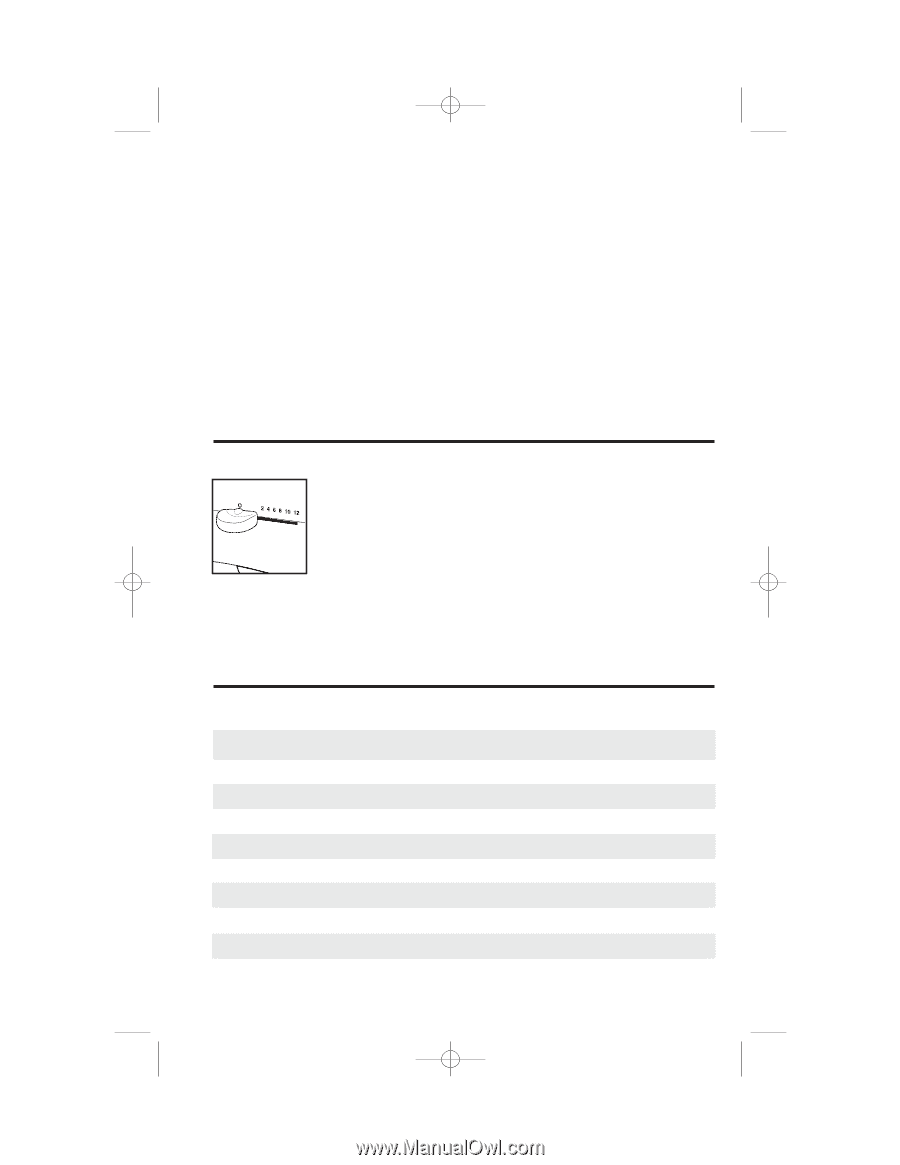
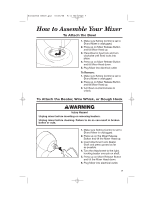
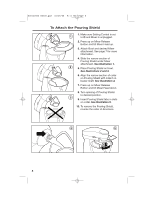
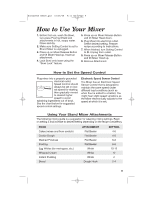
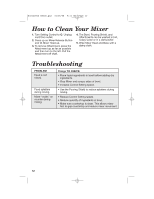
840142500 ENv00.qxd 10/25/05 9:11 AM Page 9 How to Use Your Mixer 1. Before first use, wash the Bowl, two-piece Pouring Shield and attachments in hot, soapy water. Rinse and dry. 2. Make sure Setting Control is set to O and Mixer is unplugged. 3. Press up on Mixer Release Button and tilt Mixer Head up. Insert an attachment. 4. Lock Bowl onto base using the "Bowl Lock" feature. 5. Press up on Mixer Release Button and tilt Mixer Head down. 6. Plug Mixer into electrical outlet. Select desired setting. Prepare recipe according to instructions. 7. When finished, turn Setting Control to O. Unplug from outlet. 8. Press up on Mixer Release Button and tilt Mixer Head up. 9. Remove Attachment. How to Set the Speed Control Plug mixer into a properly-grounded electrical outlet. Speed Control should always be set on lowest speed for starting, then gradually moved to desired higher speed to avoid splashing ingredients out of bowl. See the chart below for suggested speed control settings. Electronic Speed Sensor Control The Mixer has an Electronic Speed Sensor Control that is designed to maintain the same speed under different load conditions (such as when flour is added to a batter). You might hear slight speed variations as the Mixer electronically adjusts to the speed at which it is set. Using Your Stand Mixer Attachments The following mixing guide is a suggestion for selecting mixing settings. Begin on setting 2 and increase to desired setting depending on the recipe consistency. FOOD Cakes (mixes and from scratch) Cookie Dough Mashed Potatoes Frosting Egg Whites (for meringues, etc.) Whipped Cream Instant Pudding Bread ATTACHMENT Flat Beater Flat Beater Flat Beater Flat Beater Whisk Whisk Whisk Dough Hook SETTING 4-6 4-6 6-8 6-8 10-12 12 2 2-4 9
-
 1
1 -
2
-
3
-
 4
4 -
 5
5 -
 6
6 -
 7
7 -
 8
8 -
 9
9 -
 10
10 -
 11
11 -
 12
12 -
 13
13 -
 14
14 -
15
-
16
-
17
-
18
-
19
-
20
-
21
-
22
-
23
-
24
-
25
-
26
-
27
-
28
-
29
-
30
-
31
-
32
-
33
-
34
-
35
-
36
-
37
-
38
-
39
-
40
-
41
-
42
-
43
-
44
-
45
-
46
-
47
-
48
-
49
-
50
-
51
-
52
-
53
-
54
-
55
-
56
-
57
-
58
-
59
-
60
-
61
-
62
-
63
-
64
-
65
-
66
-
67
-
68
-
69
-
70
 |
 |