HP 4500 HP Color LaserJet 4500, 4500 N Printer - Getting Started Guide, not or - Page 24
Lower the flap to partially cover
 |
View all HP 4500 manuals
Add to My Manuals
Save this manual to your list of manuals |
Page 24 highlights
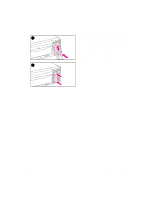
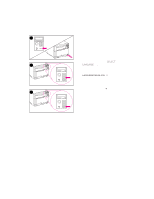
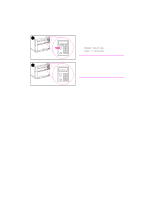
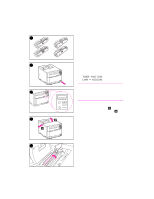
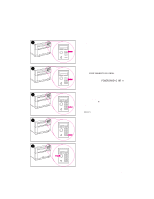
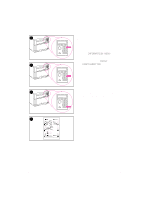
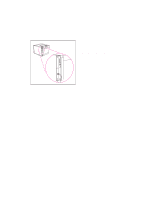
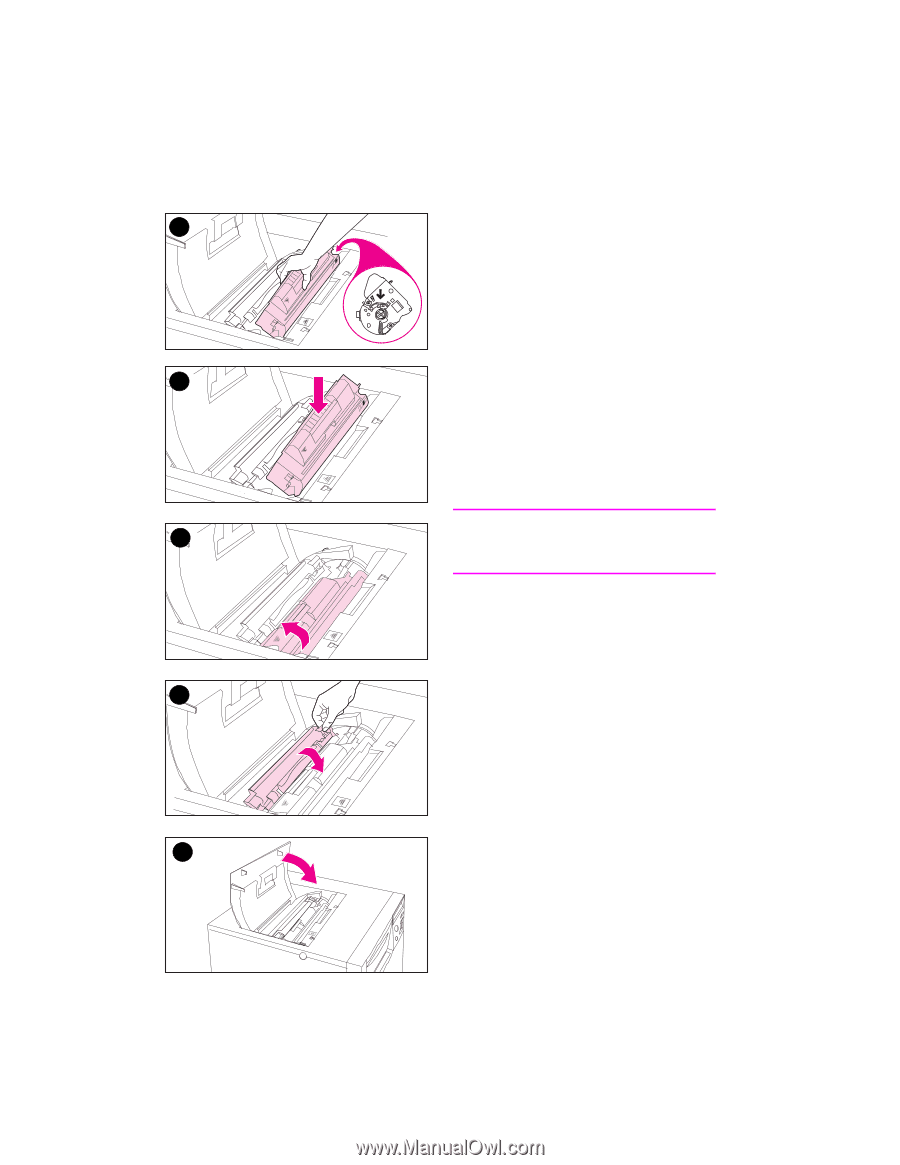
1113 12 13 14 15 24 - Task 6 11 Hold the toner cartridge as shown. The arrow on the right (the control panel side of the printer) should point straight down. 12 Slide the toner cartridge down into the slot until the cartridge stops. 13 Rotate the toner cartridge toward the back of the printer (within the cartridge slot) until the cartridge stops. The cartridge shutter opens to reveal the developer sleeve. 14 Lower the flap to partially cover the toner cartridge. 15 Close the printer's top cover. Note You must close the top cover before installing the next toner cartridge. EN
-
 1
1 -
2
-
3
-
4
-
5
-
6
-
7
-
8
-
9
-
10
-
11
-
12
-
13
-
14
-
15
-
16
-
17
-
18
-
 19
19 -
 20
20 -
 21
21 -
 22
22 -
 23
23 -
 24
24 -
 25
25 -
 26
26 -
 27
27 -
 28
28 -
 29
29 -
30
-
31
-
32
-
33
-
34
-
35
-
36
-
37
-
38
-
39
-
40
-
41
-
42
-
43
-
44
-
45
-
46
-
47
-
48
-
49
-
50
-
51
-
52
-
53
-
54
-
55
-
56
-
57
-
58
 |
 |
24
–
Task 6
EN
11
Hold the toner cartridge as shown.
The arrow on the right (the control
panel side of the printer) should
point straight down.
12
Slide the toner cartridge down into
the slot until the cartridge stops.
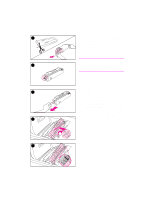
13
Rotate the toner cartridge toward the
back of the printer (within the
cartridge slot) until the cartridge
stops. The cartridge shutter opens to
reveal the developer sleeve.
14
Lower the flap to partially cover the
toner cartridge.
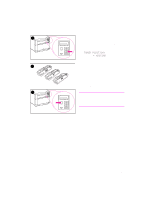
15
Close the printer’s top cover.
Note
You must close the top cover before
installing the next toner cartridge.
12
14
15
13
13
11