HP LH4r HP Netserver LH 3 30/FC Installation Guide - Page 74
Replace the BBU.
 |
View all HP LH4r manuals
Add to My Manuals
Save this manual to your list of manuals |
Page 74 highlights
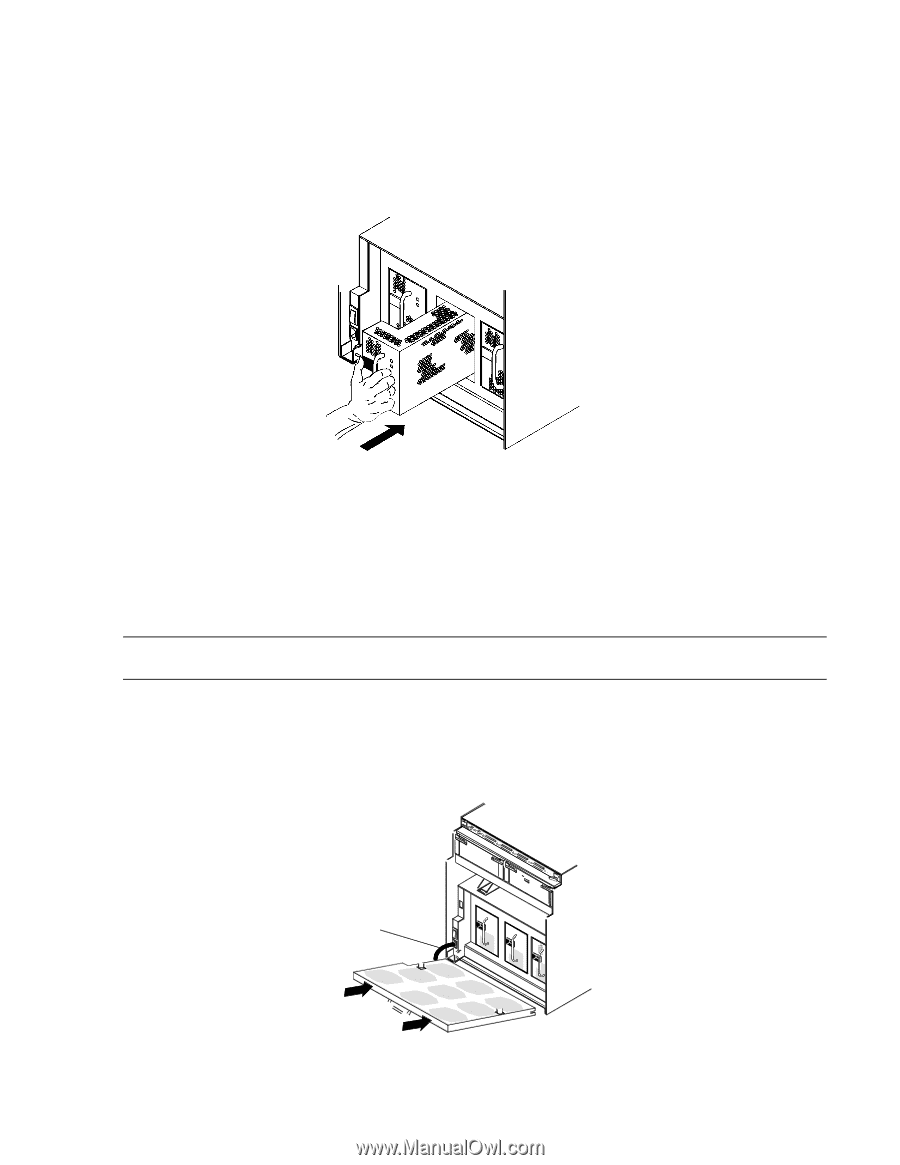
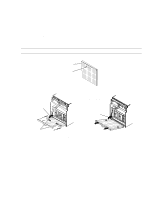
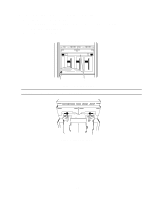
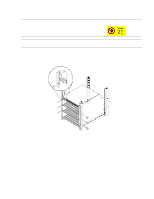
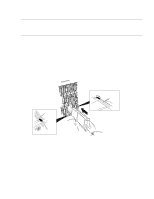
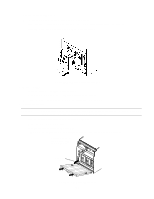
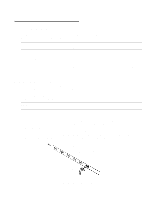
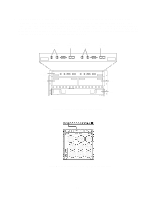
f. Replace the power supply units. - Locate the slot where the power supply unit is to be installed. - Slide each power supply unit into its slot while squeezing the latch until it engages the connector. - Press firmly until the power supply unit seats fully into the chassis. Figure 18. Replacing a power supply unit g. Replace the BBU. - Locate the slot where the BBU is to be installed. - Slide the BBU into the slot until it engages the backplane connector. - Press firmly until the BBU seats fully into the chassis and the latches lock. h. Replace the fan pack. CAUTION The disk array must be installed so that opening the fan pack door does not interfere with any plug on the cabinet PDU, any cables, any PDUs, or any other devices. - Push the fan pack hinge channels onto the chassis hinge pins. - Be sure latches seat over hinge pins. - Close the fan pack by carefully swinging it up. - Firmly press the fan pack against the disk array chassis until the lock/unlock button engages. Holding module at slight angle, slide it onto hinge pins. ac power cord Figure 19. Replacing the fan pack 23
-
 1
1 -
2
-
3
-
4
-
5
-
6
-
7
-
8
-
9
-
10
-
11
-
12
-
13
-
14
-
15
-
16
-
17
-
18
-
19
-
20
-
21
-
22
-
23
-
24
-
25
-
26
-
27
-
28
-
29
-
30
-
31
-
32
-
33
-
34
-
35
-
36
-
37
-
38
-
39
-
40
-
41
-
42
-
43
-
44
-
45
-
46
-
47
-
48
-
49
-
50
-
51
-
52
-
53
-
54
-
55
-
56
-
57
-
58
-
59
-
60
-
61
-
62
-
63
-
64
-
65
-
66
-
67
-
68
-
 69
69 -
 70
70 -
 71
71 -
 72
72 -
 73
73 -
 74
74 -
 75
75 -
 76
76 -
 77
77 -
 78
78 -
 79
79 -
80
-
81
-
82
-
83
-
84
-
85
-
86
-
87
-
88
-
89
-
90
 |
 |