HP wp110 HP Wireless Print Server wp110 - (English) Configuration Guide - Page 20
resetting the PCMCIA card, resetting the print server to factory default settings
 |
View all HP wp110 manuals
Add to My Manuals
Save this manual to your list of manuals |
Page 20 highlights
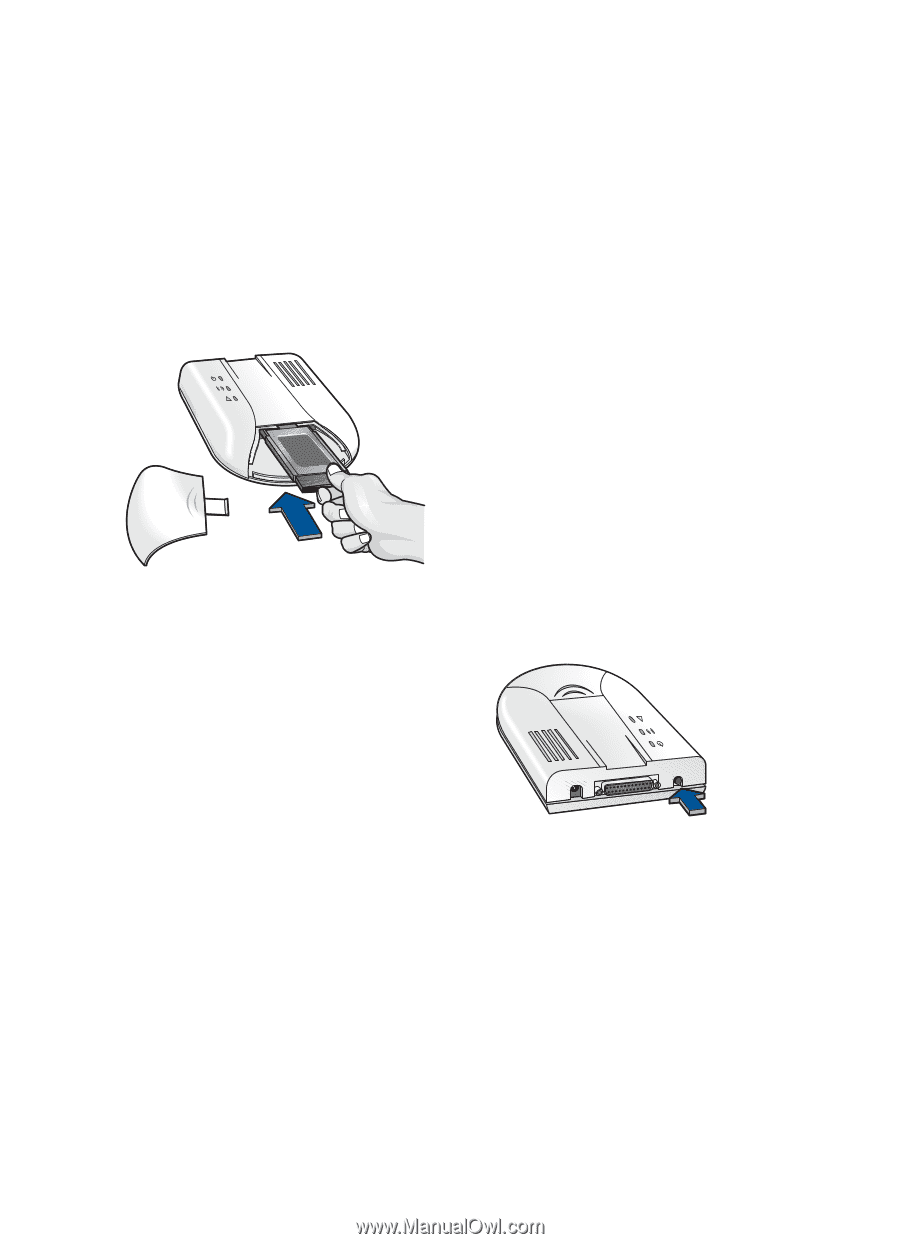
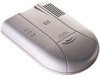
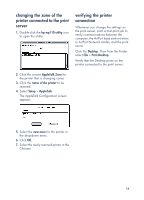
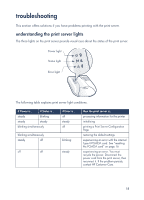
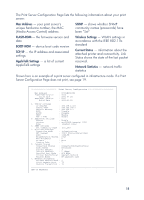
resetting the PCMCIA card The print server contains a Type II PCMCIA card. To reset the card: 1. Unplug the power cord from the print server. 2. Remove the front cover of the print server. 3. Verify that the PCMCIA card is firmly inserted into the plug. 4. Plug the power cord into the print server. 5. Observe the lights and verify that the initialization cycle is normal: a. All three lights turn on. b. All three lights turn off. c. The Power light turns on. 6. Replace the front cover. 7. After the print server completes its initialization cycle, print a Print Server Configuration Page. resetting the print server to factory default settings If you have trouble configuring the print server, you may want to restore the factory default settings. The print server's default settings are: • Connection Mode: ad hoc/computer to computer • Channel: 10 • SSID: hp • WEP: Disabled • Printer: Server name.Printer name To return the print server to the default settings: 1. Unplug the power cord from the print server. Note Do not unplug the parallel cable from the printer. 2. Press and hold the Test button on the back of the print server. 3. While pressing the Test button, plug the power cord into the print server. 4. Continue to press the Test button until a Print Server Configuration Page begins to print. 5. Release the Test button. The print server resets to the default settings displayed on the Print Server Configuration Page. 16
-
 1
1 -
2
-
3
-
4
-
5
-
6
-
7
-
8
-
9
-
10
-
11
-
12
-
13
-
14
-
 15
15 -
 16
16 -
 17
17 -
 18
18 -
 19
19 -
 20
20 -
 21
21 -
 22
22 -
 23
23 -
 24
24 -
 25
25 -
26
-
27
-
28
-
29
-
30
-
31
-
32
-
33
-
34
-
35
 |
 |