Husqvarna AUTOMOWER SOLAR HYBRID Operation Manual - Page 53
Settings 4
 |
View all Husqvarna AUTOMOWER SOLAR HYBRID manuals
Add to My Manuals
Save this manual to your list of manuals |
Page 53 highlights
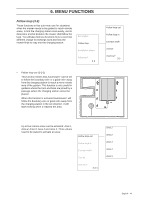
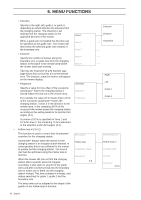
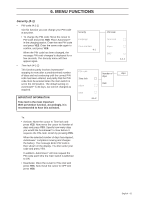
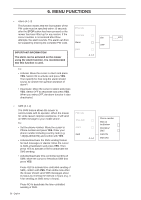
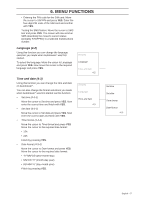
6. MENU FUNCTIONS Installation shape (3-3) Automower® can be set according to three Installation shapes: Open, Normal and Complex. This setting affects how Automower® covers a working area when it mows. Above all it influences the turning angles and how often the mower changes direction. The Open setting optimises the pattern of movement for an open garden. If the garden contains a lot of small areas linked with passages a better function will be obtained with the Complex setting. Select: • Open (3-3-1) for an open lawn area with few obstacles and no passages. when steep slopes give an uneven mowing result. • Normal (3-3-2) for an average number of obstacles and/or passages. • Complex (3-3-3) for a large lawn area and large number of obstacles and/or passages. Exit angles Follow loop Installation shape Advanced 3-3 Advanced (3-4) • Drive past wire (3-4-2) The front of Automower® always passes the boundary wire by a specific distance before the mower turns. The default distance is 27 cm, but this can be changed if required. The minimum value is 15 cm and the maximum value is 50 cm. To adjust the distance: Move the cursor to Drive past wire and press YES. Now specify the number of centimetres you want Automower® to pass the boundary wire. Exit angles Follow loop Installation shape Advanced 3-4 6.6 Settings (4) From this option in the main menu you access the settings. • Security (4-1) to make settings concerning PIN code, time lock, alarm and SMS. The PIN code must be specified for the Security menu to be shown. • Language (4-2) to select the menu language. • Time and date (4-3) to set the current time and day as well as the required time and date format. Commands Timer Installation Settings 4 54 - English Open Normal Complex 3-3- Check loop Drive past wire 3-4-2 Security Language Time and date 4-
-
 1
1 -
2
-
3
-
4
-
5
-
6
-
7
-
8
-
9
-
10
-
11
-
12
-
13
-
14
-
15
-
16
-
17
-
18
-
19
-
20
-
21
-
22
-
23
-
24
-
25
-
26
-
27
-
28
-
29
-
30
-
31
-
32
-
33
-
34
-
35
-
36
-
37
-
38
-
39
-
40
-
41
-
42
-
43
-
44
-
45
-
46
-
47
-
 48
48 -
 49
49 -
 50
50 -
 51
51 -
 52
52 -
 53
53 -
 54
54 -
 55
55 -
 56
56 -
 57
57 -
 58
58 -
59
-
60
-
61
-
62
-
63
-
64
-
65
-
66
-
67
-
68
-
69
-
70
-
71
-
72
-
73
-
74
 |
 |
