Kodak I840 User Guide - Page 67
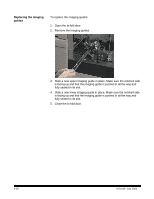
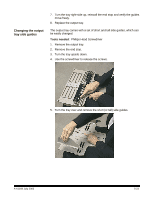
When finished with the first side guide, turn the tray back over
 |
UPC - 041778263082
View all Kodak I840 manuals
Add to My Manuals
Save this manual to your list of manuals |
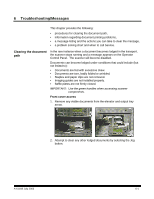
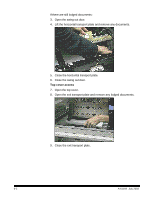
Page 67 highlights
6. Take one tall (or short) side guide, position the guide and hold it in place. 7. Continue to hold the side guide in place and turn the output tray over. Put the screws in place and tighten. 8. When finished with the first side guide, turn the tray back over and attach the other side guide; follow Steps 6 and 7. 9. Replace the end stop (short or tall as required). 10. Replace the output tray. 5-24 A-61169 July 2003
-
 1
1 -
2
-
3
-
4
-
5
-
6
-
7
-
8
-
9
-
10
-
11
-
12
-
13
-
14
-
15
-
16
-
17
-
18
-
19
-
20
-
21
-
22
-
23
-
24
-
25
-
26
-
27
-
28
-
29
-
30
-
31
-
32
-
33
-
34
-
35
-
36
-
37
-
38
-
39
-
40
-
41
-
42
-
43
-
44
-
45
-
46
-
47
-
48
-
49
-
50
-
51
-
52
-
53
-
54
-
55
-
56
-
57
-
58
-
59
-
60
-
61
-
 62
62 -
 63
63 -
 64
64 -
 65
65 -
 66
66 -
 67
67 -
 68
68 -
 69
69 -
 70
70 -
 71
71 -
 72
72 -
73
-
74
-
75
-
76
-
77
-
78
-
79
-
80
-
81
-
82
-
83
 |
 |

5-24
A-61169
July 2003
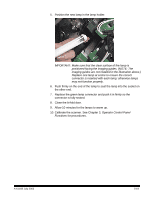
6.
Take one tall (or short) side guide, position the guide and hold it in
place.
7.
Continue to hold the side guide in place and turn the output tray over.
Put the screws in place and tighten.
8.
When finished with the first side guide, turn the tray back over and
attach the other side guide; follow Steps 6 and 7.
9.
Replace the end stop (short or tall as required).
10. Replace the output tray.