Lenovo ThinkCentre M62z Hardware Maintenance Manual (HMM) (July 2012) - ThinkC - Page 85
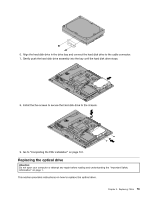
Replacing the optical drive
 |
View all Lenovo ThinkCentre M62z manuals
Add to My Manuals
Save this manual to your list of manuals |
Page 85 highlights
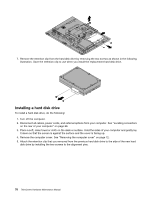
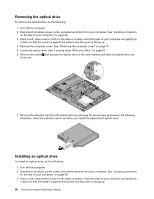
6. Align the hard disk drive in the drive bay and connect the hard disk drive to the cable connector. 7. Gently push the hard disk drive assembly into the bay until the hard disk drive stops. 8. Install the five screws to secure the hard disk drive to the chassis. 9. Go to "Completing the FRU installation" on page 107. Replacing the optical drive Attention: Do not open your computer or attempt any repair before reading and understanding the "Important Safety Information" on page 1. This section provides instructions on how to replace the optical drive. Chapter 9. Replacing FRUs 79
-
 1
1 -
2
-
3
-
4
-
5
-
6
-
7
-
8
-
9
-
10
-
11
-
12
-
13
-
14
-
15
-
16
-
17
-
18
-
19
-
20
-
21
-
22
-
23
-
24
-
25
-
26
-
27
-
28
-
29
-
30
-
31
-
32
-
33
-
34
-
35
-
36
-
37
-
38
-
39
-
40
-
41
-
42
-
43
-
44
-
45
-
46
-
47
-
48
-
49
-
50
-
51
-
52
-
53
-
54
-
55
-
56
-
57
-
58
-
59
-
60
-
61
-
62
-
63
-
64
-
65
-
66
-
67
-
68
-
69
-
70
-
71
-
72
-
73
-
74
-
75
-
76
-
77
-
78
-
79
-
 80
80 -
 81
81 -
 82
82 -
 83
83 -
 84
84 -
 85
85 -
 86
86 -
 87
87 -
 88
88 -
 89
89 -
 90
90 -
91
-
92
-
93
-
94
-
95
-
96
-
97
-
98
-
99
-
100
-
101
-
102
-
103
-
104
-
105
-
106
-
107
-
108
-
109
-
110
-
111
-
112
-
113
-
114
-
115
-
116
-
117
-
118
-
119
-
120
-
121
-
122
-
123
-
124
-
125
-
126
 |
 |
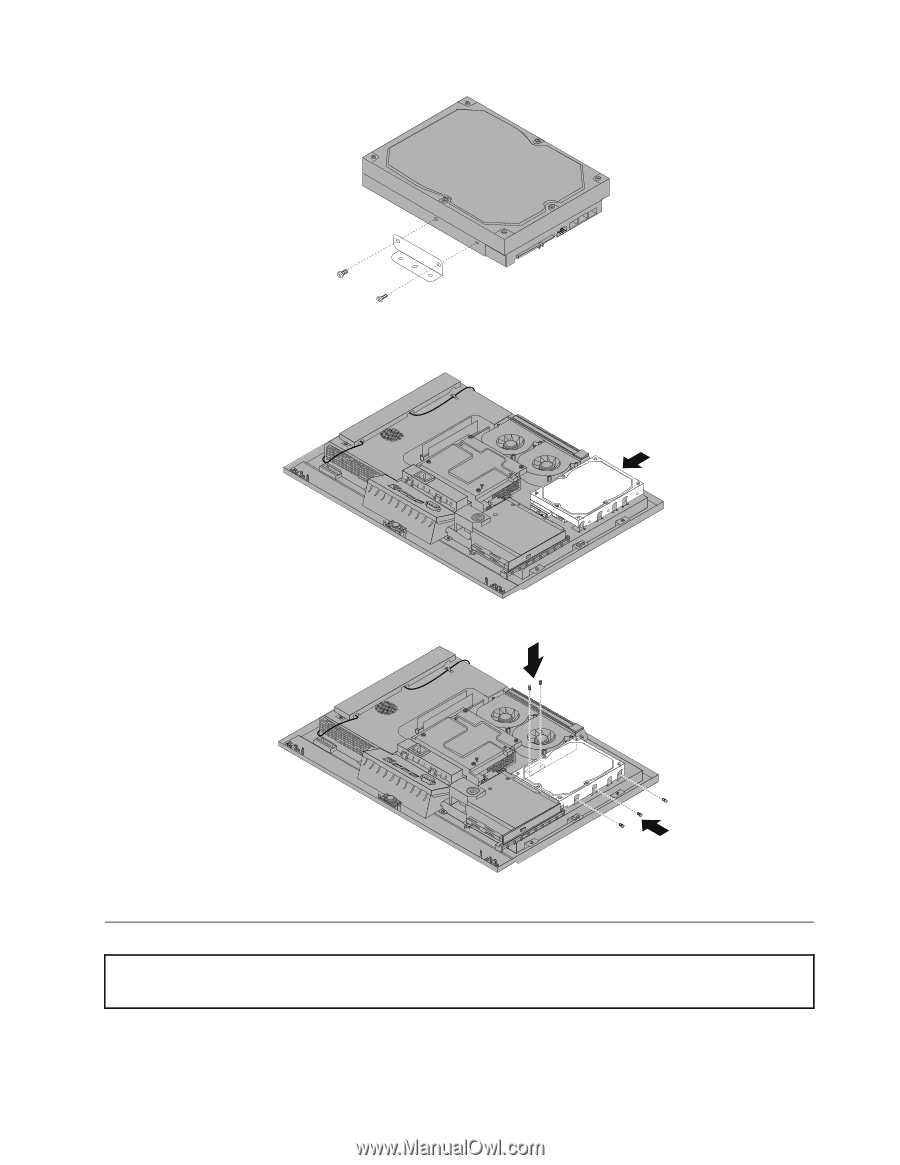
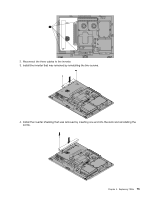
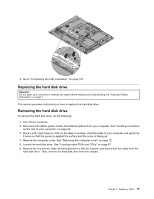
6. Align the hard disk drive in the drive bay and connect the hard disk drive to the cable connector.
7. Gently push the hard disk drive assembly into the bay until the hard disk drive stops.
8. Install the five screws to secure the hard disk drive to the chassis.
9. Go to “Completing the FRU installation” on page 107.
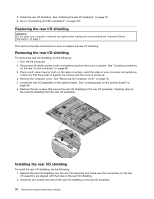
Replacing the optical drive
Attention:
Do not open your computer or attempt any repair before reading and understanding the “Important Safety
Information” on page 1.
This section provides instructions on how to replace the optical drive.
Chapter 9
.
Replacing FRUs
79