Lexmark Z1300 User's Guide - Page 38
Troubleshooting, Power light is not lit, Software does not install - power cord
 |
UPC - 734646022743
View all Lexmark Z1300 manuals
Add to My Manuals
Save this manual to your list of manuals |
Page 38 highlights
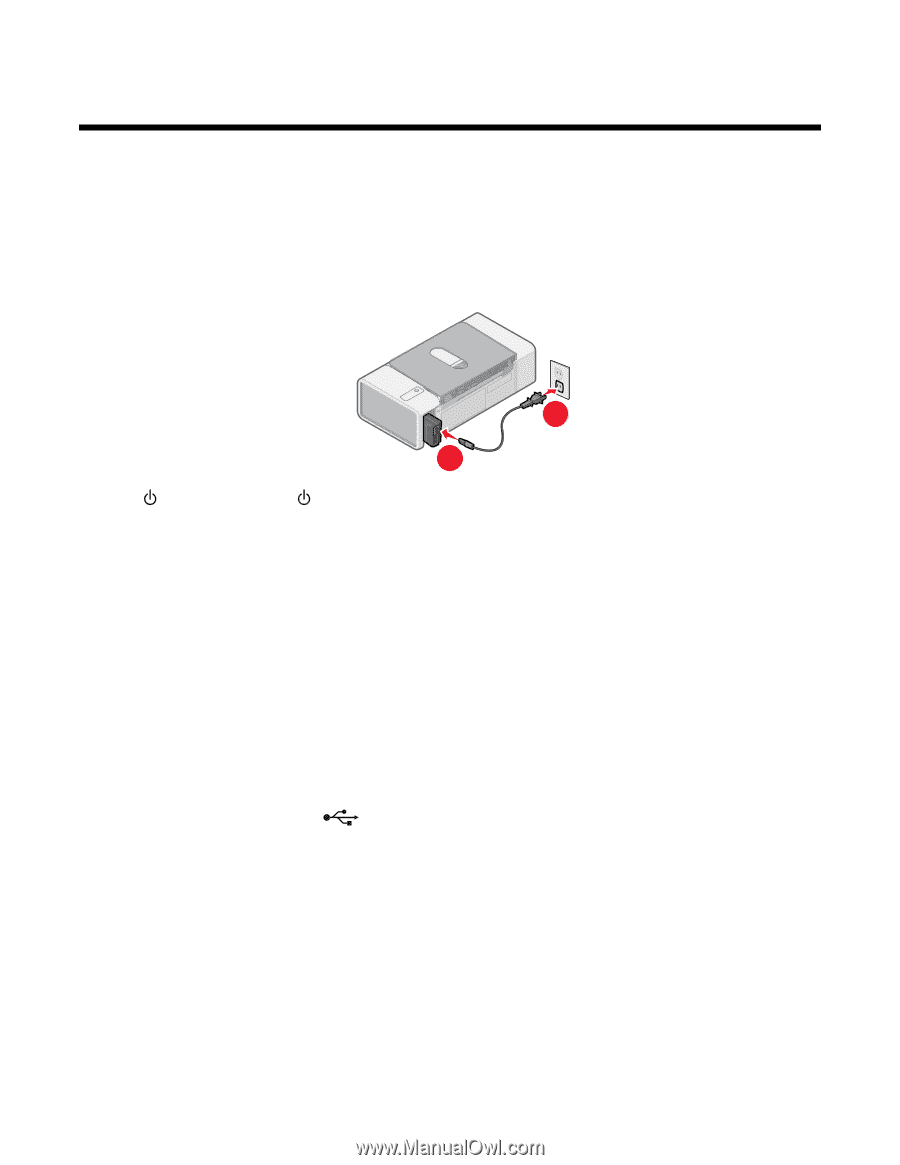
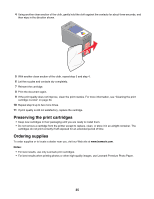
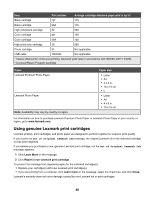
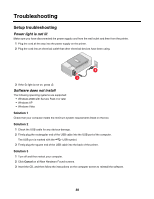
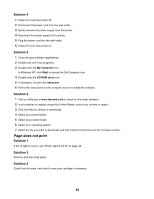
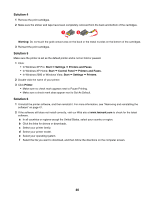
Troubleshooting Setup troubleshooting Power light is not lit Make sure you have disconnected the power supply cord from the wall outlet and then from the printer. 1 Plug the cord all the way into the power supply on the printer. 2 Plug the cord into an electrical outlet that other electrical devices have been using. 2 1 3 If the light is not on, press . Software does not install The following operating systems are supported: • Windows 2000 with Service Pack 3 or later • Windows XP • Windows Vista Solution 1 Check that your computer meets the minimum system requirements listed on the box. Solution 2 1 Check the USB cable for any obvious damage. 2 Firmly plug the rectangular end of the USB cable into the USB port of the computer. The USB port is marked with the USB symbol. 3 Firmly plug the square end of the USB cable into the back of the printer. Solution 3 1 Turn off and then restart your computer. 2 Click Cancel on all New Hardware Found screens. 3 Insert the CD, and then follow the instructions on the computer screen to reinstall the software. 38
-
 1
1 -
2
-
3
-
4
-
5
-
6
-
7
-
8
-
9
-
10
-
11
-
12
-
13
-
14
-
15
-
16
-
17
-
18
-
19
-
20
-
21
-
22
-
23
-
24
-
25
-
26
-
27
-
28
-
29
-
30
-
31
-
32
-
 33
33 -
 34
34 -
 35
35 -
 36
36 -
 37
37 -
 38
38 -
 39
39 -
 40
40 -
 41
41 -
 42
42 -
 43
43 -
44
-
45
-
46
-
47
-
48
-
49
-
50
-
51
-
52
-
53
 |
 |