NEC PX-50VP1A 42PD2/50PD1 - Page 37
WIDE MODE and use the POSITION LEFT/RIGHT
 |
View all NEC PX-50VP1A manuals
Add to My Manuals
Save this manual to your list of manuals |
Page 37 highlights
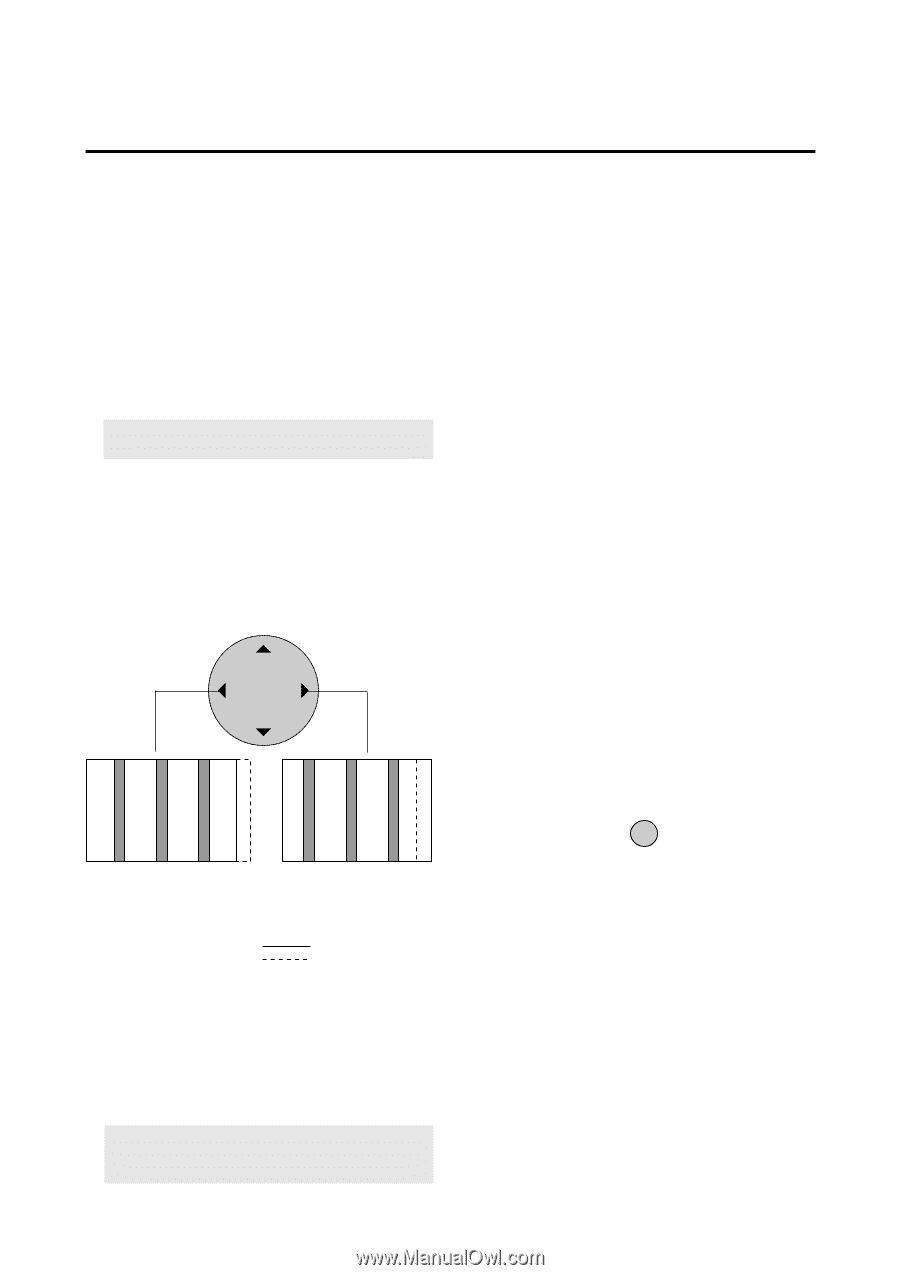
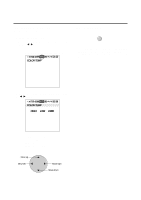
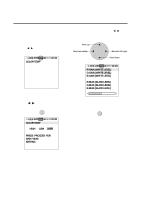
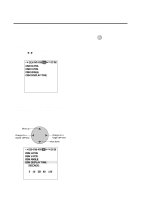
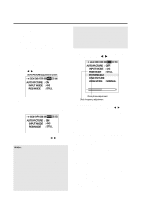
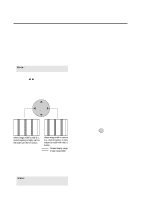
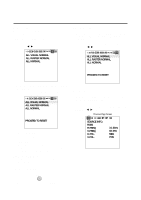
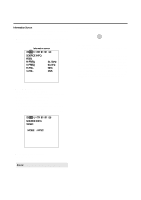
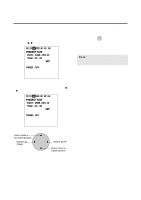
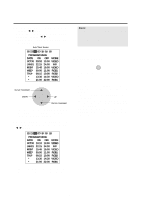
* RGB MODE: RGB MODE is displayed at the time of RGB input, RGB MODE is not displayed at the time of video input. Initial value : STILL At time of RGB input [MOTION]: Set when a scan converter or other mov- ing picture has been connected [STILL]: Set when displaying a personal computer screen [DTV]: Set when using digital broadcast or other sources with an RGB input This is used in signal discrimination at the time of RGB input. Note: When a moving picture is displayed in still picture mode, the screen will appear blurry. 4. Make the various adjustments with the POSITION CONTROL ᮤ / ᮣ buttons. * Clock frequency adjustment (Picture ADJ) Adjust the clock frequency and adjust the width of the image with respect to the screen. The adjustment is made with a dot unit signal. Adjust to the position at which vertical flickering disappears. POSITION / CONTROL * WIDE MODE: NORMAL/FULL/STADIUM/ZOOM (Initial value: NORMAL) Note that only NORMAL/FULL area available in RGB mode. Selecting Native Resolutions for 848 x 480, 852 x 480 and 640 x 480 input signals There are two controls in the Plasma monitor OSM menus that allow you to set the monitor to display resolutions with 848, 852 and 640 horizontal dots in their true resolutions. When inputting an 848 x 480 signal, align the cursor at the Bottom of the OSM window. Move the cursor down to WIDE MODE and use the POSITION LEFT/RIGHT control to select NORMAL. The monitor will display the signal at 848 x 480. If FULL is selected, the monitor will automatically expand the input signal to 853 x 480. To choose between 640 x 480 and 852 x 480 resolutions align the cursor with icon 6 (auto) at the top of the OSM window, move the cursor down to INPUT MODE and... Use the POSITION LEFT/RIGHT control to select 16 x 9 to display 852 x 480 in true resolution or to expand (stretch) 640 x 480 to fill the screen from left to right. Select 4 x 3 to display 640 x 480 resolution in its standard 4:3 aspect ratio with vertical letterbox bars to the right and left of the image. After selecting the desired setting, go to the Auto menu, set auto picture to OFF and use the Picture Adjust and Fine Picture controls to adjust clock phase and frequency to sharpen the image, if necessary. 5. Return to the main menu EXIT When image width is wide (i.e., clock frequency is high), narrow the width with the (-) button. When image width is narrow (i.e., clock frequency is low), widen the width with the (+) button. Screen display range Image range width Go to operation 2 when continuing the adjustment * Clock phase adjustment (Fine Picture) Adjust the phase of the clock and adjust the (+) and (-) buttons so that screen noise, flicker, and color infidelity are minimized. First adjust the clock frequency, then perform the clock phase adjustment. Note: Neither the clock frequency adjustment nor the clock phase adjustment function are available at the time of VIDEO and S-VIDEO input. * To reset the adjustment value, press the RASTER NORMAL button before pressing the EXIT button. * To delete the main menu, press the EXIT button once more. 37
-
 1
1 -
2
-
3
-
4
-
5
-
6
-
7
-
8
-
9
-
10
-
11
-
12
-
13
-
14
-
15
-
16
-
17
-
18
-
19
-
20
-
21
-
22
-
23
-
24
-
25
-
26
-
27
-
28
-
29
-
30
-
31
-
 32
32 -
 33
33 -
 34
34 -
 35
35 -
 36
36 -
 37
37 -
 38
38 -
 39
39 -
 40
40 -
 41
41 -
 42
42 -
43
-
44
-
45
-
46
-
47
-
48
-
49
-
50
-
51
-
52
-
53
-
54
-
55
-
56
-
57
-
58
-
59
-
60
-
61
-
62
-
63
-
64
 |
 |