Netgear FSM726S FSM726S User Manual - Page 25
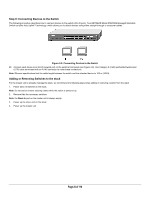
Step 8: Connecting Devices to the Switch, Adding or Removing Switches to the stack
 |
UPC - 606449023091
View all Netgear FSM726S manuals
Add to My Manuals
Save this manual to your list of manuals |
Page 25 highlights
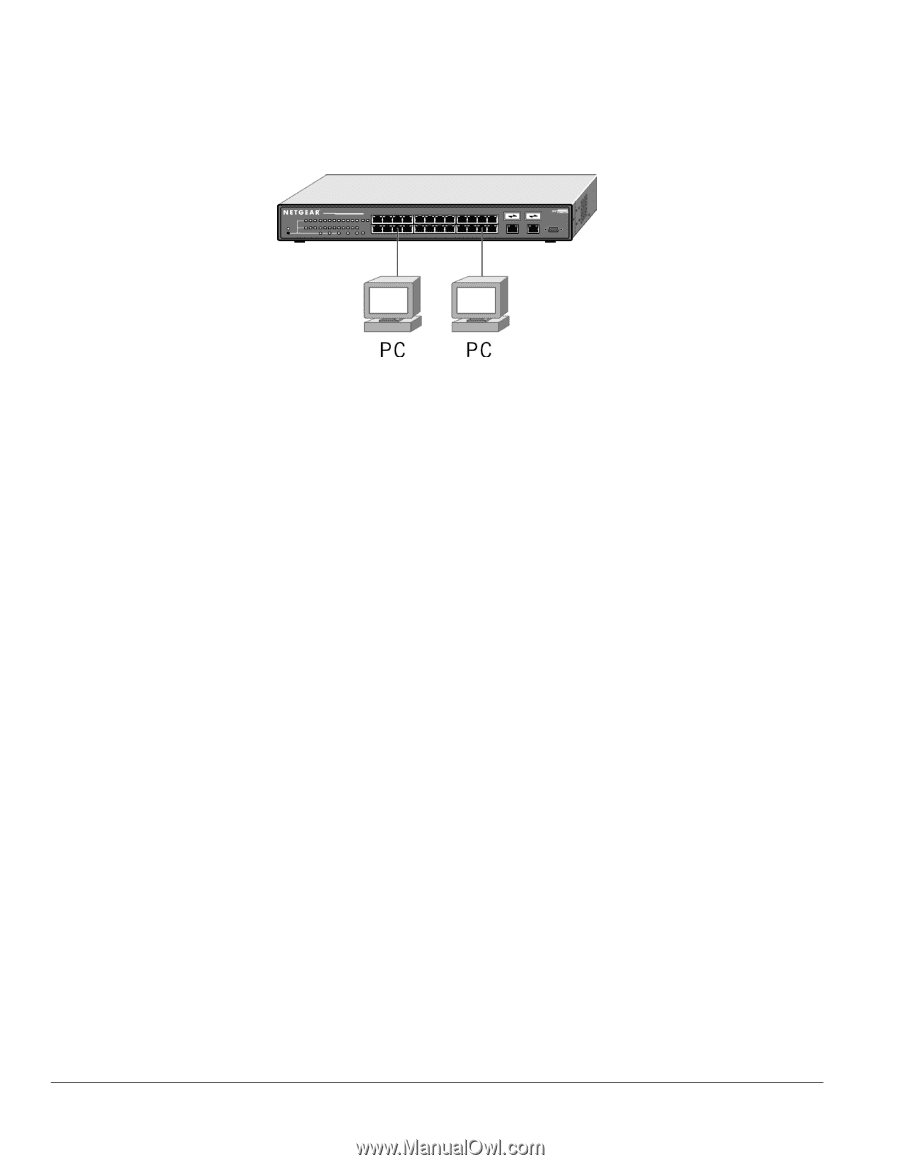
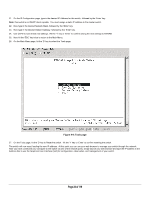
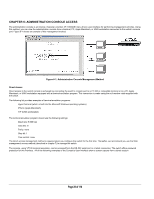
Step 8: Connecting Devices to the Switch The following procedure describes how to connect devices to the switch's RJ-45 ports. Your NETGEAR Model FSM726S Managed Stackable Switch contains Auto Uplink™ technology, which allows you to attach devices using either straight-through or crossover cables. Figure 4-9. Connecting Devices to the Switch 28. Connect each device to an RJ-45 network port on the switch's front panel (see Figure 4-9). Use Category 5 (Cat5) unshielded twisted-pair (UTP) cable terminated with an RJ-45 connector to make these connections. Note: Ethernet specifications limit the cable length between the switch and the attached device to 100 m (328 ft). Adding or Removing Switches to the stack For the master unit to properly manage the stack, we recommend the following steps when adding or removing a switch from the stack 1. Power down all switches in the stack. Note: Do not add or remove stacking cables while the switch is powered up. 2. Remove/Add the necessary switches Note: the Stack In port on the master unit is always empty. 3. Power up the slave units in the stack. 4. Power up the master unit Page 25 of 110
-
 1
1 -
2
-
3
-
4
-
5
-
6
-
7
-
8
-
9
-
10
-
11
-
12
-
13
-
14
-
15
-
16
-
17
-
18
-
19
-
 20
20 -
 21
21 -
 22
22 -
 23
23 -
 24
24 -
 25
25 -
 26
26 -
 27
27 -
 28
28 -
 29
29 -
 30
30 -
31
-
32
-
33
-
34
-
35
-
36
-
37
-
38
-
39
-
40
-
41
-
42
-
43
-
44
-
45
-
46
-
47
-
48
-
49
-
50
-
51
-
52
-
53
-
54
-
55
-
56
-
57
-
58
-
59
-
60
-
61
-
62
-
63
-
64
-
65
-
66
-
67
-
68
-
69
-
70
-
71
-
72
-
73
-
74
-
75
-
76
-
77
-
78
-
79
-
80
-
81
-
82
-
83
-
84
-
85
-
86
-
87
-
88
-
89
-
90
-
91
-
92
-
93
-
94
-
95
-
96
-
97
-
98
-
99
-
100
-
101
-
102
-
103
-
104
-
105
-
106
-
107
-
108
-
109
-
110
 |
 |