Nokia 3589i Nokia 3589i User Guide in English - Page 30
Delete Stored Contacts And Numbers, Add Other Information To A Phone Book Entry, Use Caller Groups,
 |
UPC - 844602105455
View all Nokia 3589i manuals
Add to My Manuals
Save this manual to your list of manuals |
Page 30 highlights
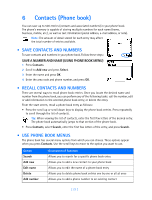
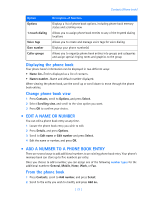
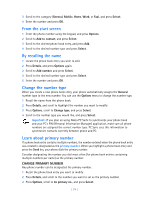
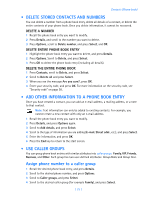
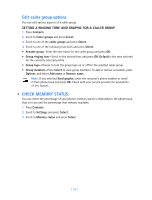
Contacts (Phone book) • DELETE STORED CONTACTS AND NUMBERS You can delete a number from a phone book entry, delete all details of a contact, or delete the entire contents of your phone book. Once you delete information, it cannot be recovered. DELETE A NUMBER 1 Recall the phone book entry you want to modify. 2 Press Details, and scroll to the number you want to delete. 3 Press Options, scroll to Delete number, and press Select, and OK. DELETE ENTIRE PHONE BOOK ENTRY 1 Highlight the phone book entry you want to delete, and press Details. 2 Press Options. Scroll to Delete, and press Select. 3 Press OK to delete the phone book entry (including all details). DELETE THE ENTIRE PHONE BOOK 1 Press Contacts, scroll to Delete, and press Select. 2 Scroll to Delete all and press Select. 3 When you see the message Are you sure?, press OK. 4 Enter your security code, and press OK. For more information on the security code, see "Security code" on page 58. • ADD OTHER INFORMATION TO A PHONE BOOK ENTRY Once you have created a contact, you can add an e-mail address, a mailing address, or a note to that contact. Note: Text information can only be added to existing contacts. For example, you cannot create a new contact with only an e-mail address. 1 Recall the phone book entry you want to modify. 2 Press Details, and press Options again. 3 Scroll to Add details, and press Select. 4 Scroll to the type of information you are adding (E-mail, Street addr., etc.), and press Select. 5 Enter the information, and press OK. 6 Press the End key to return to the start screen. • USE CALLER GROUPS You can group phone book entries with similar attributes into caller groups: Family, VIP, Friends, Business, and Other. Each group has two user-defined attributes: Group Name and Group Tone. Assign phone number to a caller group 1 Recall the desired phone book entry, and press Details. 2 Scroll to the desired phone number, and press Options. 3 Scroll to Caller groups, and press Select. 4 Scroll to the desired caller group (for example Family), and press Select. [ 25 ]
-
 1
1 -
2
-
3
-
4
-
5
-
6
-
7
-
8
-
9
-
10
-
11
-
12
-
13
-
14
-
15
-
16
-
17
-
18
-
19
-
20
-
21
-
22
-
23
-
24
-
 25
25 -
 26
26 -
 27
27 -
 28
28 -
 29
29 -
 30
30 -
 31
31 -
 32
32 -
 33
33 -
 34
34 -
 35
35 -
36
-
37
-
38
-
39
-
40
-
41
-
42
-
43
-
44
-
45
-
46
-
47
-
48
-
49
-
50
-
51
-
52
-
53
-
54
-
55
-
56
-
57
-
58
-
59
-
60
-
61
-
62
-
63
-
64
-
65
-
66
-
67
-
68
-
69
-
70
-
71
-
72
-
73
-
74
-
75
-
76
-
77
-
78
-
79
-
80
-
81
-
82
-
83
-
84
-
85
-
86
-
87
-
88
-
89
-
90
-
91
-
92
-
93
-
94
-
95
-
96
-
97
-
98
-
99
-
100
-
101
-
102
-
103
-
104
-
105
-
106
-
107
-
108
 |
 |