Pioneer PDP-434CMX Operating Instructions - Page 32
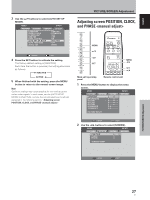
Adjusting screen POSITION, CLOCK, and PHASE, <automatic adjust>
 |
View all Pioneer PDP-434CMX manuals
Add to My Manuals
Save this manual to your list of manuals |
Page 32 highlights
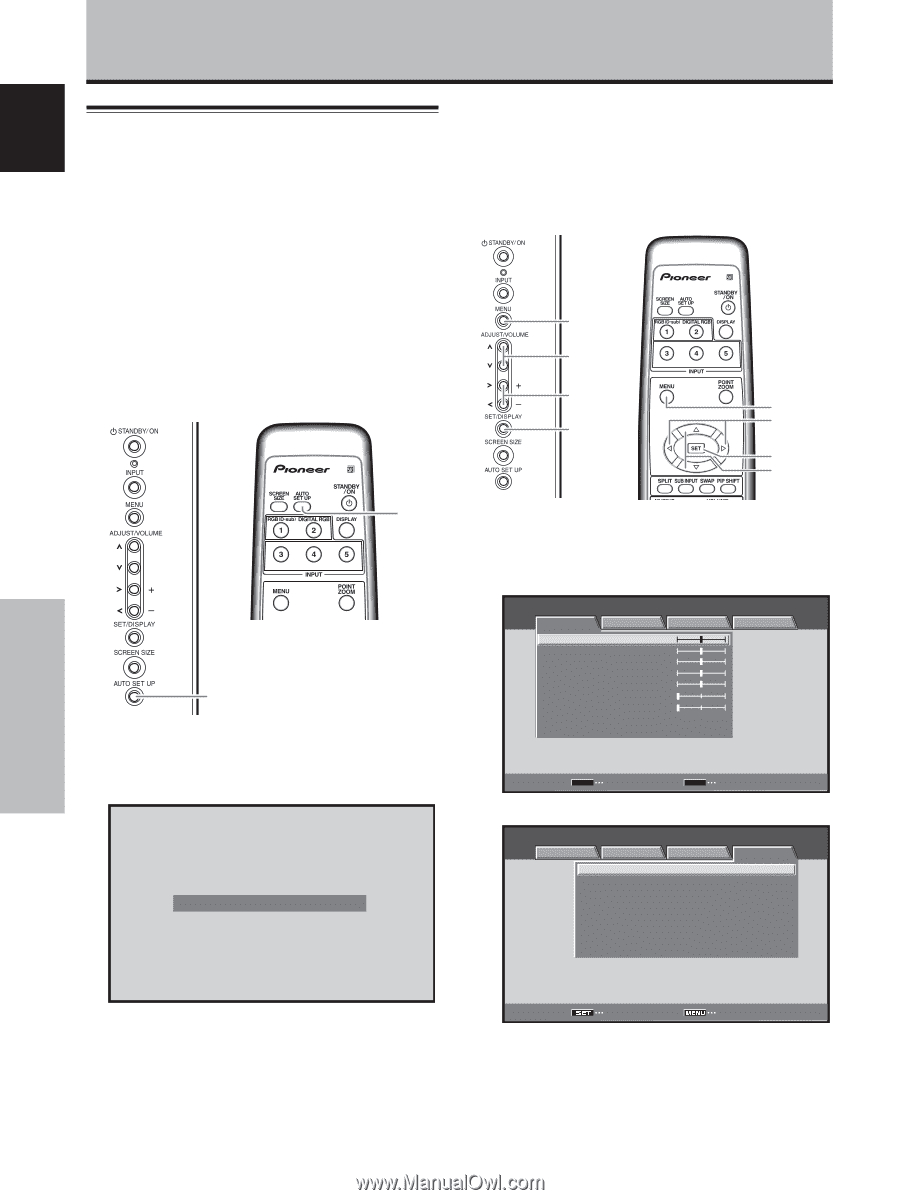
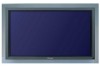
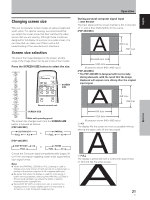
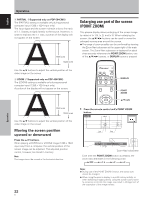
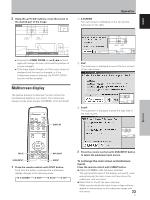
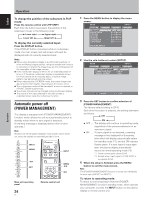
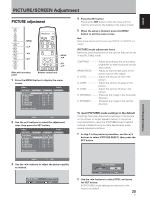
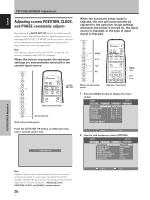
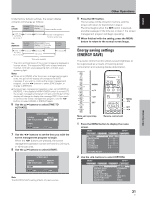
English PICTURE/SCREEN Adjustment Adjusting screen POSITION, CLOCK, and PHASE By pressing the AUTO SET UP button on either remote control unit or the plasma display's operating panel (or by selecting [AUTO SET UP MODE] from the menu), the unit will automatically set the screen position and clock to best match the current image input. Note This setting is supported only when INPUT1 is selected. The function is disabled when INPUT2 is selected. When the button is pressed, the optimum settings are automatically selected for the current input source. AUTO SET UP Remote control unit AUTO SET UP Main unit operating panel Press the AUTO SET UP button on either the main unit or remote control unit. AUTO SET UP When the automatic setup mode is selected, the unit will automatically be adjusted to the optimum image settings whenever the power is turned on, the input source is changed, or the type of input signal is changed. MENU 5/∞ 2/3 SET MENU 2/3 SET 5/∞ Main unit operating panel Remote control unit 1 Press the MENU button to display the menu screen. MENU PICTURE SCREEN CONTRAST : BRIGHTNESS : R.LEVEL : G.LEVEL : B.LEVEL : H.ENHANCE : V. E N H A N C E : SETUP 0 0 0 0 0 0 0 INPUT1 OPTION PICTURE RESET SET ENTER MENU EXIT 2 Use the 2/3 buttons to select [OPTION]. MENU INPUT1 PICTURE SCREEN SETUP OPTION LANGUAGE ENERGY SAVE SCREEN MGT. ORBITER MASK CONTROL AUTO SET UP MODE AUTO FUNCTION AUDIO OUT : ENGLISH : STANDARD : OFF : OFF : ON : INACTIVE : OFF : FIXED PICTURE/SCREEN Adjustment Note Optimum settings may not be possible for low-luminance and certain other signals. In such cases, set the [AUTO SETUP MODE] to [INACTIVE], and use the manual adjustment methods explained in the following section, "Adjusting screen POSITION, CLOCK, and PHASE ". 26 En SET ENTER MENU EXIT
-
 1
1 -
2
-
3
-
4
-
5
-
6
-
7
-
8
-
9
-
10
-
11
-
12
-
13
-
14
-
15
-
16
-
17
-
18
-
19
-
20
-
21
-
22
-
23
-
24
-
25
-
26
-
 27
27 -
 28
28 -
 29
29 -
 30
30 -
 31
31 -
 32
32 -
 33
33 -
 34
34 -
 35
35 -
 36
36 -
 37
37 -
38
-
39
-
40
-
41
-
42
-
43
-
44
-
45
-
46
-
47
-
48
-
49
-
50
-
51
-
52
-
53
-
54
-
55
-
56
-
57
-
58
-
59
-
60
-
61
-
62
-
63
-
64
-
65
-
66
-
67
-
68
-
69
-
70
-
71
-
72
-
73
-
74
-
75
-
76
-
77
-
78
-
79
-
80
-
81
-
82
-
83
-
84
-
85
-
86
-
87
-
88
-
89
-
90
-
91
-
92
-
93
-
94
-
95
 |
 |