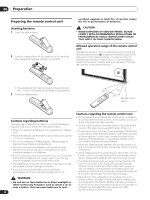
Pioneer PDP-5000EX User Manual - Page 22
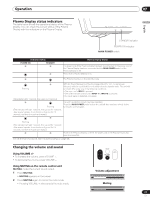
SPLIT, SUB INPUT, To exchange the main screen and subscreen inputs, HOME MENU, DISPLAY, AV SELECTION - 1080i
 |
View all Pioneer PDP-5000EX manuals
Add to My Manuals
Save this manual to your list of manuals |
Page 22 highlights
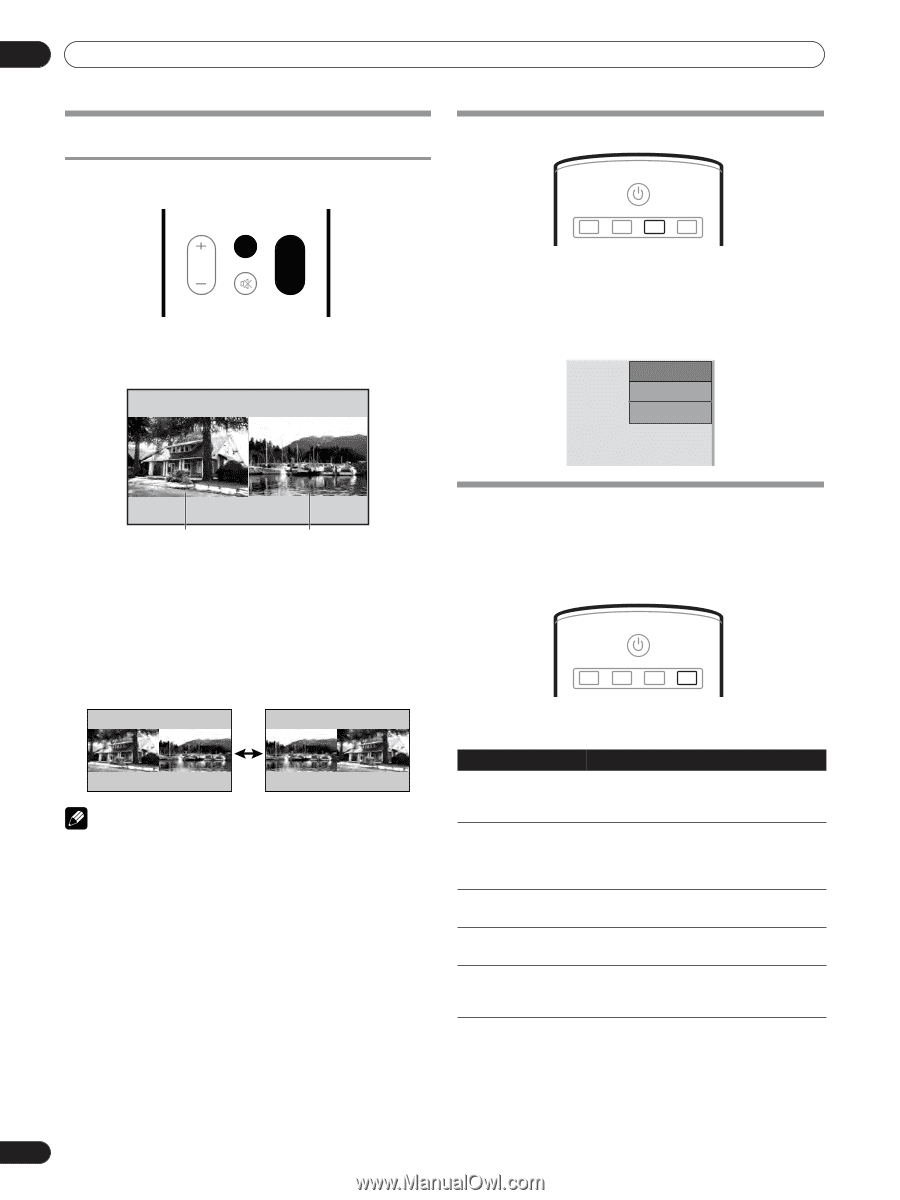
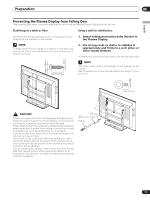
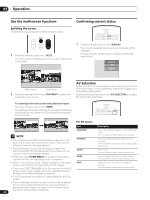
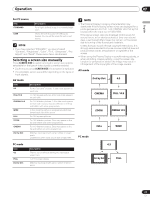
07 Operation Use the multiscreen functions Confirming current status Splitting the screen Use the following procedure to select 2-screen mode. SPLIT VOLUME MUTING SUB INPUT SWAP 1 Press the remote control unit's SPLIT. The main screen is displayed on the left and the subscreen on the right. STANDBY/ON SCREEN AUTO SIZE SETUP PC AV DISPLAY SELECTION 1 Press the remote control unit's DISPLAY. The currently selected input source and settings will be displayed. Display example: Under normal conditions (with video signal input) INPUT2 1080i STANDARD FULL Main screen Sub screen 2 Press the remote control unit's SUB INPUT to select the subscreen input source. AV Selection Select from the five viewing options, depending on the current environment (e.g., room brightness), the type of images input from external equipment. Each time the remote control unit's AV SELECTION is pressed, the AV function alternates. To exchange the main screen and subscreen inputs Press the remote control unit's SWAP. The right and left sides of the display will switch; what was previously the main screen will now show the subscreen, and vice versa. STANDBY/ON SCREEN AUTO SIZE SETUP PC AV DISPLAY SELECTION For AV source Item STANDARD NOTE • The multiscreen function cannot display images from the same input source at the same time. If you make such an attempt, a warning message appears. DYNAMIC • The multiscreen function cannot display images from INPUT2 and INPUT3 simultaneously. If you make such an attempt, a warning message appears. • When you press HOME MENU the single-screen mode is restored and the corresponding menu is displayed. MOVIE GAME • When in the 2-screen mode, images displayed on the right screen may look less fine, depending on the images. USER • If you select 1920*1080p@24 Hz for the main screen in the 2screen mode, video images may not be displayed properly because of the Plasma Display's capability. • PAL 60 signals are not suited for image display on the Sub screen. • If the multiscreen function is used continuously for several hours, or for shorter periods of time over several days, a permanent after-image may remain on the screen due to burning of the fluorescent materials. 22 En Description For a highly defined image in a normally bright room You can set the mode for each input source. For a very sharp image with the maximum contrast This mode does not allow manual image quality adjustment. For a movie You can set the mode for each input source. Lowers image brightness for easier viewing You can set the mode for each input source. Allows the user to customize settings as desired. You can set the mode for each input source.
-
 1
1 -
2
-
3
-
4
-
5
-
6
-
7
-
8
-
9
-
10
-
11
-
12
-
13
-
14
-
15
-
16
-
 17
17 -
 18
18 -
 19
19 -
 20
20 -
 21
21 -
 22
22 -
 23
23 -
 24
24 -
 25
25 -
 26
26 -
 27
27 -
28
-
29
-
30
-
31
-
32
-
33
-
34
-
35
-
36
-
37
-
38
-
39
-
40
-
41
-
42
-
43
-
44
-
45
-
46
-
47
-
48
-
49
-
50
-
51
-
52
-
53
-
54
-
55
-
56
-
57
-
58
-
59
-
60
-
61
-
62
-
63
-
64
-
65
-
66
-
67
-
68
-
69
-
70
-
71
-
72
-
73
-
74
-
75
-
76
-
77
-
78
-
79
-
80
-
81
-
82
-
83
-
84
-
85
-
86
-
87
-
88
-
89
-
90
-
91
-
92
-
93
-
94
-
95
-
96
-
97
-
98
-
99
-
100
-
101
-
102
-
103
-
104
-
105
-
106
-
107
-
108
-
109
-
110
-
111
-
112
-
113
-
114
-
115
-
116
-
117
-
118
-
119
-
120
-
121
-
122
-
123
-
124
-
125
-
126
-
127
-
128
-
129
-
130
-
131
-
132
-
133
-
134
-
135
-
136
-
137
-
138
-
139
-
140
-
141
-
142
-
143
-
144
-
145
-
146
-
147
-
148
-
149
-
150
-
151
-
152
-
153
-
154
-
155
-
156
-
157
-
158
-
159
-
160
-
161
-
162
-
163
-
164
-
165
-
166
-
167
-
168
-
169
-
170
-
171
-
172
-
173
-
174
-
175
-
176
-
177
-
178
-
179
-
180
-
181
-
182
-
183
-
184
-
185
-
186
-
187
-
188
-
189
-
190
-
191
-
192
-
193
-
194
-
195
-
196
-
197
-
198
-
199
-
200
-
201
-
202
-
203
-
204
-
205
-
206
-
207
-
208
-
209
-
210
-
211
-
212
-
213
-
214
-
215
-
216
-
217
-
218
-
219
-
220
-
221
-
222
-
223
-
224
-
225
-
226
-
227
-
228
-
229
-
230
 |
 |