Pioneer VSX 1019AH-K Owner's Manual - Page 98
The system and the other setup, The Other Setup menu
 |
UPC - 012562954646
View all Pioneer VSX 1019AH-K manuals
Add to My Manuals
Save this manual to your list of manuals |
Page 98 highlights
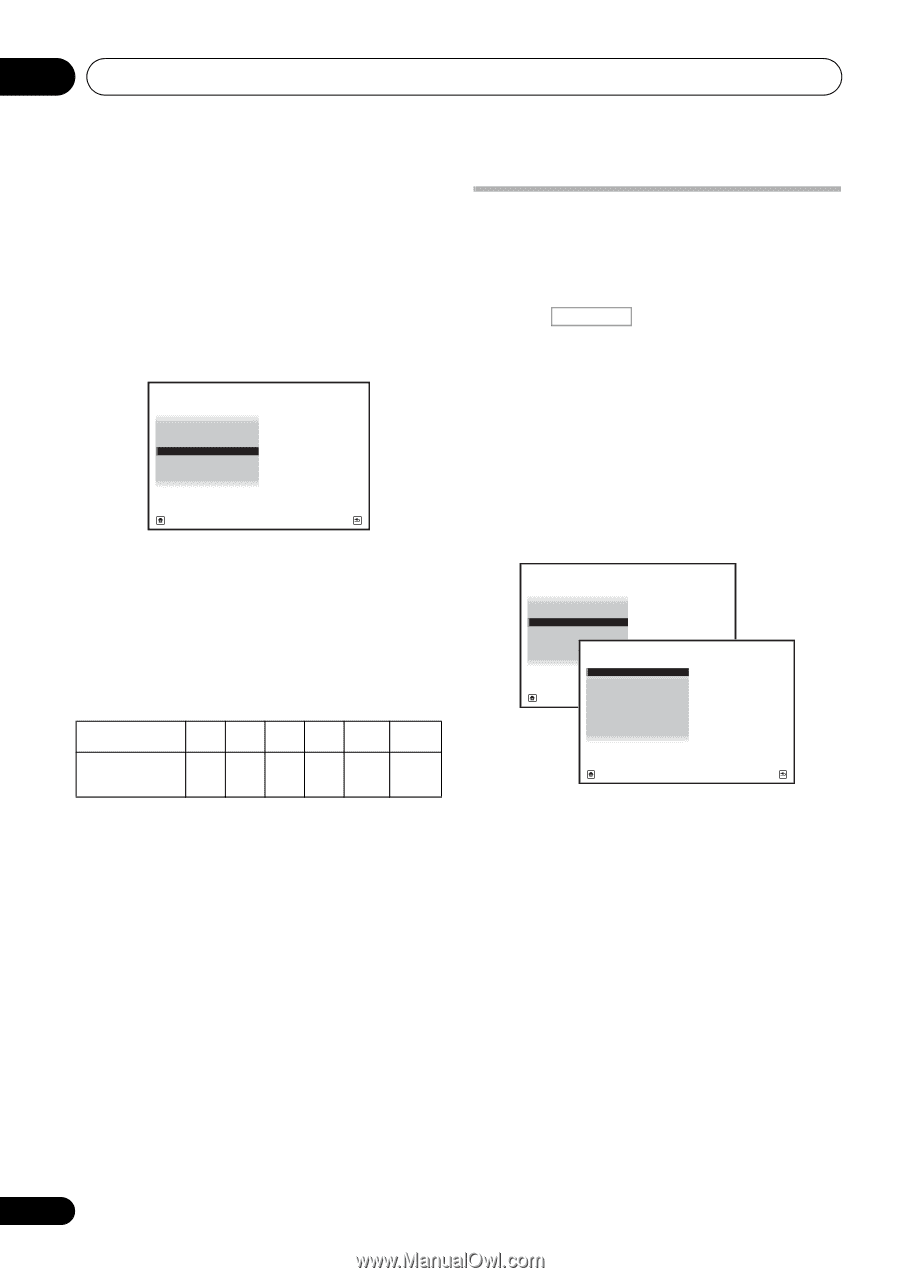
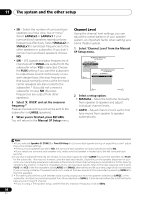
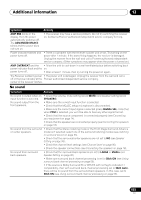
11 The system and the other setup X-Curve Most soundtracks mixed for cinema sound too bright when played back in large rooms. The XCurve setting acts as a kind of re-equalization for home theater listening, and restores proper tonal balance of movie soundtracks. 1 Select 'X-Curve' from the Manual SP Setup menu. 4a.Manual SP Setup A/V RECEIVER 1. Surr Back System 2. Speaker Setting 3. Channel Level 4. Speaker Distance 5. X-Curve Exit Return 2 Choose the X-Curve setting you want. Use / to adjust the setting. The X-Curve is expressed as a downwards slope in decibels per octave, starting at 2 kHz. The sound becomes less bright as the slope increases (to a maximum of -3.0dB/oct). Use the following guidelines to set the X-Curve according to your room size: Room size (ft2) ≤400 ≤550 ≤650 ≤800 ≤2200 ≤12000 X-Curve (dB/oct) -0.5 -1.0 -1.5 -2.0 -2.5 -3.0 • If you select OFF, the frequency curve will be flat and the X-Curve has no effect. 3 When you're finished, press RETURN. The Other Setup menu The Other Setup menu is where you can make customized settings to reflect how you are using the receiver. 1 Press RECEIVER on the remote control, then press HOME MENU. A Graphical User Interface (GUI) screen appears on your TV. Use and ENTER to navigate through the screens and select menu items. Press RETURN to confirm and exit the current menu. 2 Select 'System Setup' from the HOME MENU. 3 Select 'Other Setup', then press ENTER. 4.SystemSetup A/V RECEIVER a.Manual SP Setup b. Input Setup c. OSD Language d. Other Setup 4d.Other Setup A/V RECEIVER Exit 1. KURO LINK Setup 2. Multi Ch In Setup 3. ZONE Audio Setup 4. Power ON Level Setup Return 5. Volume Limit Setup 6. Remote Control Mode Setup 7. Flicker Reduction Setup Exit Return 4 Select the setting you want to adjust. If you are doing this for the first time, you may want to adjust these settings in order: • KURO LINK Setup - Synchronizes this receiver with your Pioneer component supporting KURO LINK (see KURO LINK Setup on page 62). • Multi Ch In Setup - Specifies the optional settings for a multi-channel input (page 99). • ZONE Audio Setup - Specifies the volume setting for a MULTI-ZONE setup (page 99). • Power ON Level Setup - Specifies the volume level set when the power is turned on (page 100). • Volume Limit Setup - Limits the maximum volume (page 100). 98 En
-
 1
1 -
2
-
3
-
4
-
5
-
6
-
7
-
8
-
9
-
10
-
11
-
12
-
13
-
14
-
15
-
16
-
17
-
18
-
19
-
20
-
21
-
22
-
23
-
24
-
25
-
26
-
27
-
28
-
29
-
30
-
31
-
32
-
33
-
34
-
35
-
36
-
37
-
38
-
39
-
40
-
41
-
42
-
43
-
44
-
45
-
46
-
47
-
48
-
49
-
50
-
51
-
52
-
53
-
54
-
55
-
56
-
57
-
58
-
59
-
60
-
61
-
62
-
63
-
64
-
65
-
66
-
67
-
68
-
69
-
70
-
71
-
72
-
73
-
74
-
75
-
76
-
77
-
78
-
79
-
80
-
81
-
82
-
83
-
84
-
85
-
86
-
87
-
88
-
89
-
90
-
91
-
92
-
 93
93 -
 94
94 -
 95
95 -
 96
96 -
 97
97 -
 98
98 -
 99
99 -
 100
100 -
 101
101 -
 102
102 -
 103
103 -
104
-
105
-
106
-
107
-
108
-
109
-
110
-
111
-
112
-
113
-
114
-
115
-
116
-
117
-
118
-
119
-
120
-
121
-
122
-
123
-
124
-
125
-
126
-
127
-
128
 |
 |