Ricoh Aficio GX3000 User Guide - Page 69
Head-cleaning
 |
View all Ricoh Aficio GX3000 manuals
Add to My Manuals
Save this manual to your list of manuals |
Page 69 highlights
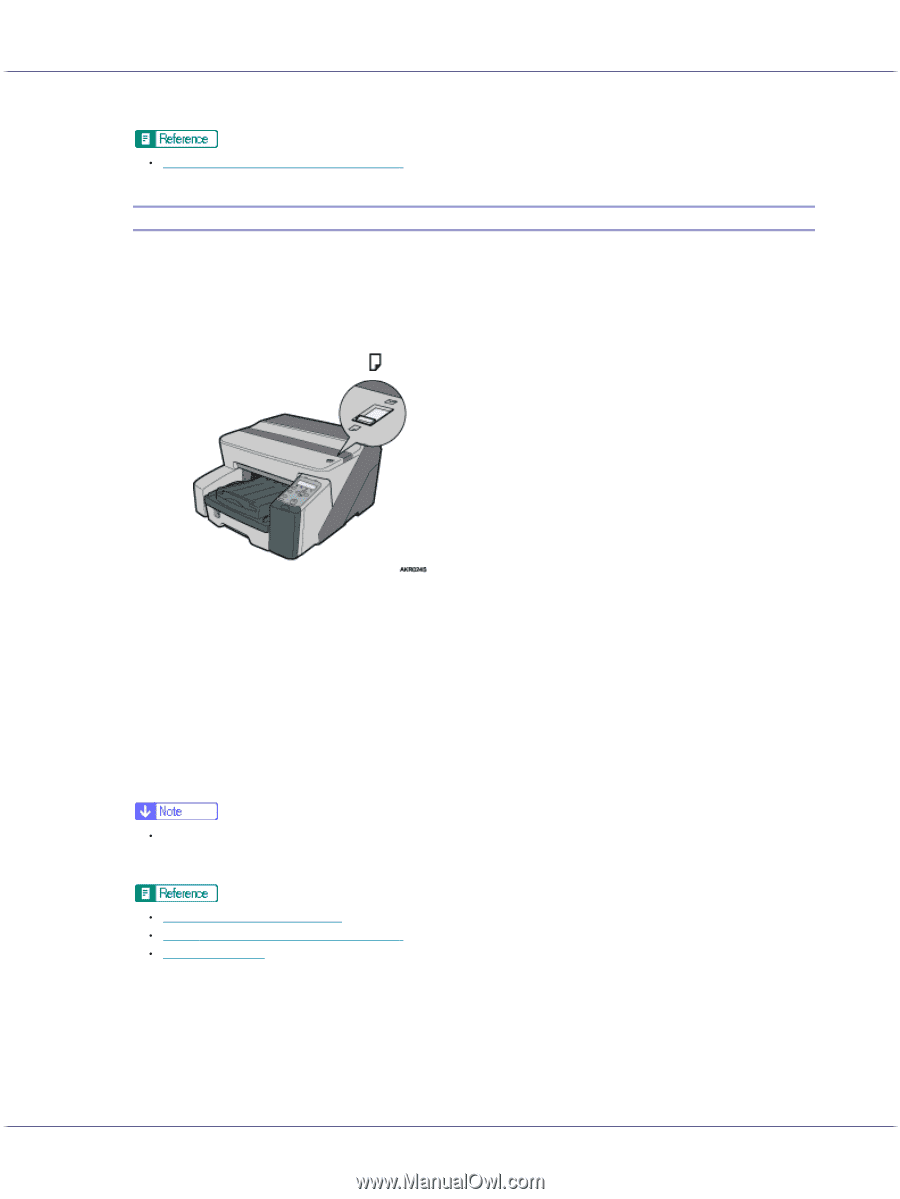
Making Printer Settings z p.151 "Two Types of Printer Properties Dialog Box" Head-cleaning Follow the procedure below to perform a normal print-head cleaning. Perform a head cleaning when a particular colour cannot be printed or print images are blurred. Head cleaning consumes ink. When the Print cartridge is empty, replace it instead of performing a print-head cleaning. After a Print cartridge is replaced, a print-head cleaning will be automatically performed. 1. Slide the envelope selector to the forward position. 2. Open the printer properties dialog box. 3. Click the [Maintenance] tab. 4. Click [Head-cleaning]. 5. In the [Select print-head(s)] area, select a colour. 6. Click [Next >]. 7. Click [Next >]. Do not perform another operation before cleaning is complete. 8. Click [Finish]. z If the condition of the print-heads is not satisfactory, perform head cleaning again. However, the heads may remain clogged and the printer may not print properly even if you clean the heads multiple times. If this happens, perform a full print head cleaning. If there is still no improvement, turn the printer off, and then leave it turned off for at least 8 hours. This may solve the problem. z p.152 "Opening from the Start Menu" z p.151 "Two Types of Printer Properties Dialog Box" z p.68 "Nozzle Check" 69
-
 1
1 -
2
-
3
-
4
-
5
-
6
-
7
-
8
-
9
-
10
-
11
-
12
-
13
-
14
-
15
-
16
-
17
-
18
-
19
-
20
-
21
-
22
-
23
-
24
-
25
-
26
-
27
-
28
-
29
-
30
-
31
-
32
-
33
-
34
-
35
-
36
-
37
-
38
-
39
-
40
-
41
-
42
-
43
-
44
-
45
-
46
-
47
-
48
-
49
-
50
-
51
-
52
-
53
-
54
-
55
-
56
-
57
-
58
-
59
-
60
-
61
-
62
-
63
-
 64
64 -
 65
65 -
 66
66 -
 67
67 -
 68
68 -
 69
69 -
 70
70 -
 71
71 -
 72
72 -
 73
73 -
 74
74 -
75
-
76
-
77
-
78
-
79
-
80
-
81
-
82
-
83
-
84
-
85
-
86
-
87
-
88
-
89
-
90
-
91
-
92
-
93
-
94
-
95
-
96
-
97
-
98
-
99
-
100
-
101
-
102
-
103
-
104
-
105
-
106
-
107
-
108
-
109
-
110
-
111
-
112
-
113
-
114
-
115
-
116
-
117
-
118
-
119
-
120
-
121
-
122
-
123
-
124
-
125
-
126
-
127
-
128
-
129
-
130
-
131
-
132
-
133
-
134
-
135
-
136
-
137
-
138
-
139
-
140
-
141
-
142
-
143
-
144
-
145
-
146
-
147
-
148
-
149
-
150
-
151
-
152
-
153
-
154
-
155
-
156
-
157
-
158
-
159
-
160
-
161
-
162
-
163
-
164
-
165
-
166
-
167
-
168
-
169
-
170
-
171
-
172
-
173
-
174
-
175
-
176
-
177
-
178
-
179
-
180
-
181
-
182
-
183
-
184
-
185
-
186
-
187
-
188
-
189
-
190
-
191
-
192
-
193
-
194
-
195
-
196
-
197
-
198
-
199
-
200
-
201
-
202
-
203
-
204
-
205
-
206
-
207
-
208
-
209
-
210
-
211
-
212
-
213
-
214
-
215
-
216
-
217
-
218
-
219
-
220
-
221
-
222
-
223
-
224
-
225
-
226
-
227
-
228
-
229
-
230
-
231
-
232
-
233
-
234
-
235
-
236
-
237
-
238
-
239
-
240
-
241
-
242
-
243
-
244
-
245
-
246
-
247
-
248
-
249
 |
 |