Samsung SPH-M260 User Manual (user Manual) (ver.f6) (English) - Page 66
Camera Settings, Shooting Mode
 |
View all Samsung SPH-M260 manuals
Add to My Manuals
Save this manual to your list of manuals |
Page 66 highlights
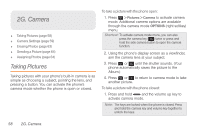
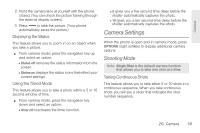
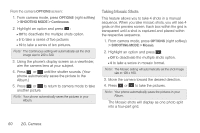
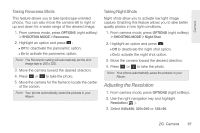
Camera 2. Point the camera lens at yourself with the phone closed. (You can check the picture framing through the external display screen.) 3. Press to take the picture. (Your phone automatically saves the picture.) Displaying the Status This feature allows you to zoom in on an object when you take a picture. ᮣ From camera mode, press the navigation key up and select an option: Ⅲ Status off removes the status information from the screen. Ⅲ Status on displays the status icons that reflect your current settings. Using the Timed Mode This feature allows you to take a photo within a 5 or 10 second window of time. ᮣ From camera mode, press the navigation key down and select an option: Ⅲ timer off inactivates the timer function. Ⅲ 5 gives you a five second time delay before the shutter automatically captures the photo. Ⅲ 10 gives you a ten second time delay before the shutter automatically captures the photo. Camera Settings When the phone is open and in camera mode, press OPTIONS (right softkey) to display additional camera options: Shooting Mode Note: Single Shot is the default camera function that allows you to take one shot at a time. Taking Continuous Shots This feature allows you to take either 5 or 10 shots in a continuous sequence. When you take continuous shots, you will see a slider that indicates the shot number sequence. 2G. Camera 59
-
 1
1 -
2
-
3
-
4
-
5
-
6
-
7
-
8
-
9
-
10
-
11
-
12
-
13
-
14
-
15
-
16
-
17
-
18
-
19
-
20
-
21
-
22
-
23
-
24
-
25
-
26
-
27
-
28
-
29
-
30
-
31
-
32
-
33
-
34
-
35
-
36
-
37
-
38
-
39
-
40
-
41
-
42
-
43
-
44
-
45
-
46
-
47
-
48
-
49
-
50
-
51
-
52
-
53
-
54
-
55
-
56
-
57
-
58
-
59
-
60
-
 61
61 -
 62
62 -
 63
63 -
 64
64 -
 65
65 -
 66
66 -
 67
67 -
 68
68 -
 69
69 -
 70
70 -
 71
71 -
72
-
73
-
74
-
75
-
76
-
77
-
78
-
79
-
80
-
81
-
82
-
83
-
84
-
85
-
86
-
87
-
88
-
89
-
90
-
91
-
92
-
93
-
94
-
95
-
96
-
97
-
98
-
99
-
100
-
101
-
102
-
103
-
104
-
105
-
106
-
107
-
108
-
109
-
110
-
111
-
112
-
113
 |
 |
