Sony CPD-G420 Operating Instructions (primary manual) - Page 12
Adjusting the brightness and contrast (CONTRAST/BRIGHT)
 |
View all Sony CPD-G420 manuals
Add to My Manuals
Save this manual to your list of manuals |
Page 12 highlights
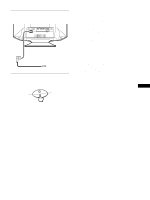
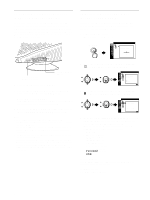
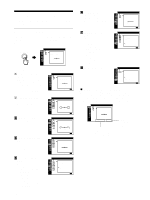
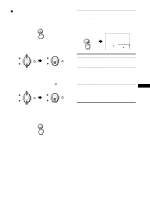
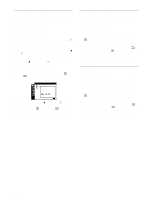
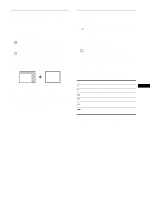
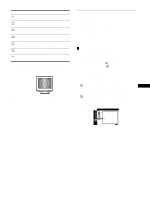
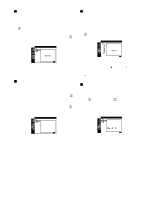
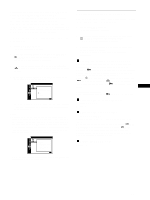
Adjusting the brightness and contrast (CONTRAST/BRIGHT) These settings are stored in memory for the signals from the currently selected input connector. 1 Press the MENU button. The menu appears on the screen. 2 Move the control button up or down to highlight . Then press the control button. The CONTRAST/BRIGHT menu appears on the screen. 3 Move the control button up or down to highlight 6 or . Then press the control button. 4 Move the control button up or down to adjust the contrast (6) or brightness ( ). Then press the control button. If you are using the sRGB mode If you selected the sRGB mode in the COLOR MODE ( ) of the OPTION ( ) menu, the following CONTRAST/BRIGHT menu appears on the screen. CONTRAST / BR I GHT s RGB :/ EX I T : MENU You cannot adjust the contrast (6) or brightness ( ) on this screen. If you want to adjust them, select a mode other than sRGB in the COLOR MODE ( ) of the OPTION ( ) menu. For more information about using the sRGB mode, see "Adjusting the color of the picture (COLOR)" on page 15. Adjusting the centering of the picture (SIZE/CENTER) This setting is stored in memory for the current input signal. 1 Press the MENU button. The menu appears on the screen. 2 Move the control button up or down to highlight SIZE/CENTER and press the control button. The SIZE/CENTER menu appears on the screen. 3 Move the control button up or down to select for horizontal adjustment, or for vertical adjustment. Then press the control button. 4 Move the control button up or down to adjust the centering. Adjusting the size of the picture (SIZE/CENTER) This setting is stored in memory for the current input signal. 1 Press the MENU button. The menu appears on the screen. 2 Move the control button up or down to highlight SIZE/CENTER and press the control button. The SIZE/CENTER menu appears on the screen. 3 Move the control button up or down to select for horizontal adjustment, or for vertical adjustment. Then press the control button. 4 Move the control button up or down to adjust the size. 12
-
 1
1 -
2
-
3
-
4
-
5
-
6
-
 7
7 -
 8
8 -
 9
9 -
 10
10 -
 11
11 -
 12
12 -
 13
13 -
 14
14 -
 15
15 -
 16
16 -
 17
17 -
18
-
19
-
20
-
21
-
22
-
23
-
24
-
25
-
26
-
27
-
28
-
29
-
30
-
31
-
32
-
33
-
34
-
35
-
36
-
37
-
38
-
39
-
40
-
41
-
42
-
43
-
44
-
45
-
46
-
47
-
48
-
49
-
50
-
51
-
52
-
53
-
54
-
55
-
56
-
57
-
58
-
59
-
60
-
61
-
62
-
63
-
64
-
65
-
66
-
67
-
68
-
69
-
70
 |
 |
