Sony CPD-G420 Operating Instructions (primary manual) - Page 17
Additional settings (OPTION), Locking the controls CONTROL LOCK, Changing the on-screen language
 |
View all Sony CPD-G420 manuals
Add to My Manuals
Save this manual to your list of manuals |
Page 17 highlights
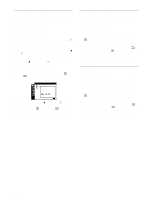
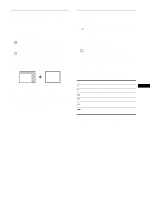
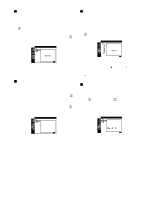
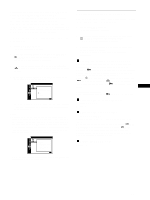
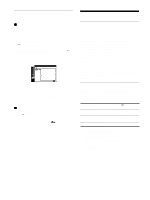
Restoring the color from the EASY, PRESET, or sRGB modes (IMAGE RESTORATION) The colors of most display monitors tend to gradually change brilliance over several years of service. The IMAGE RESTORATION feature found in the EASY, PRESET, and sRGB menus allows you to restore the color to the original factory quality levels. The explanation below explains how to restore the monitor's color from the EASY mode for example. First, select the EASY, PRESET, or sRGB mode in the OPTION menu (page 15). 1 Press the MENU button. The menu appears on the screen. 2 Move the control button up or down to highlight COLOR and press the control button. The COLOR menu appears on the screen. 3 Move the control button up or down to highlight IMAGE RESTORATION. Then press the control button. 4 Move the control button up or down to select OK. Then press the control button. COLOR I MAGE RESTORAT I ON OK CANCEL EX I T : MENU The picture disappears while the color is being restored (about 2 seconds). After the color is restored, the picture reappears on the screen again. Notes • Before using this feature, the monitor must be in normal operation mode (green power indicator on) for at least 30 minutes. If the monitor goes into power saving mode, you must return the monitor to normal operation mode and wait for 30 minutes for the monitor to be ready. You may need to adjust your computer's power saving settings to keep the monitor in normal operation mode for the full 30 minutes. If the monitor is not ready, the following message will appear. COLOR I MAGE RESTORAT I ON AVA I LABLE AFTER WARM UP EX I T : MENU • The monitor may gradually lose its ability to perform this function due to the natural aging of the picture tube. Additional settings (OPTION) You can lock the controls, change the on-screen language, change the menu position, and set the COLOR mode. 1 Press the MENU button. The menu appears on the screen. 2 Move the control button up or down to highlight OPTION and press the control button. The OPTION menu appears on the screen. 3 Move the control button up or down to select the desired adjustment item. Adjust the selected item according to the following instructions. x Locking the controls (CONTROL LOCK) You can protect the adjustment data by locking the controls. Move the control button up or down to highlight (CONTROL LOCK) and press the control button. Then move the control button up or down to select ON and press the control button. Only the ! (power) switch, MENU button, INPUT switch, and (CONTROL LOCK) of the OPTION menu will operate. If any other items are selected, the mark appears on the screen. US To cancel the control lock Repeat the procedure above and set (CONTROL LOCK) to OFF. x Changing the on-screen language (LANGUAGE) See page 8. x Changing the menu's position (OSD POSITION) Change the menu's position if it is blocking an image on the screen. Move the control button up or down to select (OSD POSITION) for horizontal adjustment, or (OSD POSITION) for vertical adjustment and press the control button. Then move the control button up or down to shift the on-screen menu. x Setting the COLOR mode See page 15. 17
-
 1
1 -
2
-
3
-
4
-
5
-
6
-
7
-
8
-
9
-
10
-
11
-
 12
12 -
 13
13 -
 14
14 -
 15
15 -
 16
16 -
 17
17 -
 18
18 -
 19
19 -
 20
20 -
 21
21 -
 22
22 -
23
-
24
-
25
-
26
-
27
-
28
-
29
-
30
-
31
-
32
-
33
-
34
-
35
-
36
-
37
-
38
-
39
-
40
-
41
-
42
-
43
-
44
-
45
-
46
-
47
-
48
-
49
-
50
-
51
-
52
-
53
-
54
-
55
-
56
-
57
-
58
-
59
-
60
-
61
-
62
-
63
-
64
-
65
-
66
-
67
-
68
-
69
-
70
 |
 |
