Sony DCR-TRV260 Computer Applications Guide - Page 23
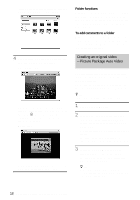
Saving the images on CD-R – Picture Package CD Backup, Double-click [Picture Package Menu]
 |
View all Sony DCR-TRV260 manuals
Add to My Manuals
Save this manual to your list of manuals |
Page 23 highlights
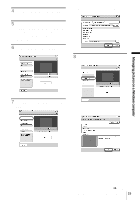
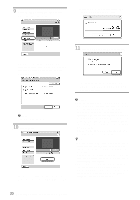
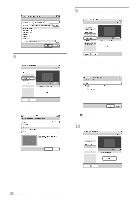
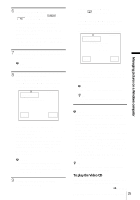
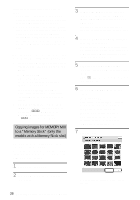
Slide show creation starts. The remaining time appears on the computer screen. . 11Click [No] when you want to finish. . 2 Double-click [Picture Package Menu] icon on the desktop. [Picture Package Menu] starts up. 3 Click [Save the images on CD-R]. [Picture Package CD Backup] starts up. 4 Open the desired folder on the left side of the screen, select pictures you want to save. The selected picture is marked with . . Managing pictures on a Windows computer To create another copy with the same content, click [Yes], then place a new CDR in the disc drive. b Note • Any and all third party musical contents you may acquire from CDs, the Internet or other sources are the copyrighted work of the respective owners thereof, and except to the extent protected by applicable laws, you are not permitted to use any of the third party musical contents. Please refer to "On Copyrights" of "Read this first" above-mentioned (p. 3) for further note on your use of such third party musical contents. z Tip • If you select CD-R for where to save, you can view the created slide show as a video CD. For details on playback of video CDs, see page 25. Saving the images on CD-R - Picture Package CD Backup 5 Click the [View selected pictures] tab, and make sure the desired pictures are selected. . 6 Click [Write to CD-R]. . You can save pictures copied on the computer, as a backup, to a CD-R. 1 Turn on the computer. ,continued Managing pictures on a Windows computer 23
-
 1
1 -
2
-
3
-
4
-
5
-
6
-
7
-
8
-
9
-
10
-
11
-
12
-
13
-
14
-
15
-
16
-
17
-
 18
18 -
 19
19 -
 20
20 -
 21
21 -
 22
22 -
 23
23 -
 24
24 -
 25
25 -
 26
26 -
 27
27 -
 28
28 -
29
-
30
-
31
-
32
-
33
-
34
-
35
-
36
-
37
-
38
-
39
-
40
-
41
-
42
-
43
-
44
 |
 |
