Sony DSC T1 Operating Instructions - Page 23
Mode switch, Press the shutter button fully, down.
 |
UPC - 027242629608
View all Sony DSC T1 manuals
Add to My Manuals
Save this manual to your list of manuals |
Page 23 highlights
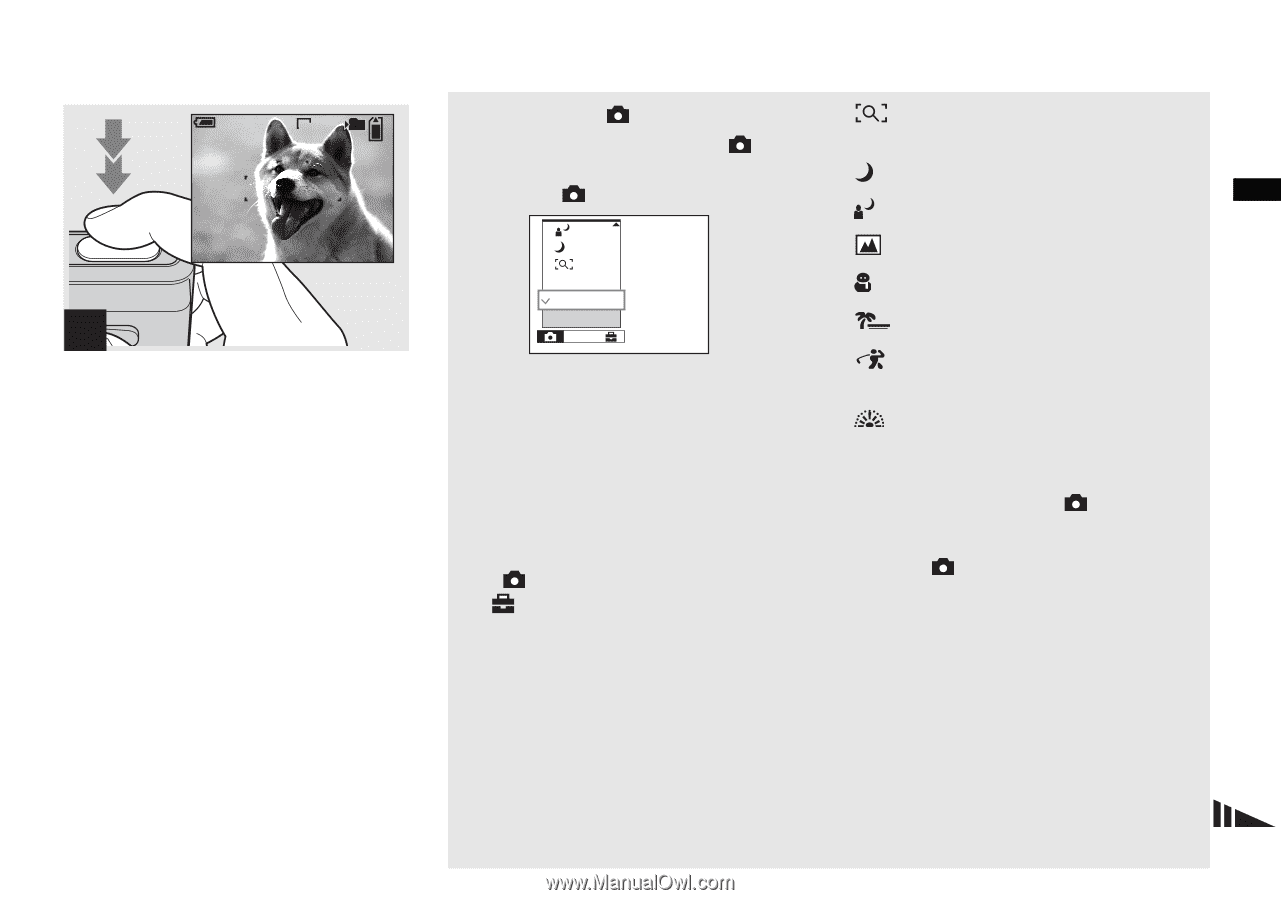
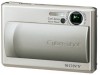
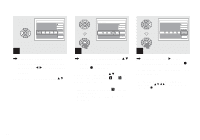
60min VGA 101 95 S AF 4 , Press the shutter button fully down. The shutter sounds. The image will be recorded in the "Memory Stick Duo." When "Recording" disappears from the LCD screen, you can shoot the next image. • The frame indicated on the LCD screen shows the focus adjustment range (AF range finder, page 47). • When operating the camera using a battery pack, if you do not operate the camera for a while during recording or playback, the camera turns off automatically to prevent wearing down the battery (page 16). Mode switch When you set the mode switch to , the functions that can be used change as follows according to (Camera) in the menu. Program Auto Camera Mode Still image auto shooting [Auto] The focus, exposure and white balance are automatically adjusted as needed to allow easy shooting. In addition, the image quality is set to [Fine] (page 44), the AF range finder frame is set to [Multi AF], and the metering mode is set to [Multi] (pages 47 and 52). Only (Camera), [Mode] (REC Mode) and (Setup) appear in the menu. Still image program shooting [Program] The necessary adjustments are made automatically like still image auto shooting, but you can also change the focus and other adjustments as desired. In addition, you can also set the desired shooting functions using menus (pages 43 and 102). (Magnifying glass mode) (page 32) (Twilight mode) (page 32) (Twilight portrait mode) (page 32) (Landscape mode) (page 33) (Snow mode) (page 33) (Beach mode) (page 33) (High-speed shutter mode) (page 33) (Fireworks mode) (page 33) To switch the shooting method 1 Set the mode switch to . 2 Press MENU. 3 Select (Camera) with b on the control button. 4 Select the desired shooting mode with v/V on the control button. 23 Shooting still images
-
 1
1 -
2
-
3
-
4
-
5
-
6
-
7
-
8
-
9
-
10
-
11
-
12
-
13
-
14
-
15
-
16
-
17
-
 18
18 -
 19
19 -
 20
20 -
 21
21 -
 22
22 -
 23
23 -
 24
24 -
 25
25 -
 26
26 -
 27
27 -
 28
28 -
29
-
30
-
31
-
32
-
33
-
34
-
35
-
36
-
37
-
38
-
39
-
40
-
41
-
42
-
43
-
44
-
45
-
46
-
47
-
48
-
49
-
50
-
51
-
52
-
53
-
54
-
55
-
56
-
57
-
58
-
59
-
60
-
61
-
62
-
63
-
64
-
65
-
66
-
67
-
68
-
69
-
70
-
71
-
72
-
73
-
74
-
75
-
76
-
77
-
78
-
79
-
80
-
81
-
82
-
83
-
84
-
85
-
86
-
87
-
88
-
89
-
90
-
91
-
92
-
93
-
94
-
95
-
96
-
97
-
98
-
99
-
100
-
101
-
102
-
103
-
104
-
105
-
106
-
107
-
108
-
109
-
110
-
111
-
112
-
113
-
114
-
115
-
116
-
117
-
118
-
119
-
120
 |
 |