Sony DSC V1 Operating Instructions - Page 11
To remove the battery pack, Battery remaining indicator, Charging time, Connect the power cord mains - will not power up
 |
UPC - 027242621459
View all Sony DSC V1 manuals
Add to My Manuals
Save this manual to your list of manuals |
Page 11 highlights
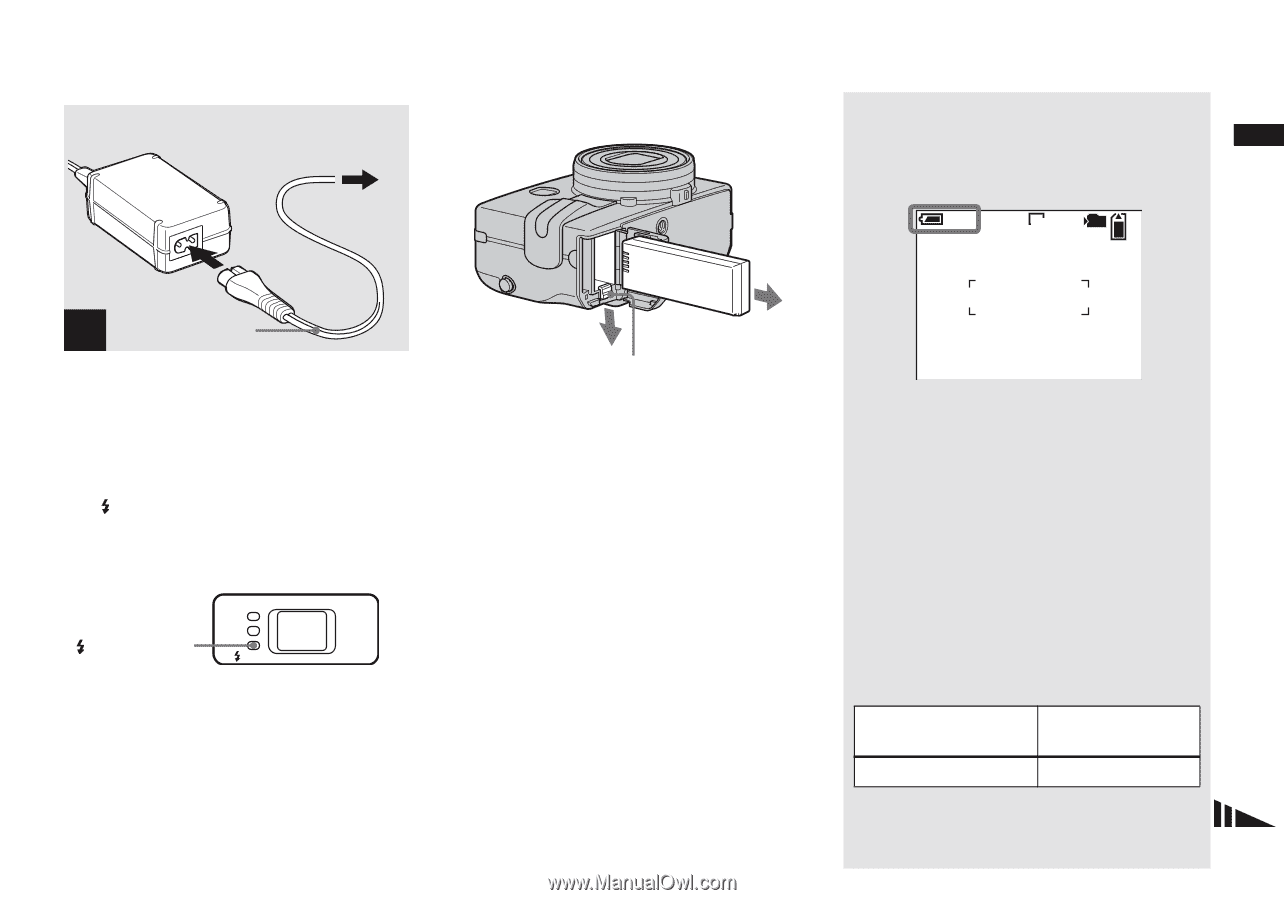
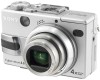
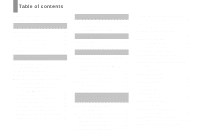
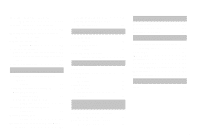
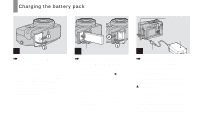
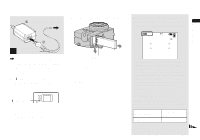
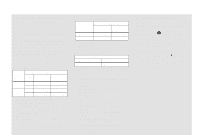
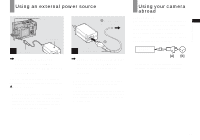
Getting started 2 To wall outlet (wall socket) 1 Power cord 4 (mains lead) , Connect the power cord (mains lead) to the AC Adaptor and then to a wall outlet (wall socket). The /CHG lamp (orange) lights up when charging begins, and goes off when charging is completed. /CHG lamp /CHG • After charging the battery pack, disconnect the AC Adaptor from the DC IN jack of your camera. To remove the battery pack Battery eject lever Open the battery/"Memory Stick" cover. Slide the battery eject lever in the direction of the arrow, and remove the battery pack. • Be careful not to drop the battery pack when removing it. Battery remaining indicator The battery remaining indicator on the LCD screen shows the remaining shooting or viewing time. 60min 5.0M 101 4 S AF • The black portion of the battery remaining indicator in the illustration shows the actual remaining time. • When you switch the LCD screen on/off, it takes about one minute for the correct battery remaining time to appear. • The displayed time remaining may not be correct under certain circumstances or conditions. Charging time Approximate time to charge a completely discharged battery pack using the AC Adaptor at a temperature of 25°C (77°F). Battery pack Charging time (min.) NP-FC11 (supplied) Approx. 150 11
-
 1
1 -
2
-
3
-
4
-
5
-
 6
6 -
 7
7 -
 8
8 -
 9
9 -
 10
10 -
 11
11 -
 12
12 -
 13
13 -
 14
14 -
 15
15 -
 16
16 -
17
-
18
-
19
-
20
-
21
-
22
-
23
-
24
-
25
-
26
-
27
-
28
-
29
-
30
-
31
-
32
-
33
-
34
-
35
-
36
-
37
-
38
-
39
-
40
-
41
-
42
-
43
-
44
-
45
-
46
-
47
-
48
-
49
-
50
-
51
-
52
-
53
-
54
-
55
-
56
-
57
-
58
-
59
-
60
-
61
-
62
-
63
-
64
-
65
-
66
-
67
-
68
-
69
-
70
-
71
-
72
-
73
-
74
-
75
-
76
-
77
-
78
-
79
-
80
-
81
-
82
-
83
-
84
-
85
-
86
-
87
-
88
-
89
-
90
-
91
-
92
-
93
-
94
-
95
-
96
-
97
-
98
-
99
-
100
-
101
-
102
-
103
-
104
-
105
-
106
-
107
-
108
-
109
-
110
-
111
-
112
-
113
-
114
-
115
-
116
-
117
-
118
-
119
-
120
-
121
-
122
-
123
-
124
-
125
-
126
-
127
-
128
-
129
-
130
-
131
-
132
 |
 |