Sony PRS-900 User’s Guide (Large File - 13.73 MB) - Page 42
Make sure your computer is connected to an AC, outlet and turned on not in sleep mode.
 |
View all Sony PRS-900 manuals
Add to My Manuals
Save this manual to your list of manuals |
Page 42 highlights
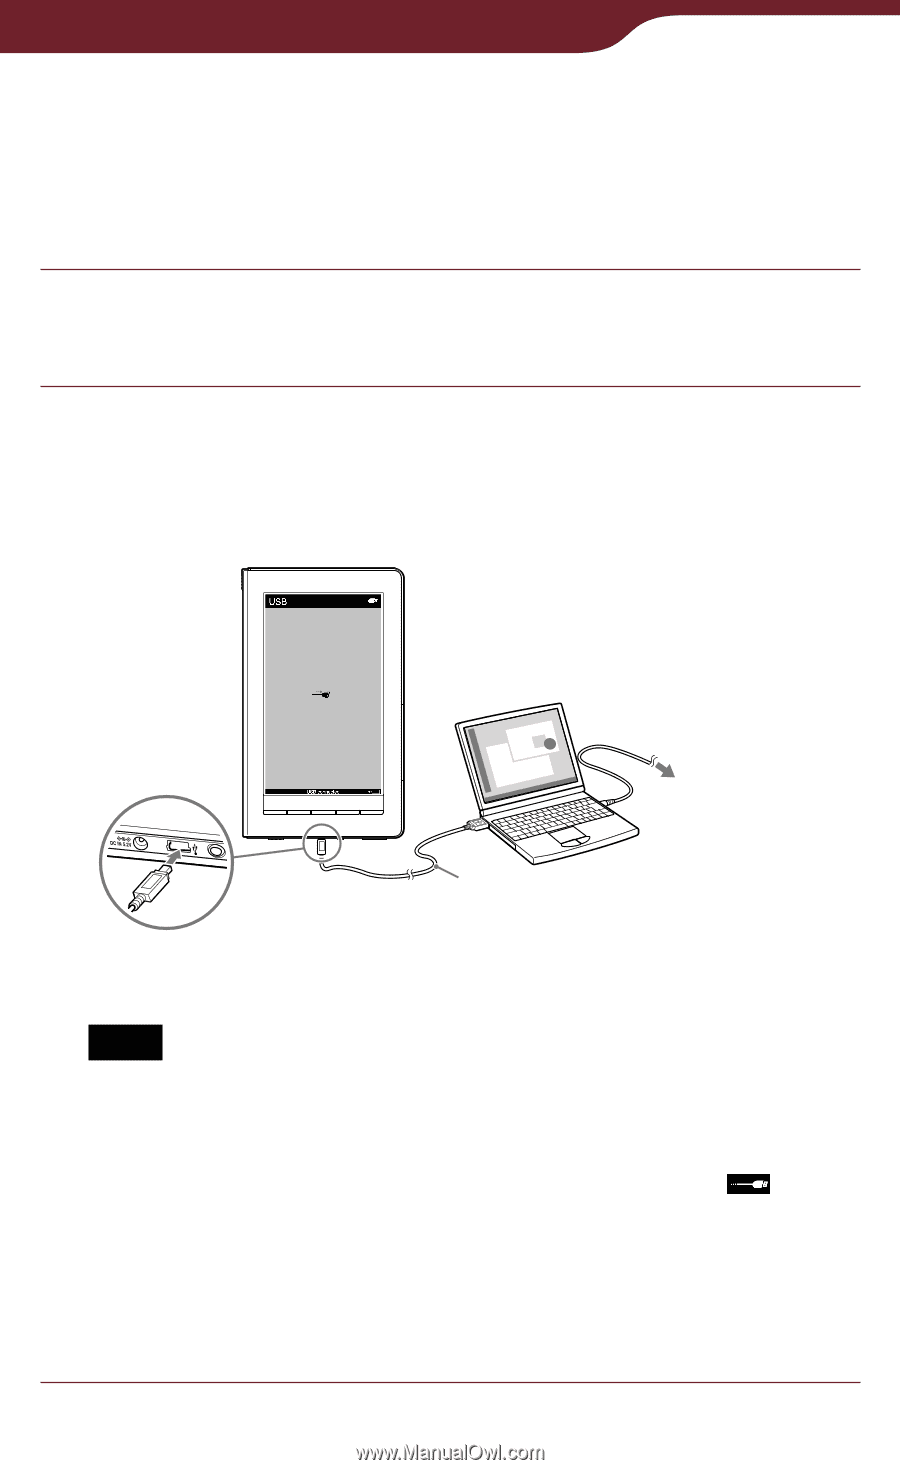
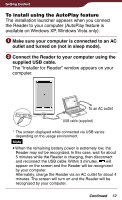
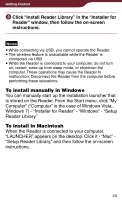
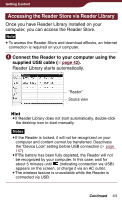
Getting Content To install using the AutoPlay feature The installation launcher appears when you connect the Reader to your computer (AutoPlay feature is available on Windows XP, Windows Vista only). Make sure your computer is connected to an AC outlet and turned on (not in sleep mode). Connect the Reader to your computer using the supplied USB cable. The "Installer for Reader" window appears on your computer. To an AC outlet USB cable (supplied) * The screen displayed while connected via USB varies depending on the usage environment. Note When the remaining battery power is extremely low, the Reader may not be recognized. In this case, wait for about 5 minutes while the Reader is charging, then disconnect and reconnect the USB cable. Within 3 minutes, will appear on the screen and the Reader will be recognized by your computer. Alternately, charge the Reader via an AC outlet for about 4 minutes. The screen will turn on and the Reader will be recognized by your computer. Continued 42
-
 1
1 -
2
-
3
-
4
-
5
-
6
-
7
-
8
-
9
-
10
-
11
-
12
-
13
-
14
-
15
-
16
-
17
-
18
-
19
-
20
-
21
-
22
-
23
-
24
-
25
-
26
-
27
-
28
-
29
-
30
-
31
-
32
-
33
-
34
-
35
-
36
-
 37
37 -
 38
38 -
 39
39 -
 40
40 -
 41
41 -
 42
42 -
 43
43 -
 44
44 -
 45
45 -
 46
46 -
 47
47 -
48
-
49
-
50
-
51
-
52
-
53
-
54
-
55
-
56
-
57
-
58
-
59
-
60
-
61
-
62
-
63
-
64
-
65
-
66
-
67
-
68
-
69
-
70
-
71
-
72
-
73
-
74
-
75
-
76
-
77
-
78
-
79
-
80
-
81
-
82
-
83
-
84
-
85
-
86
-
87
-
88
-
89
-
90
-
91
-
92
-
93
-
94
-
95
-
96
-
97
-
98
-
99
-
100
-
101
-
102
-
103
-
104
-
105
-
106
-
107
-
108
-
109
-
110
-
111
-
112
-
113
-
114
-
115
-
116
-
117
-
118
-
119
-
120
-
121
-
122
-
123
-
124
-
125
-
126
-
127
-
128
-
129
-
130
-
131
-
132
-
133
-
134
-
135
-
136
-
137
-
138
-
139
-
140
-
141
-
142
-
143
-
144
-
145
-
146
-
147
-
148
-
149
-
150
-
151
-
152
-
153
-
154
-
155
-
156
-
157
-
158
-
159
-
160
-
161
-
162
-
163
-
164
-
165
-
166
-
167
-
168
-
169
-
170
-
171
-
172
-
173
-
174
-
175
-
176
-
177
-
178
-
179
-
180
-
181
-
182
-
183
-
184
-
185
-
186
-
187
-
188
-
189
-
190
-
191
-
192
-
193
-
194
-
195
-
196
-
197
-
198
-
199
-
200
-
201
-
202
 |
 |