Sony SNC-RZ25N User Guide - Page 37
Sony SNC-RZ25N - Network Camera Manual
 |
UPC - 027242662575
View all Sony SNC-RZ25N manuals
Add to My Manuals
Save this manual to your list of manuals |
Page 37 highlights
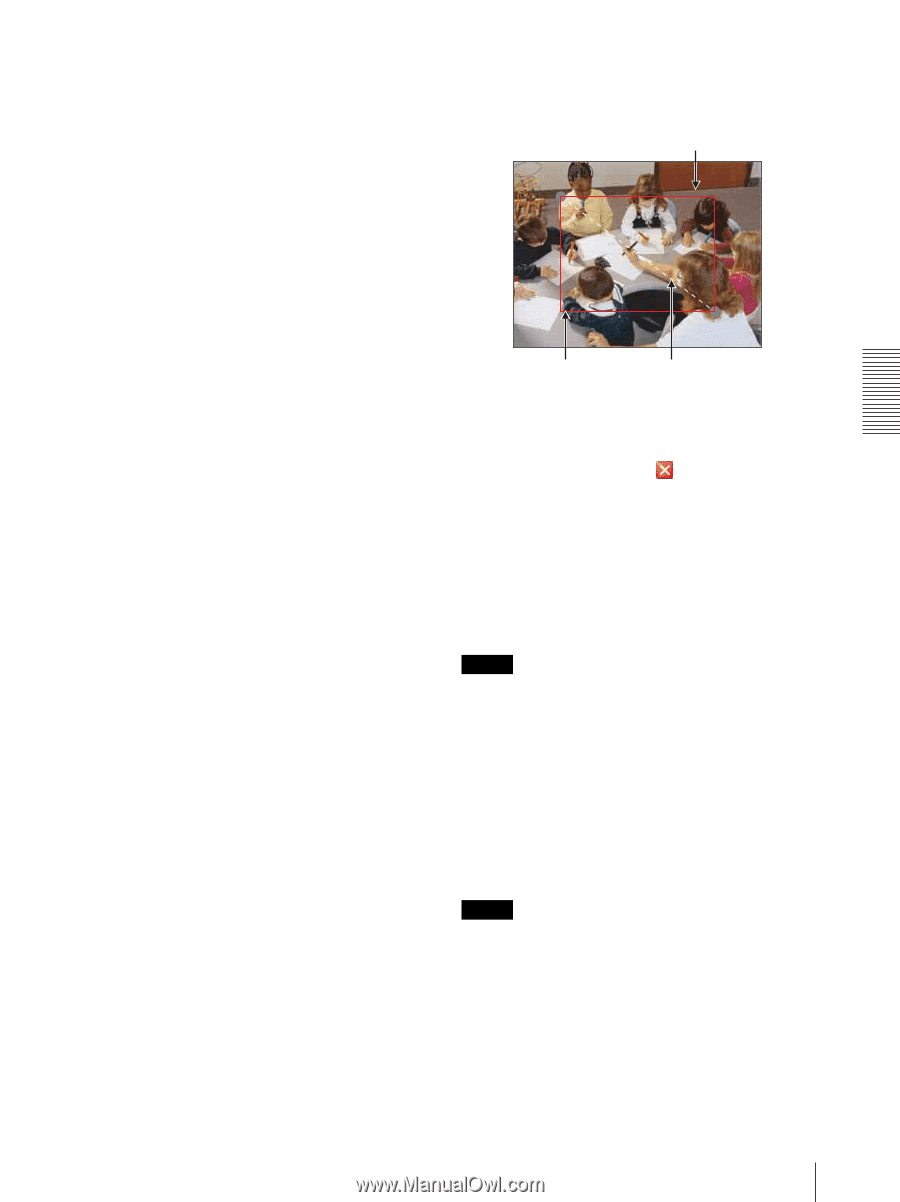
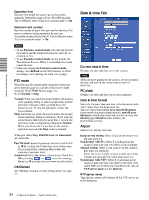
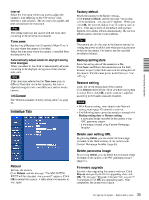
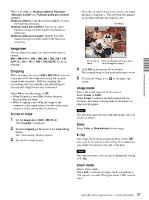
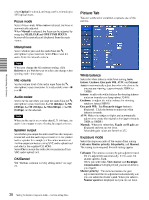
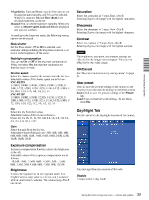
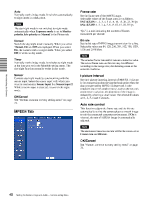
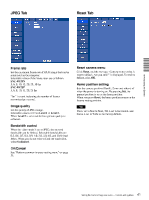
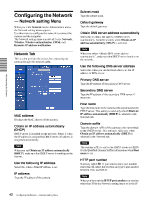
When select On, set Multicast address, Multicast video port number and Multicast audio port number properly. Multicast address: Type the multicast address used on the Multicast streaming. Multicast video port number: Specify the video transmission port number used for the Multicast streaming. Multicast audio port number: Specify the audio transmission port number used for the Multicast streaming. Click the left button of the mouse on the still image and drag it diagonally. The red frame that appears as you drag indicates the cropping area. Still image Image size You can select the image size sent from the network camera. 640 × 480 (VGA), 480 × 360, 384 × 288, 320 × 240 (QVGA), 256 × 192 or 160 × 120 (QQVGA) can be selected. Red trimming frame Click the left button of the mouse on the still image and drag it. Cropping When the image size is set to 640 × 480 (VGA), you can crop a portion of the image and display the cropped image on the computer. With the cropping, the transmitting data size, and thus, the network load is reduced and a higher frame rate is obtained. Select On to crop the image, or Off. • When Cropping is set to On, Motion detection function does not work. • While Cropping is set to On, the image of the composite video signal output from the video output connector of the camera may be distorted. To crop an image 4 5 Click OK at the bottom of the window. The cropped image is displayed on the main viewer. Administrating the Camera To close the image, click corner. in the upper-right Image mode Selects the image output from the camera. Select Frame or Field. When Frame is selected, the horizontal resolution increases. But when a moving object is displayed, its edge may be jagged. Note 1 2 3 Set the Image size to 640 × 480(VGA). The Cropping is displayed. Set the Cropping to On and click the Area setting button. The "Area setting" display appears. Specify the cropping area. This function cannot be used when the image size is set to QVGA or less. Color Select Color or Monochrome for the image. E. flip The image can be displayed upside down. Select Off when you fix the camera to the ceiling. Select On when you install the camera on the rack or the desk. Note The camera restarts when you have changed the setting of E. flip. Zoom mode Selects Zoom mode. When Full is selected, an image can be zoomed up to 18X optical zoom and 12X digital zoom, 216X zoom in total. Setting the Camera Image and Audio - Camera setting Menu 37
-
 1
1 -
2
-
3
-
4
-
5
-
6
-
7
-
8
-
9
-
10
-
11
-
12
-
13
-
14
-
15
-
16
-
17
-
18
-
19
-
20
-
21
-
22
-
23
-
24
-
25
-
26
-
27
-
28
-
29
-
30
-
31
-
 32
32 -
 33
33 -
 34
34 -
 35
35 -
 36
36 -
 37
37 -
 38
38 -
 39
39 -
 40
40 -
 41
41 -
 42
42 -
43
-
44
-
45
-
46
-
47
-
48
-
49
-
50
-
51
-
52
-
53
-
54
-
55
-
56
-
57
-
58
-
59
-
60
-
61
-
62
-
63
-
64
-
65
-
66
-
67
-
68
-
69
-
70
-
71
-
72
-
73
-
74
-
75
-
76
-
77
-
78
-
79
-
80
-
81
-
82
-
83
-
84
-
85
-
86
-
87
-
88
-
89
-
90
-
91
-
92
 |
 |