Sony STR-D1015 Operating Instructions - Page 5
Precautions, Unpacking
 |
View all Sony STR-D1015 manuals
Add to My Manuals
Save this manual to your list of manuals |
Page 5 highlights
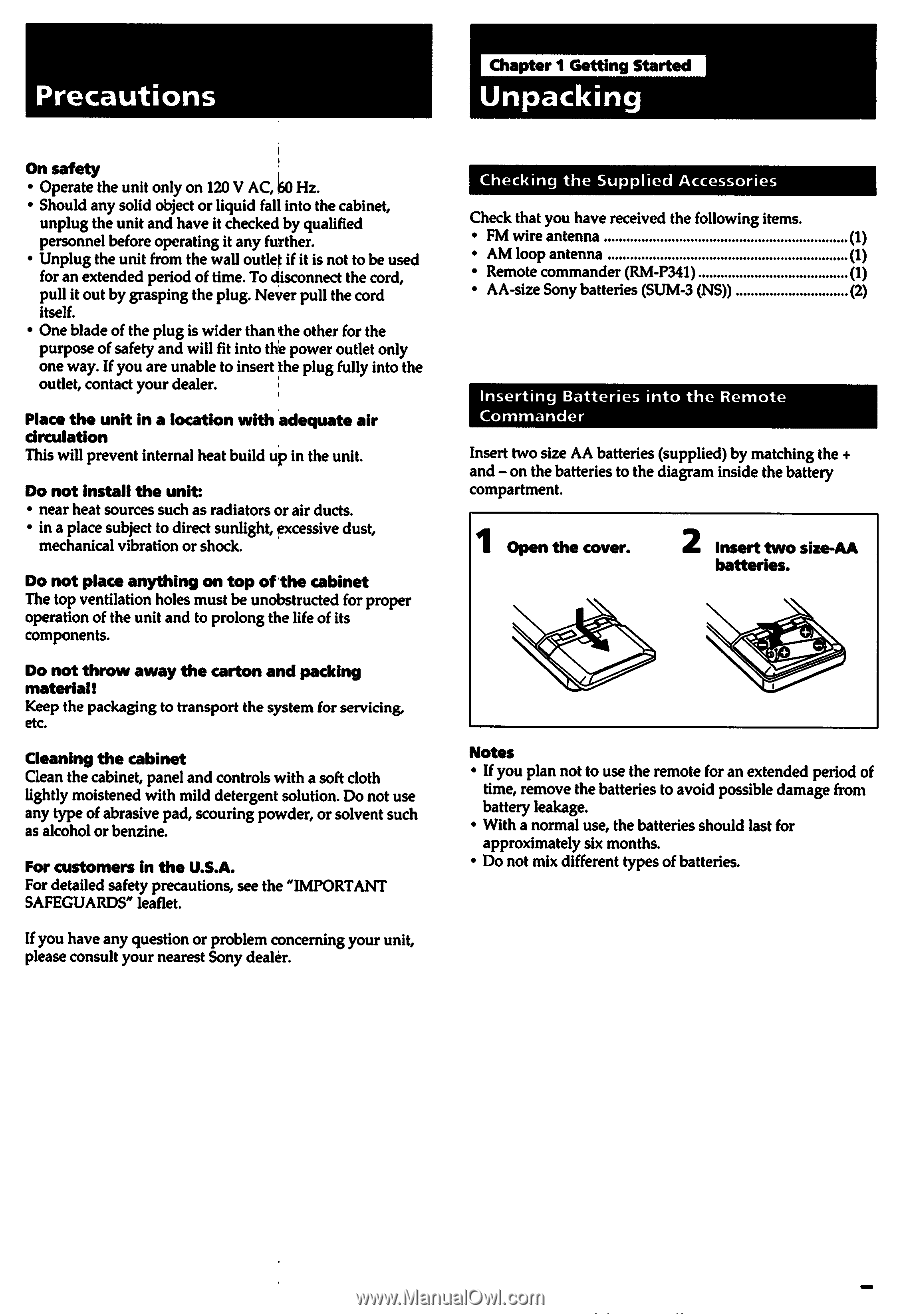
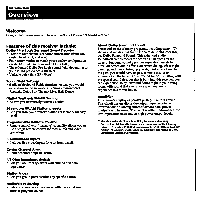
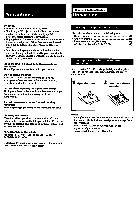
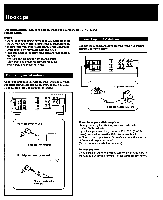
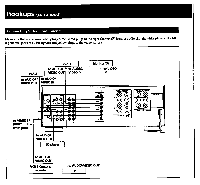
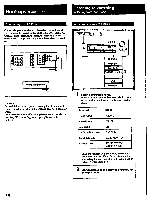
Precautions Chapter 1 Getting Started Unpacking On safety • Operate the unit only on 120 V AC, 150 Hz. • Should any solid object or liquid fall into the cabinet, unplug the unit and have it checked by qualified personnel before operating it any further. • Unplug the unit from the wall outlet if it is not to be used for an extended period of time. To disconnect the cord, pull it out by grasping the plug. Never pull the cord itself. • One blade of the plug is wider than the other for the purpose of safety and will fit into the power outlet only one way. If you are unable to insert the plug fully into the outlet, contact your dealer. Place the unit in a location with adequate air circulation This will prevent internal heat build up in the unit. Do not install the unit: • near heat sources such as radiators or air ducts. • in a place subject to direct sunlight, excessive dust, mechanical vibration or shock. Do not place anything on top of the cabinet The top ventilation holes must be unobstructed for proper operation of the unit and to prolong the life of its components. Do not throw away the carton and packing material! Keep the packaging to transport the system for servicing, etc. Cleaning the cabinet Clean the cabinet, panel and controls with a soft cloth lightly moistened with mild detergent solution. Do not use any type of abrasive pad, scouring powder, or solvent such as alcohol or benzine. For customers in the U.S.A. For detailed safety precautions, see the "IMPORTANT SAFEGUARDS" leaflet. If you have any question or problem concerning your unit, please consult your nearest Sony dealer. Checking the Supplied Accessories Check that you have received the following items. • FM wire antenna (1) • AM loop antenna (1) • Remote commander (RM-P341) (1) • AA-size Sony batteries (SUM-3 (NS)) (2) Inserting Batteries into the Remote Commander Insert two size AA batteries (supplied) by matching the + and - on the batteries to the diagram inside the battery compartment. 1 Open the cover. 2 Insert two size-AA batteries. Notes • If you plan not to use the remote for an extended period of time, remove the batteries to avoid possible damage from battery leakage. • With a normal use, the batteries should last for approximately six months. • Do not mix different types of batteries.
-
 1
1 -
 2
2 -
 3
3 -
 4
4 -
 5
5 -
 6
6 -
 7
7 -
 8
8 -
 9
9 -
 10
10 -
 11
11 -
12
-
13
-
14
-
15
-
16
-
17
-
18
-
19
-
20
-
21
-
22
-
23
-
24
-
25
-
26
-
27
-
28
-
29
-
30
-
31
-
32
-
33
-
34
-
35
-
36
-
37
-
38
-
39
-
40
 |
 |