TRENDnet TV-IP322WI Users Guide - Page 12
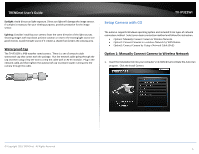
Connect camera to your wireless network using Wi-Fi, Protected Setup WPS
 |
View all TRENDnet TV-IP322WI manuals
Add to My Manuals
Save this manual to your list of manuals |
Page 12 highlights
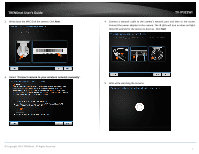
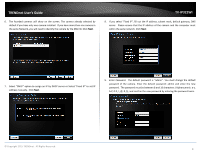
TRENDnet User's Guide 3. Select "Connect camera to your wireless network using Wi-Fi Protected Setup (WPS)". TV-IP322WI 5. Connect the power adapter to the camera. The IR LEDs will turn on dime red light. Allow 60 seconds for the camera to boot up. Click Next. 4. Using the include security wrench to loosen the screws and remove the panel on the bottom of the camera. If you plan on using an SD card, insert an SD card into the SD card slot. 6. Press the WPS button on your wireless router for 5 seconds. Within 2 minutes, press and hold the WPS button on the camera for 5 seconds. © Copyright 2015 TRENDnet. All Rights Reserved. 11
-
 1
1 -
2
-
3
-
4
-
5
-
6
-
 7
7 -
 8
8 -
 9
9 -
 10
10 -
 11
11 -
 12
12 -
 13
13 -
 14
14 -
 15
15 -
 16
16 -
 17
17 -
18
-
19
-
20
-
21
-
22
-
23
-
24
-
25
-
26
-
27
-
28
-
29
-
30
-
31
-
32
-
33
-
34
-
35
-
36
-
37
-
38
-
39
-
40
-
41
-
42
-
43
-
44
-
45
-
46
-
47
-
48
-
49
-
50
-
51
-
52
-
53
-
54
-
55
-
56
-
57
-
58
-
59
-
60
-
61
-
62
 |
 |

© Copyright 2015 TRENDnet. All Rights Reserved.
TRENDnet User’s Guide
TV-IP322WI
11
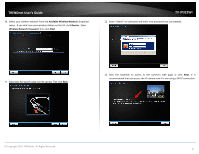
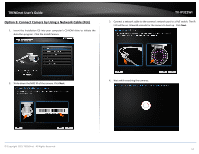
3.
Select “
Connect camera to your wireless network using Wi-Fi
Protected Setup (WPS)
”.
4.
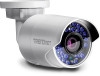
Using the include security wrench to loosen the screws and remove the panel on
the bottom of the camera. If you plan on using an SD card, insert an SD card into
the SD card slot.
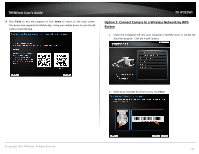
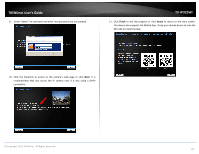
5.
Connect the power adapter to the camera. The IR LEDs will turn on dime red
light. Allow 60 seconds for the camera to boot up.
Click
Next
.
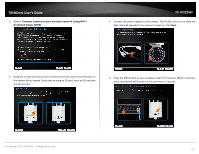
6.
Press the WPS button on your wireless router for 5 seconds. Within 2 minutes,
press and hold the WPS button on the camera for 5 seconds.