Xerox 3100MFPX User Guide - Phaser 3100 MFP/S - Page 42
The final installation is ready to be executed. Click - phaser driver
 |
UPC - 095205741964
View all Xerox 3100MFPX manuals
Add to My Manuals
Save this manual to your list of manuals |
Page 42 highlights
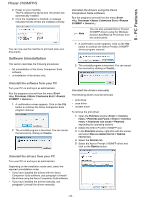
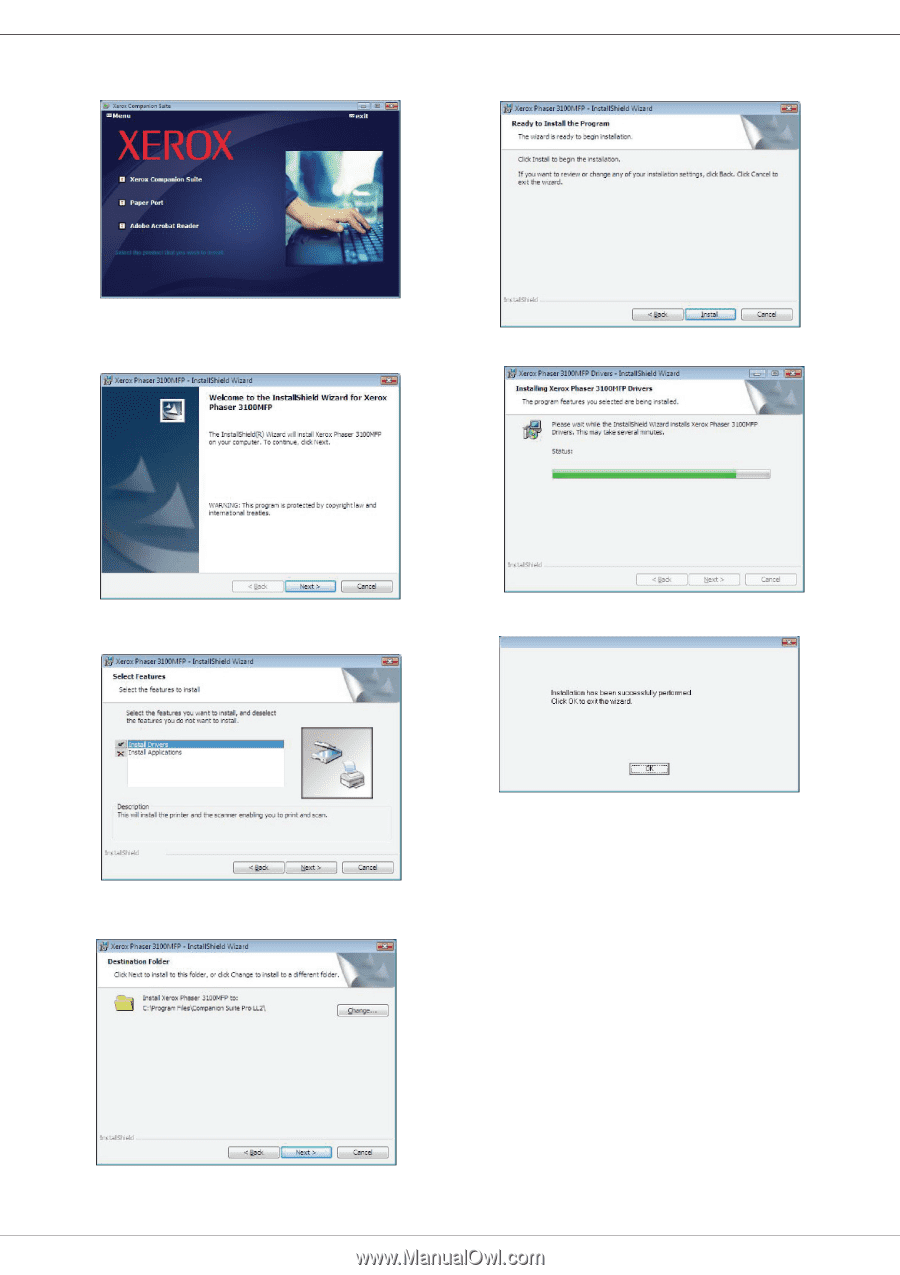
8 - PC Features Phaser 3100MFP/S 6 Place your cursor on XEROX COMPANION SUITE and confirm with left-click of the mouse. 10 The final installation is ready to be executed. Click on the INSTALL button. 7 The welcome screen appears. Click on the NEXT button to launch the installation of the Xerox Companion Suite kit on your PC. 11 A screen informs you of the installation progress. 8 Select INSTALL DRIVERS in the list and click on the NEXT button. 12 Click on OK to finish the installation. 9 Select the destination folder for installation and click on the NEXT button. The Xerox Companion Suite software is now installed on your PC. You can now connect your machine, refer to paragraph Connections, page 39. - 38 -
-
 1
1 -
2
-
3
-
4
-
5
-
6
-
7
-
8
-
9
-
10
-
11
-
12
-
13
-
14
-
15
-
16
-
17
-
18
-
19
-
20
-
21
-
22
-
23
-
24
-
25
-
26
-
27
-
28
-
29
-
30
-
31
-
32
-
33
-
34
-
35
-
36
-
 37
37 -
 38
38 -
 39
39 -
 40
40 -
 41
41 -
 42
42 -
 43
43 -
 44
44 -
 45
45 -
 46
46 -
 47
47 -
48
-
49
-
50
-
51
-
52
-
53
-
54
-
55
-
56
 |
 |
Phaser 3100MFP/S
- 38 -
8 - PC Features
6
Place your cursor on
X
EROX
C
OMPANION
S
UITE
and
confirm with left-click of the mouse.
7
The welcome screen appears. Click on the
N
EXT
button to launch the installation of the Xerox
Companion Suite kit on your PC.
8
Select
I
NSTALL
DRIVERS
in the list and click on the
N
EXT
button.
9
Select the destination folder for installation and
click on the
N
EXT
button.
10
The final installation is ready to be executed. Click
on the
I
NSTALL
button.
11
A screen informs you of the installation progress.
12
Click on
OK
to finish the installation.
The Xerox Companion Suite software is now installed on
your PC.
You can now connect your machine, refer to paragraph
Connections
, page 39.