Yamaha YAS-408 MusicCast BAR 400 YAS-408 Owners Manual - Page 44
CONFIGURATIONS, Configuring various functions, Changing the brightness of the indicators (DIMMER),
 |
View all Yamaha YAS-408 manuals
Add to My Manuals
Save this manual to your list of manuals |
Page 44 highlights
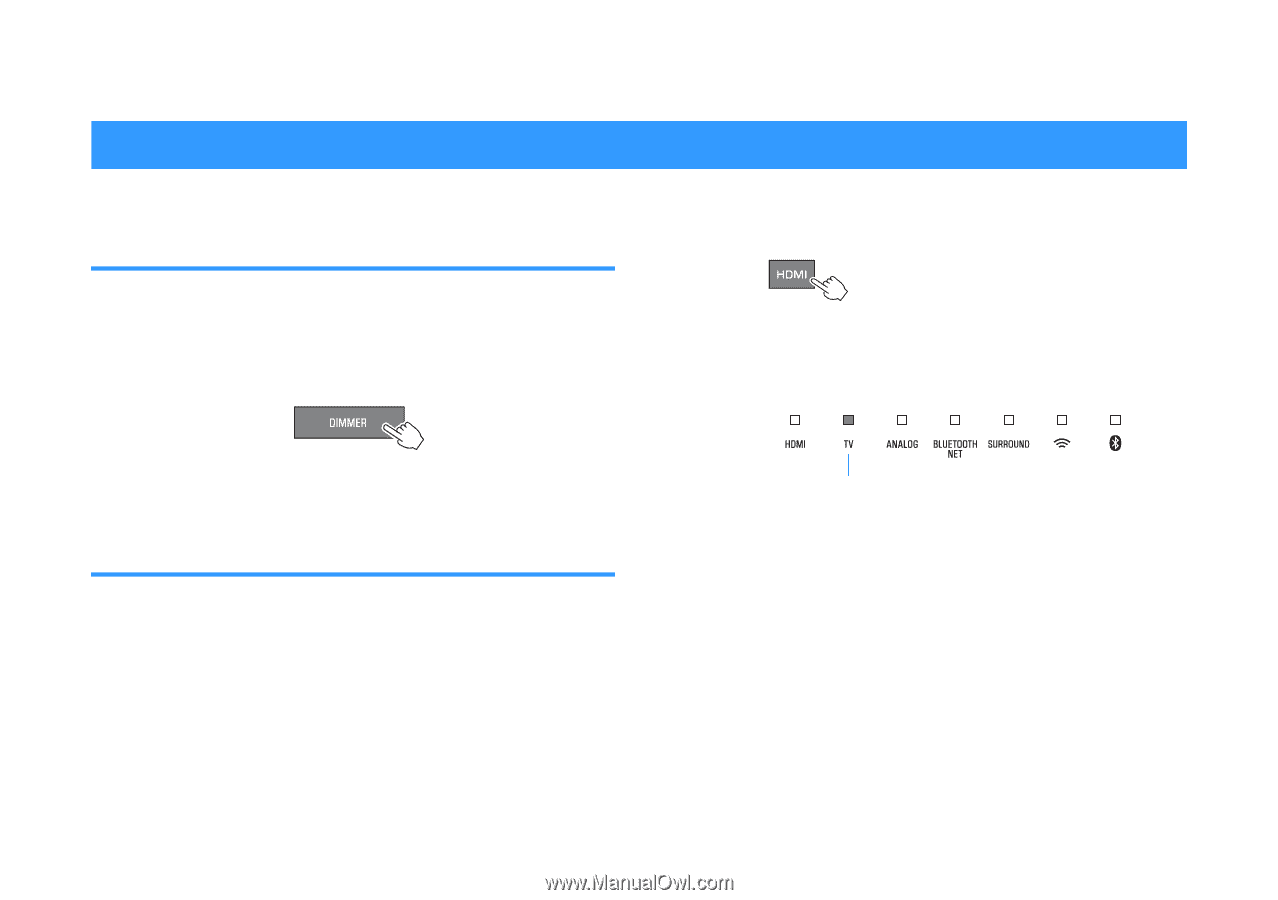
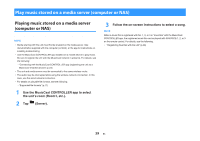
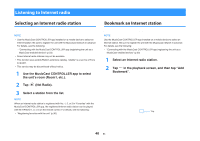
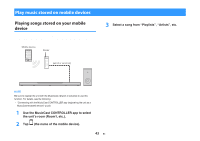
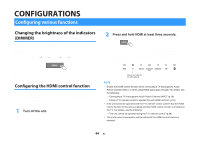
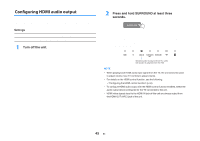
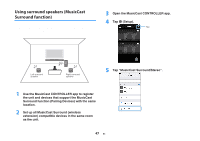
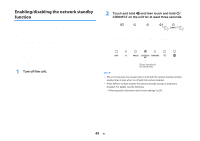
CONFIGURATIONS Configuring various functions Changing the brightness of the indicators (DIMMER) Change the brightness of the indicators on the center unit. Each time DIMMER is pressed, the brightness of the indicators changes as follows. Dim (default setting) → Off → Bright → Dim → ... 2 Press and hold HDMI at least three seconds. The HDMI control function is enabled or disabled, and the unit turns on. The indicator shows HDMI control function status for several seconds, and then all indicators glow. Indicators glow brightly just after operation and change to the specified brightness after a few seconds. Configuring the HDMI control function Enable or disable the unit's HDMI control function (link function). This function coordinates TV and unit operation so that the unit can be operated using the TV's remote control. This function is enabled by default. 1 Turn off the unit. Glows (enabled) Off (disabled) NOTE ▪ Enable the HDMI control function when connecting a TV that supports Audio Return Channel (ARC), or when using HDMI signal pass-through. For details, see the following: - "Connecting a TV that supports Audio Return Channel (ARC)" (p.18) - "Using a TV's remote control to operate the unit (HDMI control)" (p.34) ▪ If the unit cannot be operated with the TV's remote control, confirm that the HDMI control function of this unit is enabled and the HDMI control function is enabled on the TV. For details, see the following: - "The unit cannot be operated using the TV's remote control" (p.59) ▪ The unit's power consumption will be reduced if the HDMI control function is disabled. 44 En
-
 1
1 -
2
-
3
-
4
-
5
-
6
-
7
-
8
-
9
-
10
-
11
-
12
-
13
-
14
-
15
-
16
-
17
-
18
-
19
-
20
-
21
-
22
-
23
-
24
-
25
-
26
-
27
-
28
-
29
-
30
-
31
-
32
-
33
-
34
-
35
-
36
-
37
-
38
-
 39
39 -
 40
40 -
 41
41 -
 42
42 -
 43
43 -
 44
44 -
 45
45 -
 46
46 -
 47
47 -
 48
48 -
 49
49 -
50
-
51
-
52
-
53
-
54
-
55
-
56
-
57
-
58
-
59
-
60
-
61
-
62
-
63
-
64
-
65
-
66
-
67
-
68
-
69
-
70
-
71
-
72
-
73
-
74
 |
 |