ZyXEL NWD-370N User Guide - Page 68
Ordering the Preferred Networks
 |
View all ZyXEL NWD-370N manuals
Add to My Manuals
Save this manual to your list of manuals |
Page 68 highlights
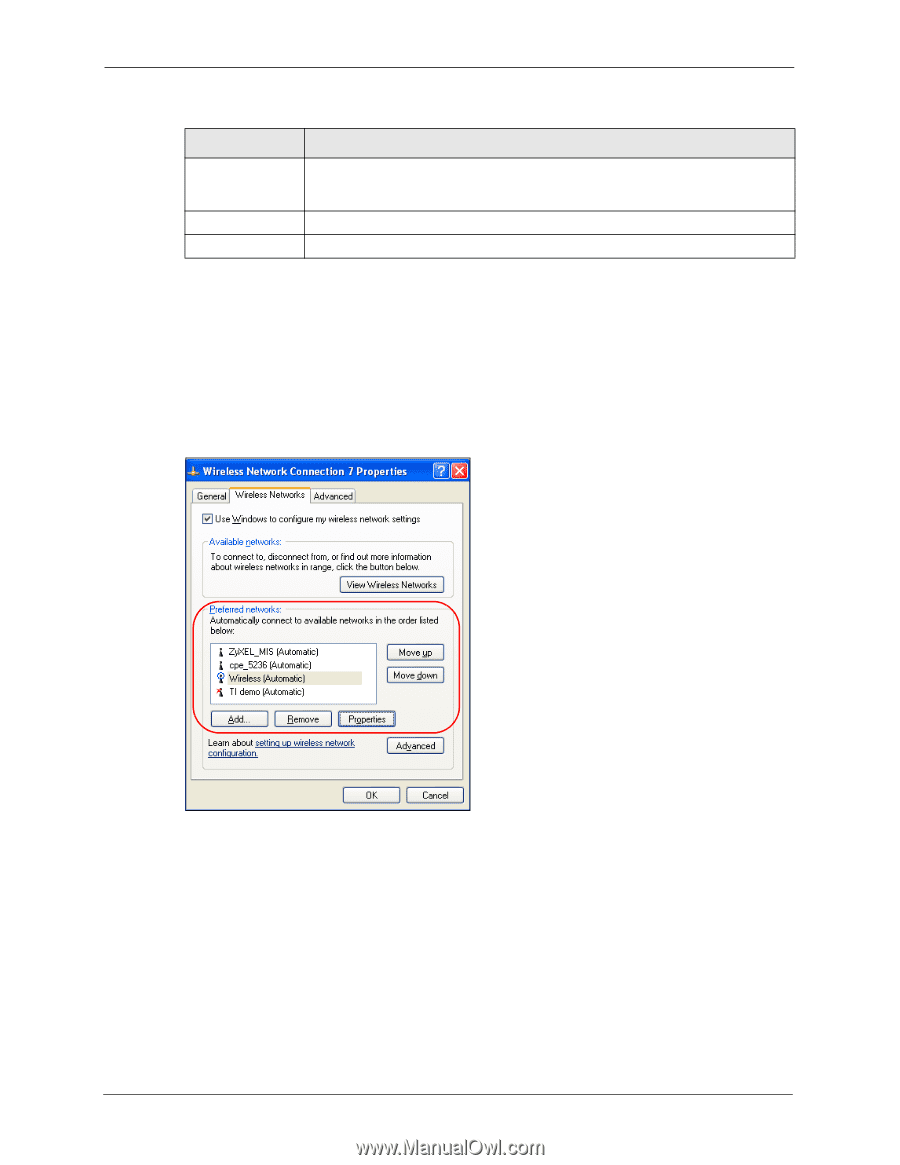
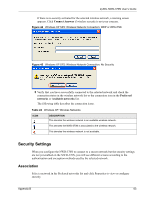
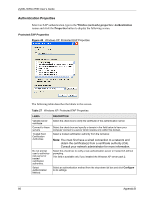
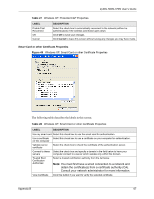
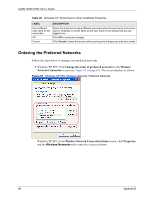
ZyXEL NWD-370N User's Guide Table 28 Windows XP: Smart Card or other Certificate Properties LABEL DESCRIPTION Use a different Select the check box to use a different user name when the user name in the smart user name for the card or certificate is not the same as the user name in the domain that you are connection: logged on to. OK Click OK to save your changes. Cancel Click Cancel to leave this screen without saving any changes you may have made. Ordering the Preferred Networks Follow the steps below to manage your preferred networks. 1 Windows XP SP2: Click Change the order of preferred networks in the Wireless Network Connection screen (see Figure 42 on page 61). The screen displays as shown. Figure 50 Windows XP SP2: Wireless Networks: Preferred Networks Windows XP SP1: In the Wireless Network Connection Status screen, click Properties and the Wireless Networks tab to open the screen as shown. 68 Appendix B
-
 1
1 -
2
-
3
-
4
-
5
-
6
-
7
-
8
-
9
-
10
-
11
-
12
-
13
-
14
-
15
-
16
-
17
-
18
-
19
-
20
-
21
-
22
-
23
-
24
-
25
-
26
-
27
-
28
-
29
-
30
-
31
-
32
-
33
-
34
-
35
-
36
-
37
-
38
-
39
-
40
-
41
-
42
-
43
-
44
-
45
-
46
-
47
-
48
-
49
-
50
-
51
-
52
-
53
-
54
-
55
-
56
-
57
-
58
-
59
-
60
-
61
-
62
-
 63
63 -
 64
64 -
 65
65 -
 66
66 -
 67
67 -
 68
68 -
 69
69 -
 70
70 -
 71
71 -
 72
72 -
 73
73 -
74
-
75
-
76
-
77
-
78
-
79
-
80
-
81
-
82
-
83
-
84
-
85
-
86
-
87
-
88
 |
 |