1998 Chevrolet Express Van Owner's Manual - Page 160
1998 Chevrolet Express Van Manual

Page 160 highlights
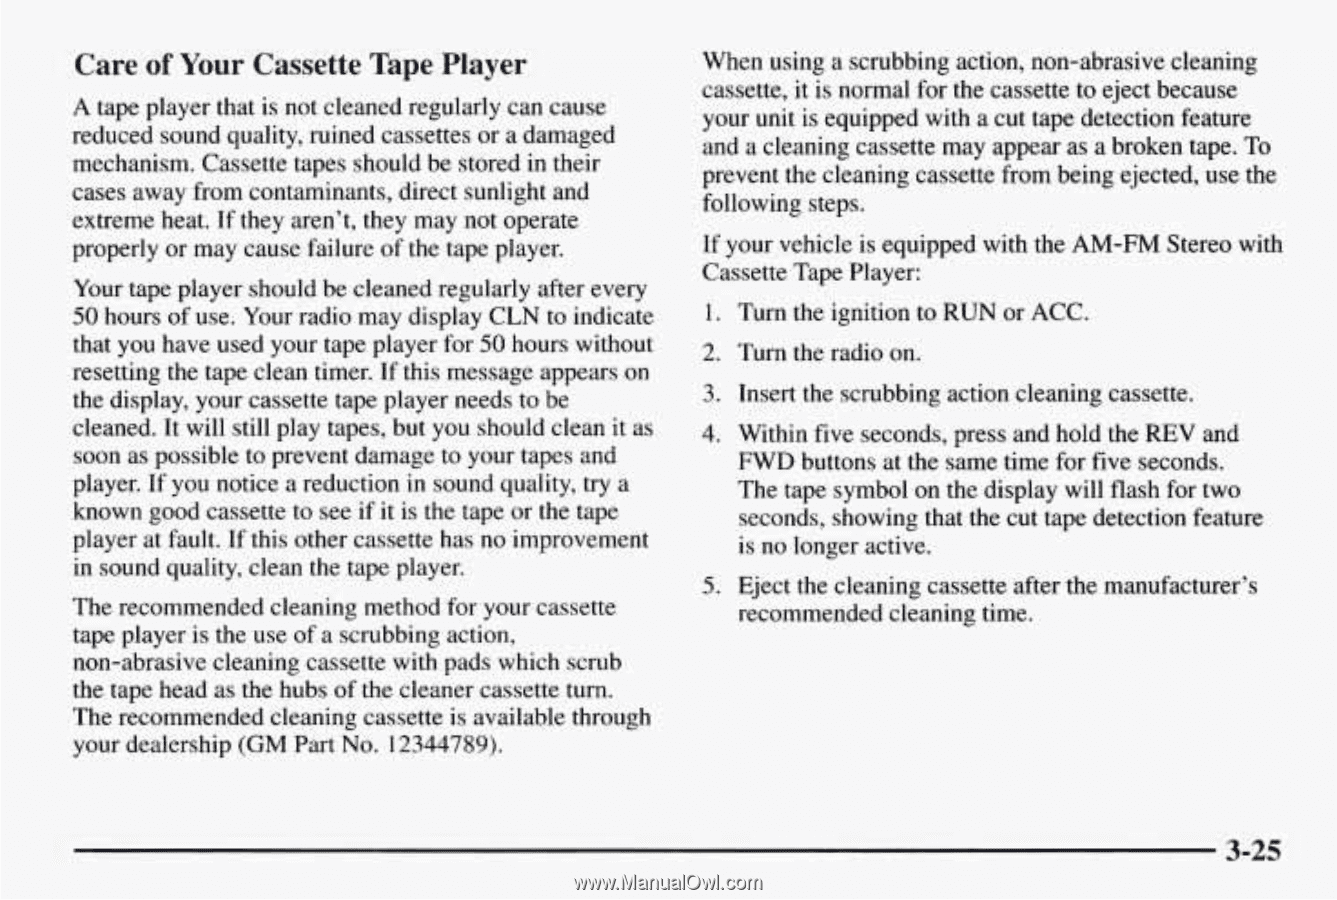
Care of Your Cassette Tape Player A tape player that is not cleaned regularly can cause reduced sound quality, ruined cassettes or a damaged mechanism. Cassette tapes should bestored in their cases away from contaminants, direct sunlight and extreme heat. If they aren't, they may not operate properly or may cause failure of the tape player. Your tape player should be cleaned regularly after every 50 hours of use. Your radio may display CLN to indicate that you have used your tape player for 50 hours without resetting the tape clean timer. If this message appears on the display, your cassette tape player needs to be cleaned. It will still play tapes, but you should clean it as soon aspossible to prevent damage to your tapes and player. If you notice a reduction in sound quality, try a known good cassette to see if it is the tape or the tape player at fault. If this other cassette has no improvement in sound quality, clean the tape player. The recommended cleaning method for your cassette tape player is the use of a scrubbing action, non-abrasive cleaning cassette with pads whichscrub the tape head as the hubs the cleaner cassette turn. of The recommended cleaning cassette is available through your dealership (GM Part No. 12344789). When using a scrubbing action, non-abrasive cleaning cassette, it is normal for the cassette to eject because your unit is equipped with a cut tape detection feature and a cleaning cassette may appear as a broken tape. To prevent the cleaning cassette from being ejected, use the following steps. If your vehicle is equipped with the AM-FM Stereo with Cassette Tape Player: 1. Turn the ignition to RUN or ACC. 2. Turn the radio on. 3. Insert the scrubbing action cleaning cassette. 4. Within five seconds, press and hold the REV and FWD buttons at the same time for fiveseconds. The tape symbol on the display willflash for two seconds, showing that the cut tape detection feature is no longer active. 5. Eject the cleaning cassette after the manufacturer's recommended cleaning time. 3-25
-
 1
1 -
2
-
3
-
4
-
5
-
6
-
7
-
8
-
9
-
10
-
11
-
12
-
13
-
14
-
15
-
16
-
17
-
18
-
19
-
20
-
21
-
22
-
23
-
24
-
25
-
26
-
27
-
28
-
29
-
30
-
31
-
32
-
33
-
34
-
35
-
36
-
37
-
38
-
39
-
40
-
41
-
42
-
43
-
44
-
45
-
46
-
47
-
48
-
49
-
50
-
51
-
52
-
53
-
54
-
55
-
56
-
57
-
58
-
59
-
60
-
61
-
62
-
63
-
64
-
65
-
66
-
67
-
68
-
69
-
70
-
71
-
72
-
73
-
74
-
75
-
76
-
77
-
78
-
79
-
80
-
81
-
82
-
83
-
84
-
85
-
86
-
87
-
88
-
89
-
90
-
91
-
92
-
93
-
94
-
95
-
96
-
97
-
98
-
99
-
100
-
101
-
102
-
103
-
104
-
105
-
106
-
107
-
108
-
109
-
110
-
111
-
112
-
113
-
114
-
115
-
116
-
117
-
118
-
119
-
120
-
121
-
122
-
123
-
124
-
125
-
126
-
127
-
128
-
129
-
130
-
131
-
132
-
133
-
134
-
135
-
136
-
137
-
138
-
139
-
140
-
141
-
142
-
143
-
144
-
145
-
146
-
147
-
148
-
149
-
150
-
151
-
152
-
153
-
154
-
 155
155 -
 156
156 -
 157
157 -
 158
158 -
 159
159 -
 160
160 -
 161
161 -
 162
162 -
 163
163 -
 164
164 -
 165
165 -
166
-
167
-
168
-
169
-
170
-
171
-
172
-
173
-
174
-
175
-
176
-
177
-
178
-
179
-
180
-
181
-
182
-
183
-
184
-
185
-
186
-
187
-
188
-
189
-
190
-
191
-
192
-
193
-
194
-
195
-
196
-
197
-
198
-
199
-
200
-
201
-
202
-
203
-
204
-
205
-
206
-
207
-
208
-
209
-
210
-
211
-
212
-
213
-
214
-
215
-
216
-
217
-
218
-
219
-
220
-
221
-
222
-
223
-
224
-
225
-
226
-
227
-
228
-
229
-
230
-
231
-
232
-
233
-
234
-
235
-
236
-
237
-
238
-
239
-
240
-
241
-
242
-
243
-
244
-
245
-
246
-
247
-
248
-
249
-
250
-
251
-
252
-
253
-
254
-
255
-
256
-
257
-
258
-
259
-
260
-
261
-
262
-
263
-
264
-
265
-
266
-
267
-
268
-
269
-
270
-
271
-
272
-
273
-
274
-
275
-
276
-
277
-
278
-
279
-
280
-
281
-
282
-
283
-
284
-
285
-
286
-
287
-
288
-
289
-
290
-
291
-
292
-
293
-
294
-
295
-
296
-
297
-
298
-
299
-
300
-
301
-
302
-
303
-
304
-
305
-
306
-
307
-
308
-
309
-
310
-
311
-
312
-
313
-
314
-
315
-
316
-
317
-
318
-
319
-
320
-
321
-
322
-
323
-
324
-
325
-
326
-
327
-
328
-
329
-
330
-
331
-
332
-
333
-
334
-
335
-
336
-
337
-
338
-
339
-
340
-
341
-
342
-
343
-
344
-
345
-
346
-
347
-
348
-
349
-
350
-
351
-
352
-
353
-
354
-
355
-
356
-
357
-
358
-
359
-
360
-
361
-
362
-
363
-
364
-
365
-
366
-
367
-
368
-
369
-
370
-
371
-
372
-
373
-
374
-
375
-
376
-
377
-
378
-
379
-
380
-
381
-
382
-
383
-
384
-
385
-
386
 |
 |