Brother International PE-DESIGN Ver.6 Users Manual - English - Page 43
color, Line Thread, Color, Close, Line color, Line sew type, Zigzag Stitch, Sewing Attribute, Sewing
 |
View all Brother International PE-DESIGN Ver.6 manuals
Add to My Manuals
Save this manual to your list of manuals |
Page 43 highlights
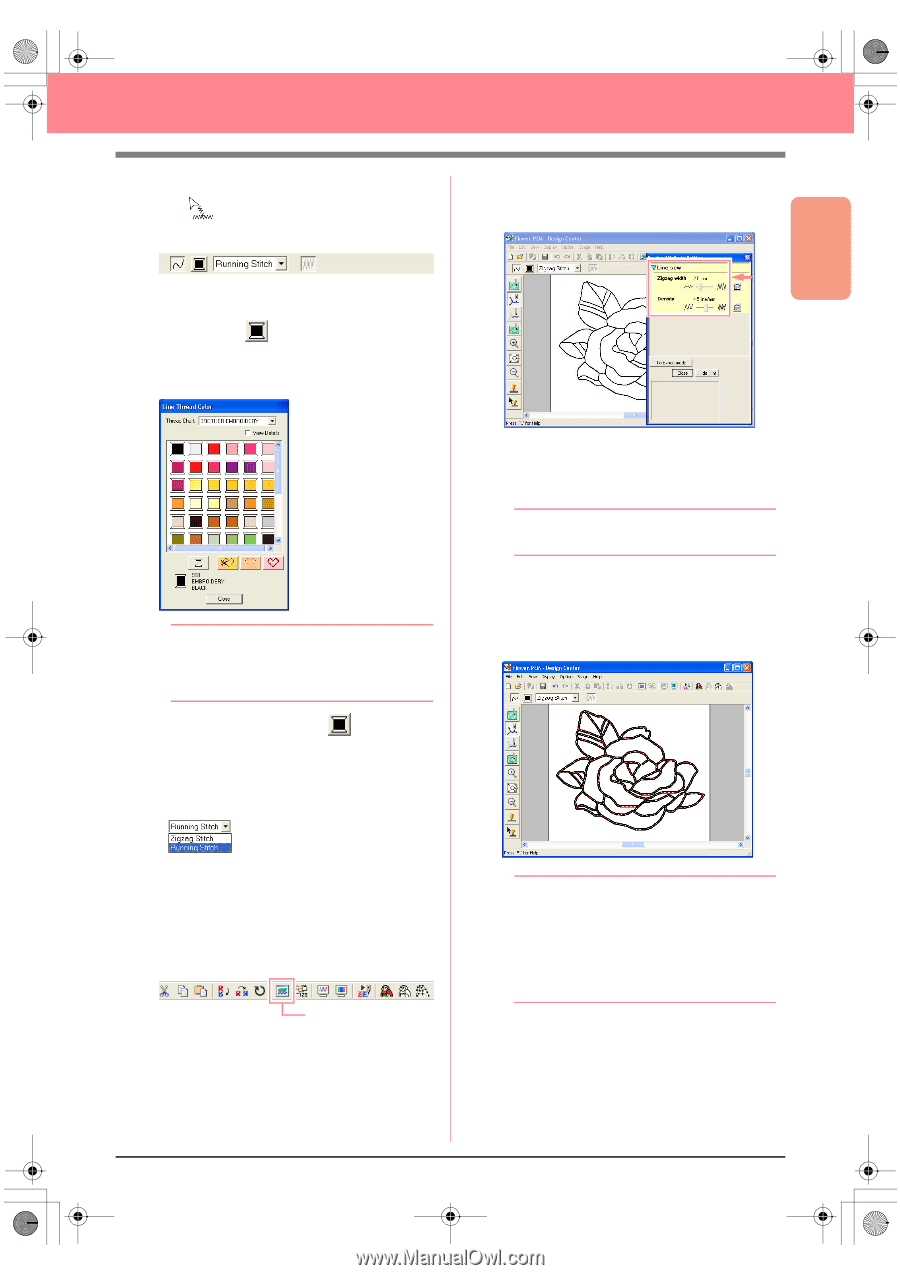
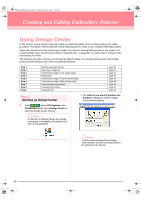
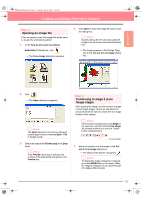
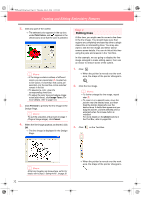
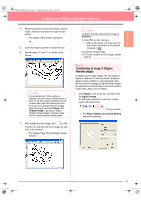
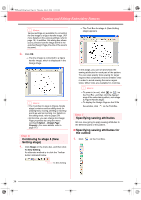
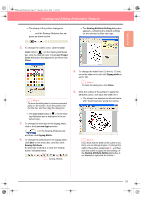
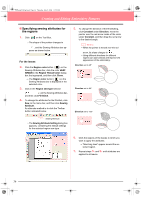
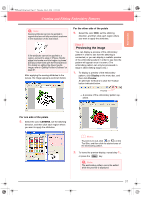
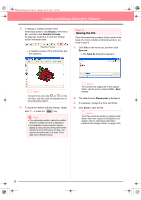
Basic Operation PeDesignV6Eng.book Page 35 Thursday, July 8, 2004 11:59 AM Creating and Editing Embroidery Patterns → The shape of the pointer changes to , and the Sewing Attributes bar appears as shown below. → The Sewing Attribute Setting dialog box appears, containing the default settings for the selected outline sew type. 2. To change the outline color, click the Line color button ( ) on the Sewing Attributes bar, click the desired color in the Line Thread Color dialog box that appeared, and then click Close. b Memo: To move the dialog box to a more convenient place on the screen, move the pointer over the title bar, and then drag the dialog box. → The Line color button ( ) on the Sewing Attributes bar is displayed in the selected color. 3. To change the sew type to the zigzag stitch, click in the Line sew type selector ( ) on the Sewing Attributes bar, and then click Zigzag Stitch. 4. To change the attributes for the zigzag stitch, click Sew on the menu bar, and then click Sewing Attribute. An alternate method is to click the Toolbar button indicated below. Sewing Attribute 5. To change the width from 2.0 mm to 1.5 mm, move the slider to the left until Zigzag width is set to 1.5. b Memo: To close the dialog box, click Close. 6. Click the outline of the pattern to apply the attributes (color, sew type and width) to it. → The image now appears as shown below with "marching lines" along the outline. b Memo: If you think that the width of the outline is too thick, you can change it again. To change the width of the outline, repeat step 5., and then click the outline to apply the new setting. (If the Sewing Attribute Setting dialog box is not displayed, right-click the outline.) 35
-
 1
1 -
2
-
3
-
4
-
5
-
6
-
7
-
8
-
9
-
10
-
11
-
12
-
13
-
14
-
15
-
16
-
17
-
18
-
19
-
20
-
21
-
22
-
23
-
24
-
25
-
26
-
27
-
28
-
29
-
30
-
31
-
32
-
33
-
34
-
35
-
36
-
37
-
 38
38 -
 39
39 -
 40
40 -
 41
41 -
 42
42 -
 43
43 -
 44
44 -
 45
45 -
 46
46 -
 47
47 -
 48
48 -
49
-
50
-
51
-
52
-
53
-
54
-
55
-
56
-
57
-
58
-
59
-
60
-
61
-
62
-
63
-
64
-
65
-
66
-
67
-
68
-
69
-
70
-
71
-
72
-
73
-
74
-
75
-
76
-
77
-
78
-
79
-
80
-
81
-
82
-
83
-
84
-
85
-
86
-
87
-
88
-
89
-
90
-
91
-
92
-
93
-
94
-
95
-
96
-
97
-
98
-
99
-
100
-
101
-
102
-
103
-
104
-
105
-
106
-
107
-
108
-
109
-
110
-
111
-
112
-
113
-
114
-
115
-
116
-
117
-
118
-
119
-
120
-
121
-
122
-
123
-
124
-
125
-
126
-
127
-
128
-
129
-
130
-
131
-
132
-
133
-
134
-
135
-
136
-
137
-
138
-
139
-
140
-
141
-
142
-
143
-
144
-
145
-
146
-
147
-
148
-
149
-
150
-
151
-
152
-
153
-
154
-
155
-
156
-
157
-
158
-
159
-
160
-
161
-
162
-
163
-
164
-
165
-
166
-
167
-
168
-
169
-
170
-
171
-
172
-
173
-
174
-
175
-
176
-
177
-
178
-
179
-
180
-
181
-
182
-
183
-
184
-
185
-
186
-
187
-
188
-
189
-
190
-
191
-
192
-
193
-
194
-
195
-
196
-
197
-
198
-
199
-
200
-
201
-
202
-
203
-
204
-
205
-
206
-
207
-
208
-
209
-
210
-
211
-
212
-
213
-
214
-
215
-
216
-
217
-
218
-
219
-
220
-
221
-
222
-
223
-
224
-
225
-
226
-
227
-
228
-
229
-
230
-
231
-
232
-
233
-
234
-
235
-
236
-
237
-
238
-
239
-
240
-
241
-
242
-
243
-
244
-
245
-
246
-
247
-
248
-
249
-
250
-
251
-
252
-
253
-
254
-
255
-
256
-
257
-
258
-
259
-
260
-
261
-
262
-
263
-
264
-
265
-
266
-
267
-
268
-
269
-
270
-
271
-
272
 |
 |